Gardening/Outdoor

Recent Content

Wooden Dish Rack: The Dowel Angle That Drains Right

Wooden Dish Rack: The Dowel Angle That Drains Right

Build a slatted wood dish rack for $18—the dowel tilt angle is what actually drains water into the tray instead of pooling on your counter.

Install a Fireplace Draft Stopper in 20 Minutes for $25

Install a Fireplace Draft Stopper in 20 Minutes for $25

Stop your chimney from sucking heat right out of the house—an inflatable draft stopper seals it in 20 minutes for about $25.

The Shower Rod Trick That Fakes a Walk-In Closet

The Shower Rod Trick That Fakes a Walk-In Closet

Steal spare closet space with a second shower-curtain rod—zero holes, zero fuss, and your full deposit stays safe.

Pool Noodle Knife Block: The Slice Depth That Stops Wobble

Pool Noodle Knife Block: The Slice Depth That Stops Wobble

Turn a $1 pool noodle into a safe knife block—the slice depth is what keeps blades from wobbling loose or slicing through the foam.

Build a Wooden Pie Carrier in 2 Hours for $25

Build a Wooden Pie Carrier in 2 Hours for $25

Never smash a pie in the car again! Build a snug wooden pie carrier in 2 hours for $25—perfect timing for fall potlucks.

logo
  • Home Improvement
  • DIY Projects
  • Interior Design
  • Gardening & Outdoor
  • Real Estate
  • Home Improvement
  • DIY Projects
  • Interior Design
  • Gardening & Outdoor
  • Real Estate
  • ​

Sparkle Path: Glitter Grout Garden Magic

Because your garden path should be as bold as you are — no apologies, all shimmer.
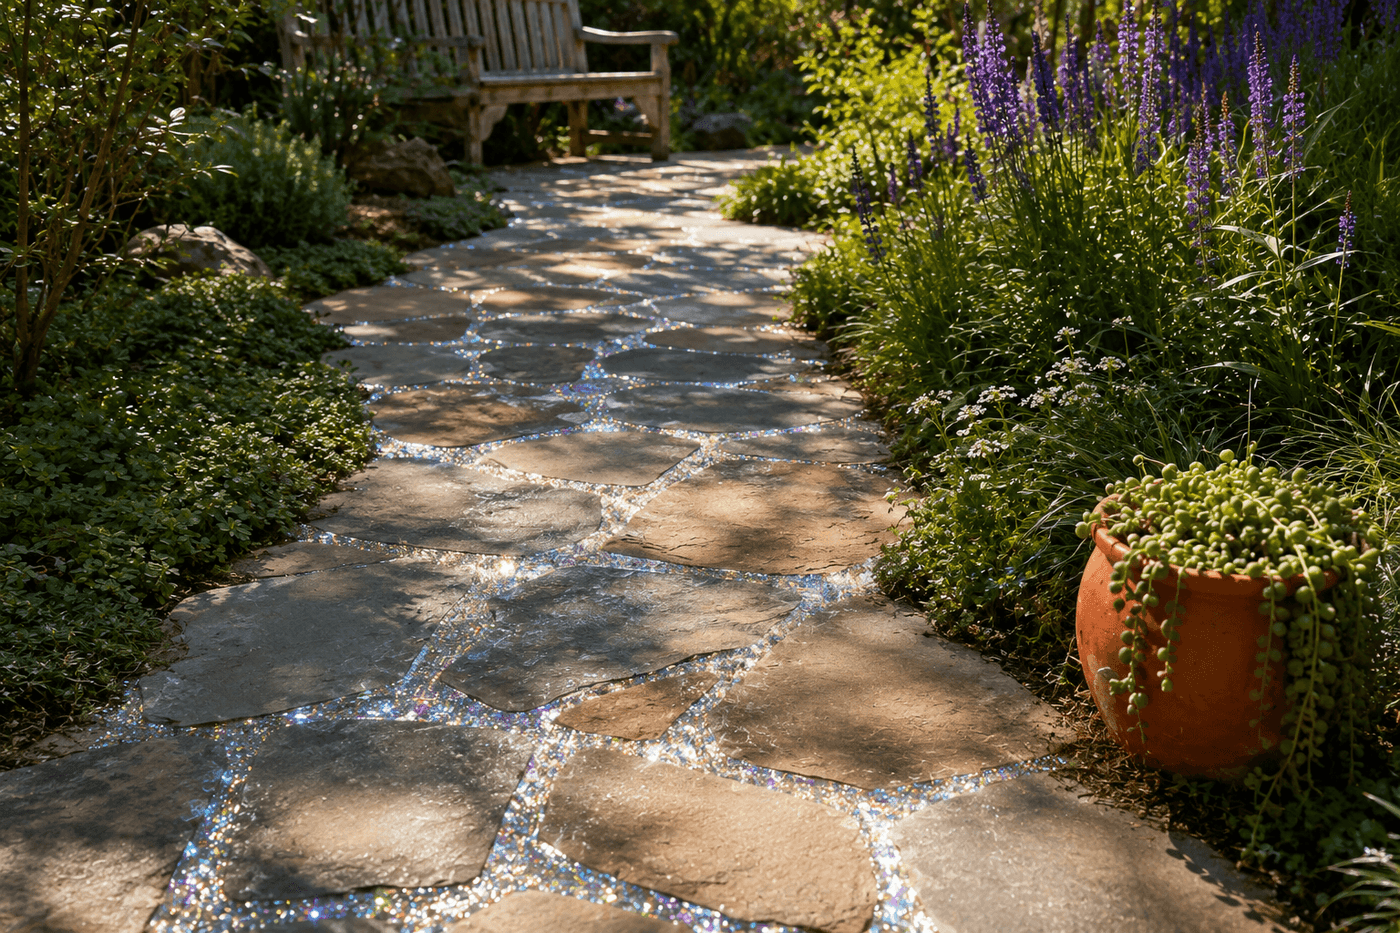
Garden stepping stone pathway with glitter-infused grout catching sunlight, surrounded by lush greenery and flowering plants
Gardening/Outdoor

Your garden path has been beige long enough. While everyone else is out there laying plain pavers and calling it done, you're about to add something that makes visitors stop mid-sentence and ask, "Wait — is your path glittering?" Yes. Yes it is. Glitter-infused grout is the upgrade nobody sees coming, but once they see it, they absolutely cannot unsee it. This works on brand-new pathways or as a refresh on existing stepping stones — so there's zero excuse not to do it. For around $15–20, you get a garden feature that catches the sun like jewelry and turns evening garden strolls into something genuinely magical. Bold? Absolutely. Basic? Never again.

What You'll Need

  • Unsanded or sanded grout — unsanded for joints under ⅛ inch, sanded for wider gaps (~$8–12)
  • Cosmetic-grade fine glitter — silver, gold, rose gold, or iridescent; NOT chunky craft glitter (~$5–8)
  • Grout float or rubber spreader
  • Large sponge and two buckets of clean water
  • Grout sealer — critical for locking in the sparkle and protecting against weather (~$8–12)
  • Mixing container — dedicated (glitter is committed)
  • Rubber gloves and safety glasses
  • Painter's tape — optional, for protecting stone edges during application

How to Do It

  1. Prep your pathway by removing any loose or crumbling existing grout with a grout saw or oscillating tool. Brush joints clean and let the area dry completely — moisture is the enemy of good grout adhesion.
  2. Mix your grout according to package directions to a peanut butter consistency, then fold in 2–3 tablespoons of cosmetic-grade fine glitter per cup of grout. Stir thoroughly so sparkle is evenly distributed throughout.
  3. Test on one small section first — spread a little into a joint, let it set 10 minutes, and wipe away haze. This is your moment to confirm the shimmer-to-grout ratio before you commit to the whole path.
  4. Apply grout across the pathway using your float, pressing firmly into joints at a 45-degree angle. Work in manageable 3–4 foot sections to prevent the grout from drying before you can clean it.
  5. Wipe excess grout from stone surfaces using a damp sponge in circular motions — this is the step most beginners rush and regret. Rinse your sponge constantly in clean water, and be gentle: aggressive scrubbing pulls glitter out of fresh joints.
  6. Haze-buff the stones with a dry cloth once the grout has firmed up (about 30–60 minutes). A light mineral haze is normal and buffs away easily.
  7. Cure for a full 24–48 hours before foot traffic, keeping the path dry during this window — rain right after grouting is the single biggest way this project fails.
  8. Seal with grout sealer once fully cured, applying two coats per the product instructions. This locks in your glitter, protects the finish through freeze-thaw cycles, and is the difference between a sparkle path that lasts and one that fades by autumn.
DESIGNER TIP

Landscape designers working with high-end garden installations often use zoned shimmer effects rather than uniform glitter throughout. Apply a heavier glitter concentration (3–4 tablespoons per cup) in grout joints closest to path edges where low-angle evening light will catch them most dramatically, and a lighter concentration (1 tablespoon) in the center joints. This technique — borrowed from theatrical lighting design — creates the illusion that your path is lit from within at dusk, even in full daylight. Pair iridescent glitter with a warm-toned gray grout base (not pure white) for a finish that photographs beautifully and reads as intentional, elevated design rather than "craft project."


Related Content

Gardening/Outdoor

24 October 2026

Post

Divide and Replant Perennials in 90 Minutes for $15

Overgrown hostas and daylilies? Split them now for free plants and healthier beds—90 minutes, $15, zero green thumb required....

Gardening/Outdoor

18 October 2026

Post

Wrap Tree Trunks for Winter Protection in 30 Minutes for $15

Rabbits and frost cracks love bare bark—wrap young tree trunks now to save them from winter damage for just $15....

Gardening/Outdoor

17 October 2026

Post

Winterize Your Outdoor Fountain in 1 Hour for $15

Don't let ice crack your fountain! Drain, clean, and seal it right in an hour for $15 before the first hard freeze hits....

Gardening/Outdoor

08 October 2026

Post

Winterize Your Rain Barrel in 45 Minutes for $20

Don't let freezing water crack your rain barrel! Drain, disconnect, and store it right in 45 minutes for about $20 before the first hard freeze....

Gardening/Outdoor

05 October 2026

Post

Broken Umbrella Planter: The Drainage Cut That Saves It

Turn a busted umbrella canopy into a hanging garden planter—the drainage slits you cut first are what stop root rot before it starts....

Gardening/Outdoor

02 October 2026

Post

Sow a Cover Crop in Your Garden Beds in 1 Hour for $20

Skip the bare dirt this fall! Sow a cheap cover crop now and let it build free, crumbly soil for next spring's garden....

Gardening/Outdoor

28 September 2026

Post

Overwinter Tender Bulbs Indoors in 1 Hour for $20

Dig up dahlias and cannas before frost hits! Cure and pack them right so they wake up healthy again next spring....

Gardening/Outdoor

22 September 2026

Post

Build a Leaf Mulch Cage in 1 Hour for $25

Stop bagging leaves for the curb! A wire mulch cage turns fall leaf drop into free garden gold by spring....

Gardening/Outdoor

19 September 2026

Post

Plant Spring Bulbs in 1 Hour for Under $25

Plant tulip and daffodil bulbs the right way this fall—pointy-end-up depth and drainage make all the difference come spring!...

Gardening/Outdoor

17 September 2026

Post

Build a Root Vegetable Storage Bin in 2 Hours for $35

Stash your fall harvest right! A DIY sand-layered storage bin keeps carrots and beets crisp for months, no root cellar needed....

Gardening/Outdoor

16 September 2026

Post

Pumpkin Display Stand: Weight First, Then the Angle

Put your biggest pumpkin on the wrong tier and this stand becomes a tipping hazard. Build it right....

Gardening/Outdoor

31 August 2026

Post

Hanging Herb Jars: The Pebble Layer Isn't Optional

Jars have no drainage hole — skip the pebble layer and your herbs slowly rot. Mostly free, 90 min....

Gardening/Outdoor

29 August 2026

Post

Faded Cushions: The Prep Step Everyone Skips

A real scrub + fabric spray paint = faded cushions that look genuinely refreshed, not resprayed...

Gardening/Outdoor

18 August 2026

Post

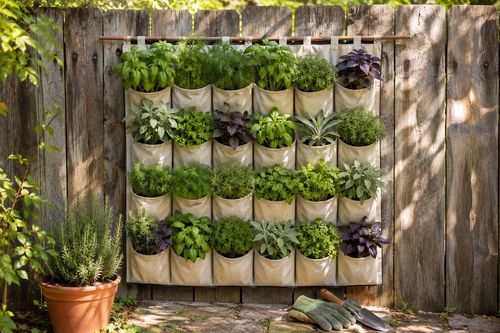
Shoe Organizer Herb Wall: 30 Plants, One Fence Spot

Loose soil is why most pocket herb walls fail — pack it firmly and this $16 setup thrives all season....

Gardening/Outdoor

12 August 2026

Post

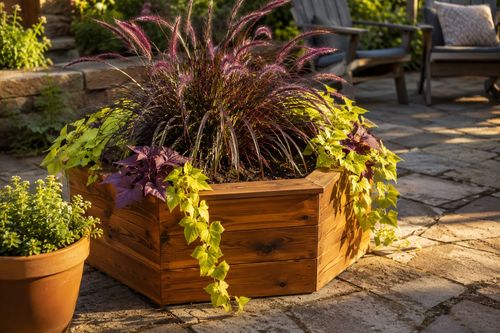
Hexagon Planter: One Angle Is the Whole Trick

One 30-degree angle is the entire secret to this cedar hexagon planter — and it beats the $150 version....
Terms and ConditionsDo Not Sell or Share My Personal InformationPrivacy PolicyPrivacy NoticeAccessibility NoticeUnsubscribe
Copyright © 2026 DIY HomeBoost