
Slatted Garden Bench: Cedar Build for $45
Four legs, two rails, seven seat slats, and three hours of cedar woodworking — and your garden path finally has somewhere worth stopping.
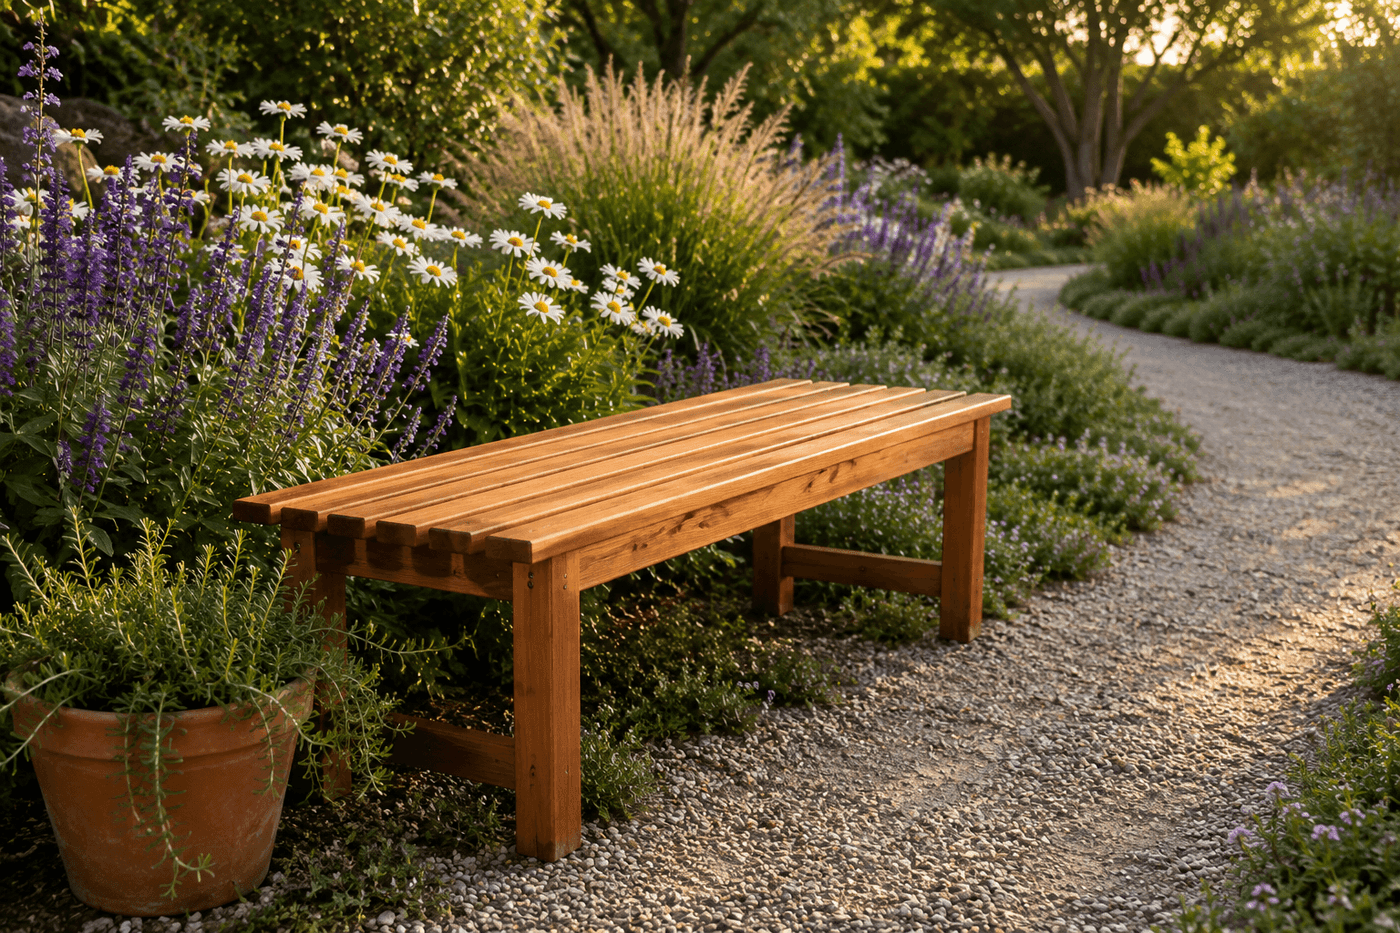
A garden path without a place to sit is a route rather than a destination — something you walk through on the way to somewhere else rather than somewhere worth arriving at in its own right. A simple slatted bench set at the midpoint changes the whole relationship between the gardener and the garden: it creates a reason to slow down, an invitation to actually look at what has been planted and growing, and a specific spot where the cumulative work of every season becomes something to sit inside rather than pass through. The slatted design is the only correct choice for a bench that lives outdoors year-round — the gaps between seat boards drain rain immediately rather than letting it pool on a flat surface and begin the rot cycle, and the airflow through and under the bench keeps every wood surface drying quickly after wet weather so nothing stays damp long enough to cause damage. Cedar is worth the small premium over pine for this specific application: it resists rot and insects naturally without chemical treatment and maintains its structural integrity and appearance through outdoor seasons that would degrade pine significantly faster. Four legs, two side rails, seven seat slats, exterior screws, metal corner brackets, and a coat of teak oil is the complete build list — the bench that finally makes your garden path worth stopping on costs $45 and three hours.
What You'll Need
- 2x4 cedar boards, 8 feet — three boards yield all four legs at 17 inches each and both side rails at 48 inches each, with minimal waste; 2x4 cedar provides the structural cross-section needed for a bench that will bear adult body weight without flexing (~$7–8 each, three needed)
- 1x4 cedar boards, 8 feet — two boards yield all seven seat slats at 48 inches each; 1x4 produces the correct visual proportion for seat slats — wide enough to be comfortable, narrow enough that seven of them across the seat width create the slatted appearance rather than a near-solid surface (~$5–6 each, two needed)
- Exterior structural screws, 2½" and 3" — 3-inch screws for leg-to-rail connections where maximum thread engagement is needed; 2½-inch for slat-to-rail attachment; stainless or coated exterior screws prevent the rust streaking on cedar that standard zinc screws produce within one wet season (~$6–8 per box of each size)
- Metal corner brackets, 2-inch — four brackets, one at each inside leg-to-rail corner; the brackets add the lateral rigidity that prevents the bench from racking side-to-side under body weight, which screws alone in end grain cannot fully resist (~$4–6 for a pack of four)
- Teak oil or danish oil — penetrating oil finish rather than surface film; penetrating oils soak into the cedar and protect from within without peeling or chipping as the wood moves seasonally; teak oil specifically enhances cedar's natural warm tone in a way that brings the grain to life rather than sitting on the surface as an opaque coating (~$8–10 per quart, covers the bench with significant left over)
- Sandpaper, 80- and 220-grit — 80-grit for smoothing any rough mill marks or raised grain on the cedar surfaces, 220-grit for the final smoothing pass before oiling; sand with the grain throughout to avoid cross-grain scratches that are visible through the clear oil finish
- Exterior wood glue — applied at all leg-to-rail joints before screwing; Titebond II or similar water-resistant formula; the glue joint carries the majority of the shear load at the leg connection and the screws maintain alignment while it cures
- Circular saw or miter saw — for accurate crosscuts on legs and rails; consistent leg length across all four legs is what determines whether the finished bench sits flat or rocks, so accurate cutting is the most important single quality control step in the build
- Drill and impact driver — for pilot holes before every screw in cedar, which splits along the grain without pilot holes particularly at rail ends and near board edges; drill pilot holes at approximately 80% of screw shank diameter
- Clamps — for holding leg-to-rail assemblies square during glue cure before screwing; a square frame assembly is the foundation that all slat spacing and final appearance depends on
- Speed square and tape measure — for confirming square at all frame corners and consistent slat spacing across the seat
How to Build It
- Cut all lumber to final dimensions before any assembly — four legs at 17 inches from 2x4 cedar (producing a finished seat height of approximately 18 inches including the slat thickness), two side rails at 48 inches from 2x4 cedar, and seven seat slats at 48 inches from 1x4 cedar. Cut all four legs from the same board position when possible to ensure identical grain orientation, which produces a bench where all four legs weather at the same rate and maintain consistent appearance over time.
- Sand all pieces through 80- then 220-grit before assembly — individual flat boards sand completely and efficiently on all faces and edges; the same surfaces after assembly have corners, joints, and screw heads that prevent consistent sandpaper contact. Pay particular attention to the top edges of all seven seat slats, which must be rounded slightly with 220-grit to eliminate the sharp arris that is uncomfortable under bare thigh skin during extended sitting in warm weather.
- Assemble the two leg-and-rail frames — each frame consists of two legs connected by one side rail — by applying exterior wood glue to the rail end faces, clamping the rail between the two legs with the top of the rail flush with the top of both legs, and confirming square with a speed square before driving two 3-inch screws through pilot holes at each leg-to-rail connection. Allow the glue to achieve initial set before unclamping — approximately 30 minutes — then install one metal corner bracket at the inside of each leg-to-rail joint for lateral rigidity.
- Check both completed side frames for square by measuring diagonally corner to corner in both directions — equal diagonal measurements confirm a square frame; unequal measurements mean one corner is racked and the frame will produce a bench that sits unevenly on the garden path. Correct any racking by applying gentle pressure to the long diagonal while the glue is still workable; a racked frame cannot be corrected after the glue has fully cured without disassembling and regluing the affected joint.
- Connect the two side frames with the first and last seat slats — position the frames parallel to each other at 15 inches apart (the final seat depth), lay the first slat across both frames flush with the front rail face, and drive two 2½-inch screws through the slat into each rail top through pre-drilled pilot holes. Repeat with the last slat at the back rail face; these two end slats establish the frame spacing and parallelism that all five interior slats follow, making their accurate placement the most consequential step in the slat installation sequence.
- Install the five interior seat slats with consistent spacing between them — cut a ¼-inch spacing jig from scrap wood and use it as a physical spacer between each slat during installation rather than measuring individually, which produces genuinely consistent gaps rather than the slightly variable spacing that eye-and-measure produces across seven slats. Drive two screws per slat per rail in a consistent pattern — either both screws toward the slat center or offset toward the slat edges — for a uniform fastener pattern that reads as intentional from above.
- Confirm the bench sits flat by placing it on a known-level surface and checking all four legs for simultaneous contact — a bench that rocks has one leg that is fractionally longer than its diagonal opposite, which is corrected by trimming the long leg with a handsaw or belt sander in small increments and rechecking until all four legs contact simultaneously. A bench that rocks on the garden path is uncomfortable to sit on regardless of how good it looks, and correcting it at this stage before finishing takes five minutes rather than the extended effort of correcting it after oil has been applied.
- Apply teak oil to all surfaces — top, bottom, and all four sides of every component — with a clean rag, working the oil into the grain with circular pressure and allowing it to penetrate for 20 minutes before wiping away the excess. Apply a second coat 24 hours after the first, which builds the depth of protection and color enhancement that a single coat cannot achieve; the second coat on cedar produces a visibly richer, warmer tone than the first coat alone and represents the appearance the bench will maintain through its first seasons of outdoor use.
Landscape architects and garden designers who specify seating for residential garden paths consistently apply one siting principle that determines whether a garden bench becomes the most used spot in the garden or an attractive piece of furniture that nobody sits on: position the bench so the seated viewer faces the most visually rich section of the surrounding planting rather than facing down the path in the direction of travel. A bench oriented along the path axis — facing the direction you came from or are going — places the seated viewer in a position of transit rather than arrival, and the instinct to continue walking rather than settle and stay is difficult to resist from this orientation. A bench positioned perpendicular to the path so the seated viewer faces into the planted border, the garden bed, or the borrowed landscape beyond the garden boundary creates an immediate sense of destination and enclosure — the specific spatial quality that makes sitting feel like the point rather than a pause on the way to somewhere else. Garden designers who apply this perpendicular orientation principle consistently report client benches that are actually used rather than admired, which is the entire difference between a garden that has a bench and a garden that has a place.














