
Saw, Screw, Plant: Build a Cedar Planter Box
Classic cedar construction, 90 minutes of work, and $15–$25 in materials — the planter box your garden has been waiting for
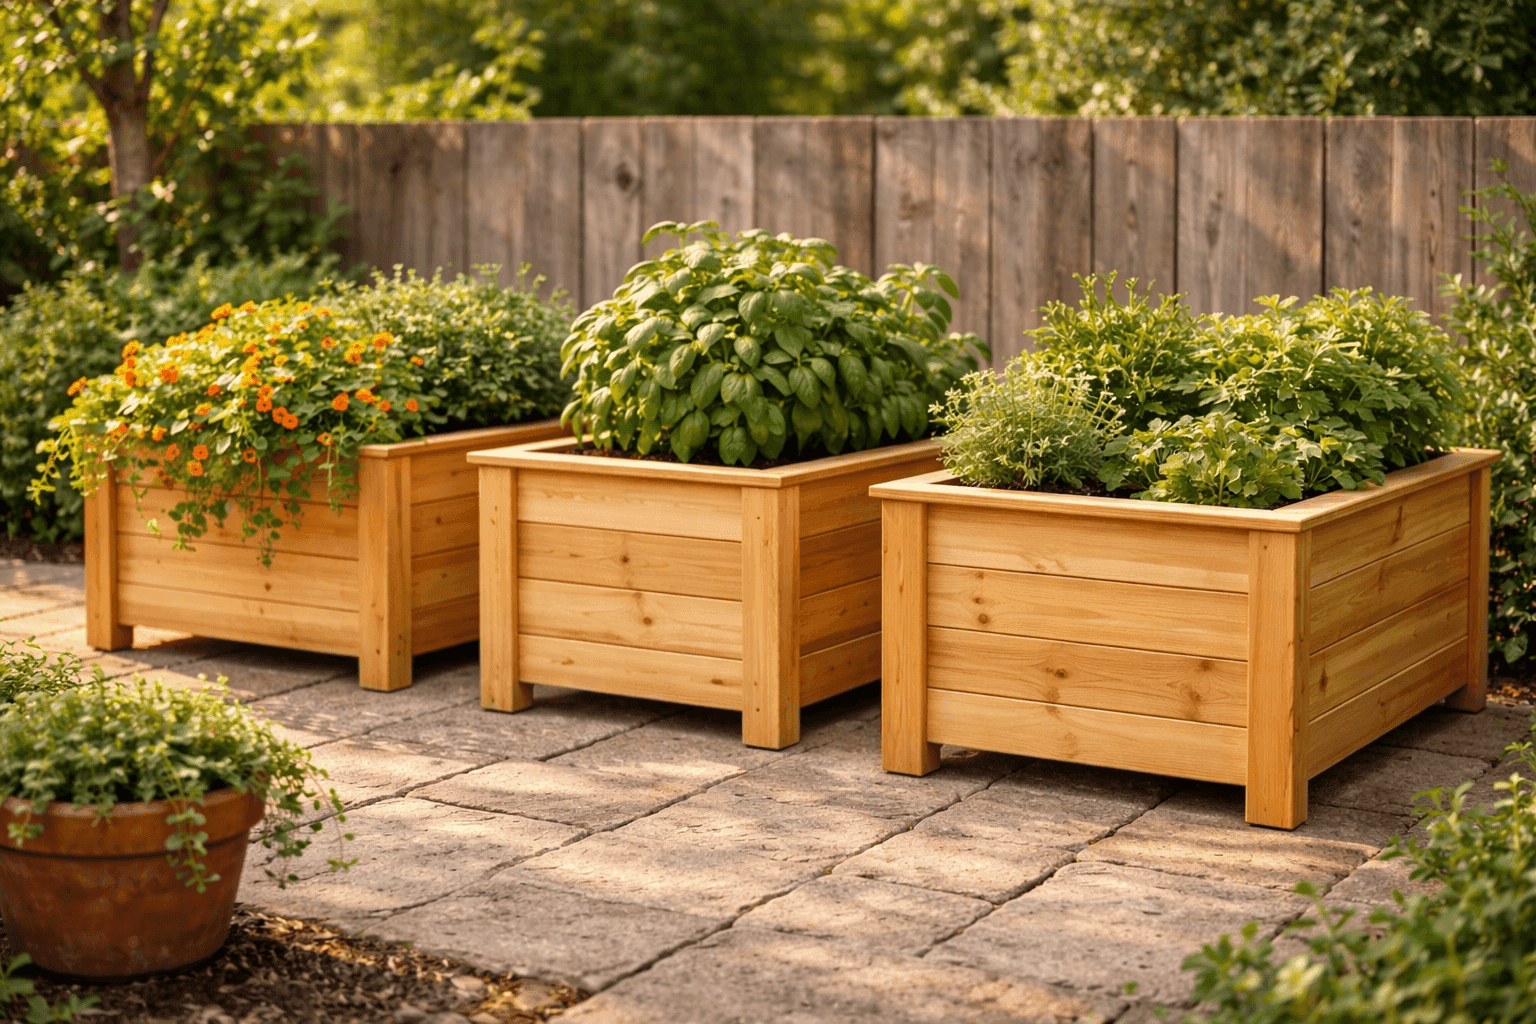
There are a handful of woodworking projects that every beginner should build early — and a simple cedar planter box sits right at the top of that list. It requires no complicated joinery, no specialized tools beyond a saw and a drill, and no previous woodworking experience to produce something that looks genuinely handsome in any garden setting. Cedar is the ideal material for the job: naturally rot-resistant, lightweight, easy to cut and fasten, and beautiful whether you finish it with stain or simply let it weather to that classic silver-gray that looks like it's been in the garden for years. At $15–$25 per box and 90 minutes of build time, you can make several in a single afternoon and arrange them as a cohesive display that looks far more intentional than a collection of mismatched store-bought pots. Vegetables, herbs, flowers, or a mix of all three — a well-built cedar planter box handles it all and keeps handling it for years.
What You'll Need
- Lumber
- One 1x8 cedar board, 8 feet long — for the four side pieces (front and back at 24 inches, two sides at 10 inches) — ~$10–$14
- Two 1x6 cedar boards, 4 feet long each — for the bottom (three to four pieces laid side by side to cover the full width) — ~$6–$10 total
- Standard cedar fence pickets are an excellent budget alternative — same wood species, same rot resistance, often half the price of dimensional cedar lumber
- Hardware
- 2-inch exterior deck screws — one small box covers two to three planter boxes — ~$5–$7
- Exterior wood glue for reinforcing corner joints before screwing — standard Titebond III or similar waterproof formula
- Four small corner brackets (optional) for extra joint strength on larger or heavier plantings — ~$4–$6
- Four rubber furniture feet or short sections of 2x2 scrap as legs to elevate the box for airflow and drainage — ~$3–$5 or free from offcuts
- Finish Options
- Leave unfinished to weather naturally to silver-gray — cedar's natural oils make this a completely valid and beautiful choice that requires zero maintenance
- OR exterior wood stain in your preferred tone — one small can covers two to three boxes — ~$8–$12
- OR teak oil or Danish oil for a warm, natural finish that deepens the wood grain without adding surface film — ~$10–$14 per quart
- Tools
- Miter saw or circular saw for crosscuts (or request cuts at the hardware store — most will cut to length for free or a small fee)
- Drill/driver with Phillips bit and ⅛-inch drill bit for pilot holes
- Tape measure, pencil, and speed square
- Clamps — two minimum — for holding corners square during assembly
- 120 and 220-grit sandpaper for smoothing edges and surfaces
- Planting Supplies
- Landscape fabric cut to fit the interior bottom — prevents soil loss through drainage gaps while still allowing water to pass freely
- Quality outdoor potting mix — not garden soil, which compacts in contained spaces — ~$8–$12 for a bag that fills one to two boxes
- Slow-release granular fertilizer to blend into soil at planting time
How to Build It
- Cut all your pieces before assembling anything — two side pieces at 24 inches, two end pieces at 10 inches, and three to four bottom boards at 24 inches from your 1x6 stock. Cutting everything at once lets you dry-fit the entire box before a single screw goes in and catch any measurement errors while they're still a matter of re-marking rather than buying new lumber.
- Sand all pieces with 120-grit sandpaper before assembly — it's dramatically easier to sand flat boards than an assembled box with interior corners you can't reach. Pay particular attention to the top edges of the side pieces where hands will rest during planting, and knock off all sharp corners and splinter risks before the box comes together.
- Dry-fit the four sides without glue or screws first to confirm everything lines up cleanly — stand the two long side pieces on their bottom edges parallel to each other, drop the two short end pieces between them, and check that all top edges are flush and all corners are square. A box that isn't square at dry-fit won't become square once the glue goes in, so fix any issues now by re-trimming any piece that's even slightly long.
- Assemble the box sides by applying a bead of exterior wood glue to each end of both short pieces, pressing the corners together, clamping square, and driving two pre-drilled 2-inch screws through the long side pieces into each end piece. Pre-drilling pilot holes is non-negotiable in cedar — it's a soft wood that splits easily at end grain without a pilot hole, and a split corner joint in a planter box is both ugly and structurally weak.
- Attach the bottom boards by laying the assembled side frame upside down on your work surface, positioning the bottom boards across the opening with even ¼-inch gaps between them for drainage, and fastening each board with two screws per side into the bottom edge of the frame. The gaps between bottom boards are your primary drainage system — don't close them up in the name of tidiness, because a planter box that holds standing water will rot roots regardless of how rot-resistant the cedar is.
- Drill additional drainage holes if your bottom boards ended up with smaller gaps than intended — four to six ½-inch holes drilled through the bottom boards gives you insurance against waterlogging in heavy rain or heavy-handed watering. Flip the box right-side up and set it on two scrap boards elevated off your work surface so you can confirm water flows freely through the bottom before filling with soil.
- Attach feet or legs to the four bottom corners by screwing rubber furniture feet, small 2x2 blocks, or short sections of pressure-treated scrap to each corner of the bottom — elevating the box even ¾ to 1 inch off the ground dramatically extends its life by allowing airflow under the bottom and preventing the standing moisture contact that eventually rots even cedar over years of ground contact.
- Finish, fill, and plant — apply your chosen stain or oil finish if using one, let it cure for 24 hours, then line the interior bottom with landscape fabric cut to fit, fill with quality potting mix blended with slow-release fertilizer, and plant your chosen vegetables, herbs, or flowers. Set the finished planter in its permanent location before filling if possible — a soil-loaded cedar box at this size is surprisingly heavy and awkward to move once planted.
The most common mistake people make when building a set of cedar planter boxes is treating finish as optional and then being disappointed when one box weathers faster or darker than the others. If you're building multiple boxes for a cohesive display — which is absolutely the move, because three matching cedar planters in a row looks like a deliberate design choice rather than a collection of containers — either finish all of them identically on the same day or commit fully to leaving all of them unfinished so they weather at the same rate and tone. Mixing finished and unfinished boxes in the same display always looks like an accident. For a genuinely elevated look that requires almost no extra work, cut a simple 1x2 cap rail and glue it along the top outside edge of each side panel before assembly — it frames the box cleanly, covers the end grain on the side pieces, and gives the finished planter a furniture-quality look that most people can't quite identify but immediately recognize as more polished than a standard box build.














