Rolling Crate Storage: The Clearance Detail That Matters
The wrong caster doesn't just look clunky under a bed — it can eat so much clearance height that the crate never fits at all, which makes wheel height the actual measurement this whole project depends on.
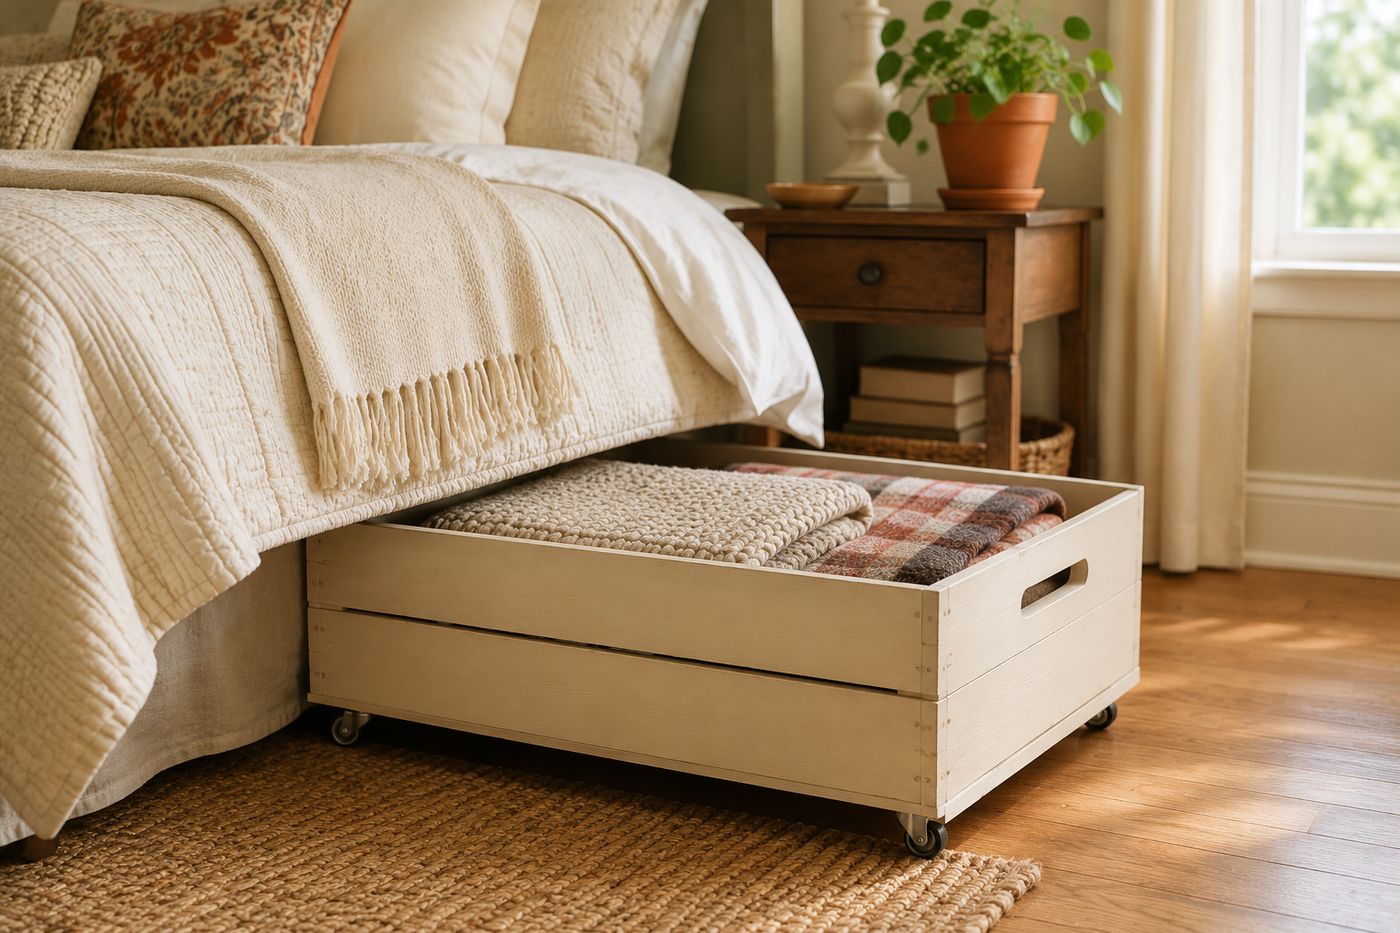
Under-bed clearance is a fixed number that doesn't budge, and every inch a caster adds in height is an inch subtracted from how much crate can actually fit in that gap — which means the caster you choose isn't a minor styling detail, it's the single measurement that determines whether this project works at all. Standard casters are built for furniture that sits in the open with no height restriction, so they're often far too tall for the low clearance under a bed frame; low-profile swivel casters, by contrast, are specifically designed to add minimal height while still rolling smoothly, which is exactly the trade-off this project needs. Get that one part right and the rest of the build barely matters by comparison — a thrifted crate and a coat of paint are nearly foolproof. Swivel casters specifically, rather than fixed ones, are what let you pull the crate out at any angle instead of only straight from the foot of the bed, which is the difference between storage you actually use and storage you avoid dealing with. Two crates, casters, and paint runs about $24 total and takes roughly two hours.
What You'll Need
- Two wooden crates, thrifted or repurposed — about $4 each
- Low-profile swivel casters (four per crate, eight total) — about $12 total; measure your under-bed clearance before buying to confirm the caster height will actually fit
- Chalk paint, in your chosen color — about $8 for a small can
- Short wood screws, sized for the caster mounting plates
- Paintbrush
- Drill/driver
- Tape measure, for checking under-bed clearance before you buy casters
- Sandpaper (optional), for smoothing any rough crate edges before painting
How to Do It
- Measure your actual under-bed clearance height before purchasing anything, then choose casters whose total height leaves enough room for the crate itself to still hold a useful volume — this single check prevents buying casters that turn out too tall once everything's assembled.
- Sand any rough or splintery spots on the crates if needed, then wipe away dust.
- Paint both crates in your chosen chalk paint color, applying an even coat and letting it dry fully before handling.
- Let the paint cure completely per the product's instructions before flipping the crates over to attach hardware.
- Position one caster at each bottom corner of the crate, marking screw hole locations before drilling.
- Attach each caster with short wood screws driven through the mounting plate into the crate's bottom corner, checking that all four sit flush and level.
- Repeat for the second crate, then flip both right-side up and test the rolling action on your actual floor surface before loading anything inside.
- Load and slide each crate under the bed, testing that swivel casters let you pull it out from an angle, not just straight on.
Professional home organizers who design under-bed storage systems often paint the crate's interior in a contrasting color from the exterior, rather than leaving it raw or matching the outside, because a lighter or brighter interior makes it noticeably easier to see and identify contents at a glance when the crate is pulled halfway out from under a dark bed frame. It's a small styling choice with a genuinely practical payoff in a space that's inherently hard to see into.