
Reusable Snack Bags: Sew 4 for Under $10
Scrap fabric, a strip of Velcro, and two hours — and your lunch bag never needs a zip-lock again.
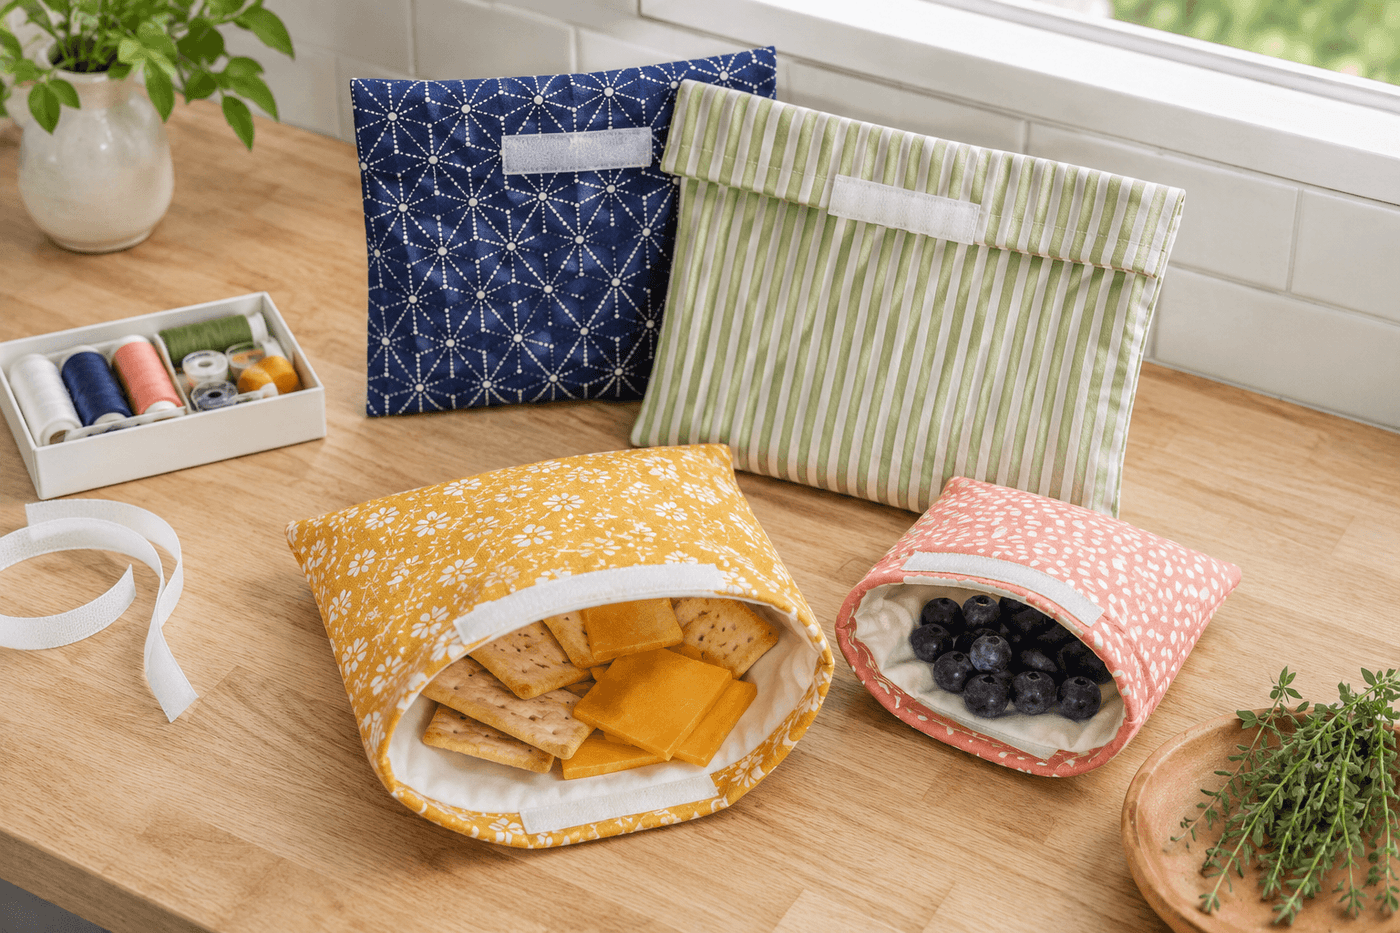
The average household goes through somewhere between 500 and 1,500 zip-lock bags per year — which is both an environmental problem and a surprisingly significant line item in the grocery budget when you actually add it up. Reusable fabric snack bags solve both issues at once, and sewing your own from scrap fabric means the cost is essentially just the Velcro and interfacing, which runs about $8–10 for enough supplies to make four bags in two sizes. The construction is genuinely beginner-friendly: straight seams only, no zippers, no curves, no complicated closures — just fabric rectangles, food-safe interfacing, and a strip of Velcro at the top. Two hours produces a complete set of two sandwich-size and two snack-size bags that go through the washing machine, come out looking great, and replace hundreds of disposable bags over their lifetime. The coordinating fabric prints you choose from your scrap pile also mean these are the kind of lunch gear that gets noticed and complimented at the school pickup line, which is a side benefit nobody mentions but everybody appreciates.
What You'll Need
- Cotton fabric scraps — 100% cotton only for food contact; avoid synthetic blends that don't breathe and hold odors; you need approximately a fat quarter (18"x22") per two bags
- Food-safe PUL interfacing — polyurethane laminate fabric used as a moisture barrier lining; available at fabric stores and online; one yard makes all four bags (~$5–7/yard)
- Sew-on Velcro tape, ¾" width — both hook and loop sides; one 36" package covers all four bags with enough left over (~$3–4)
- Thread — coordinating color to your outer fabric; polyester thread is more durable than cotton for bags that will be washed repeatedly
- Sewing machine — straight stitch only needed; hand-sewing is possible but significantly slower for four bags
- Scissors or rotary cutter and mat — rotary cutter produces more accurate cuts on slippery PUL interfacing than scissors
- Ruler and fabric marking pen or chalk — for marking cut lines and Velcro placement
- Pins or wonder clips — wonder clips grip PUL interfacing without leaving pin holes that compromise the moisture barrier
- Iron — for pressing seams on the outer cotton fabric only; never iron directly on PUL interfacing, which melts under direct heat
How to Sew Them
- Cut your fabric pieces to size for each bag — for sandwich bags, cut one piece of outer cotton and one piece of PUL interfacing each at 14"x8"; for snack bags, cut both pieces at 10"x7". The PUL piece is the food-contact lining and should be cut precisely to match the outer fabric, as mismatched sizing causes the lining to pull and pucker inside the finished bag.
- Attach the Velcro to the outer fabric before any assembly — sew the soft loop side of the Velcro along the top edge of the outer fabric's right side, centered and positioned ½" down from the raw edge. Sewing Velcro onto flat fabric before the bag is assembled is dramatically easier than trying to stitch it in place on a partially constructed bag; this sequence is the single biggest time-saver in the entire project.
- Sew the hook side of the Velcro to the PUL lining piece in the corresponding mirror position — on the right side of the PUL, ½" down from the top raw edge, centered to align precisely with the loop Velcro on the outer fabric when the bag is folded closed. Confirm alignment by folding both pieces together before sewing to check that the hook and loop sides will meet correctly in the finished bag.
- Layer the outer fabric and PUL lining with right sides together — outer fabric right side facing up, PUL lining right side facing down onto it — and secure with wonder clips or pins around all four edges. The PUL coated side faces inward at this stage, which positions it correctly as the food-contact interior surface once the bag is turned right-side out.
- Sew around all four edges with a ½" seam allowance, leaving a 3" turning gap along the bottom edge — sew slowly over the Velcro sections where the presser foot rides over the thick tape, and use a slightly longer stitch length (3.0–3.5mm) on the PUL interfacing, which perforates and weakens along a line of tight stitches the way a zipper pull tears through scored paper.
- Clip the four corners diagonally close to the stitching line before turning — this reduces bulk at the corners so they turn out sharp and flat rather than rounded and thick, which is the difference between a bag that looks handmade in the best sense and one that looks unfinished.
- Turn the bag right-side out through the bottom gap, pushing the corners out fully with a blunt tool like a chopstick or knitting needle rather than a finger, which doesn't reach far enough to produce a truly sharp corner. Press the outer cotton fabric lightly with an iron to flatten the seams — keep the iron on the cotton side only and away from the PUL lining entirely.
- Close the turning gap with a topstitch along the entire bottom edge of the bag, ⅛" from the edge — this single visible topstitch closes the gap, reinforces the bottom seam, and gives the finished bag a clean, intentional look that distinguishes a well-made reusable bag from a rushed one. Repeat all steps for the remaining three bags, and wash all four in warm water before first food use to preshrink the cotton and confirm all seams are secure.
Zero-waste lifestyle educators and sustainable sewing instructors who teach reusable food storage construction consistently recommend one fabric selection strategy that significantly extends bag longevity through repeated washing: choose tightly woven quilting cotton rather than quilting cotton with a looser weave or any knit fabric for the outer layer. Tightly woven cotton — the kind that feels slightly stiff and crisp off the bolt — resists the fiber breakdown that causes pilling, fraying, and seam failure in bags washed two to three times per week over years of use. When sourcing from scrap, hold the fabric up to light: a tight weave shows very little light through the weave structure, while a loose weave shows the individual thread gaps clearly. Pairing tight-weave cotton with PUL interfacing and polyester thread produces a bag that sustainable living instructors estimate handles 300–500 wash cycles before showing meaningful wear — which, at two washes per week, is five years of daily lunch packing from a single afternoon of sewing.














