
Mason Jar Ice Cream: 4 Servings for $6
No ice cream maker, no custard, no complicated anything — just a mason jar, five minutes of shaking, and a few hours of patience.
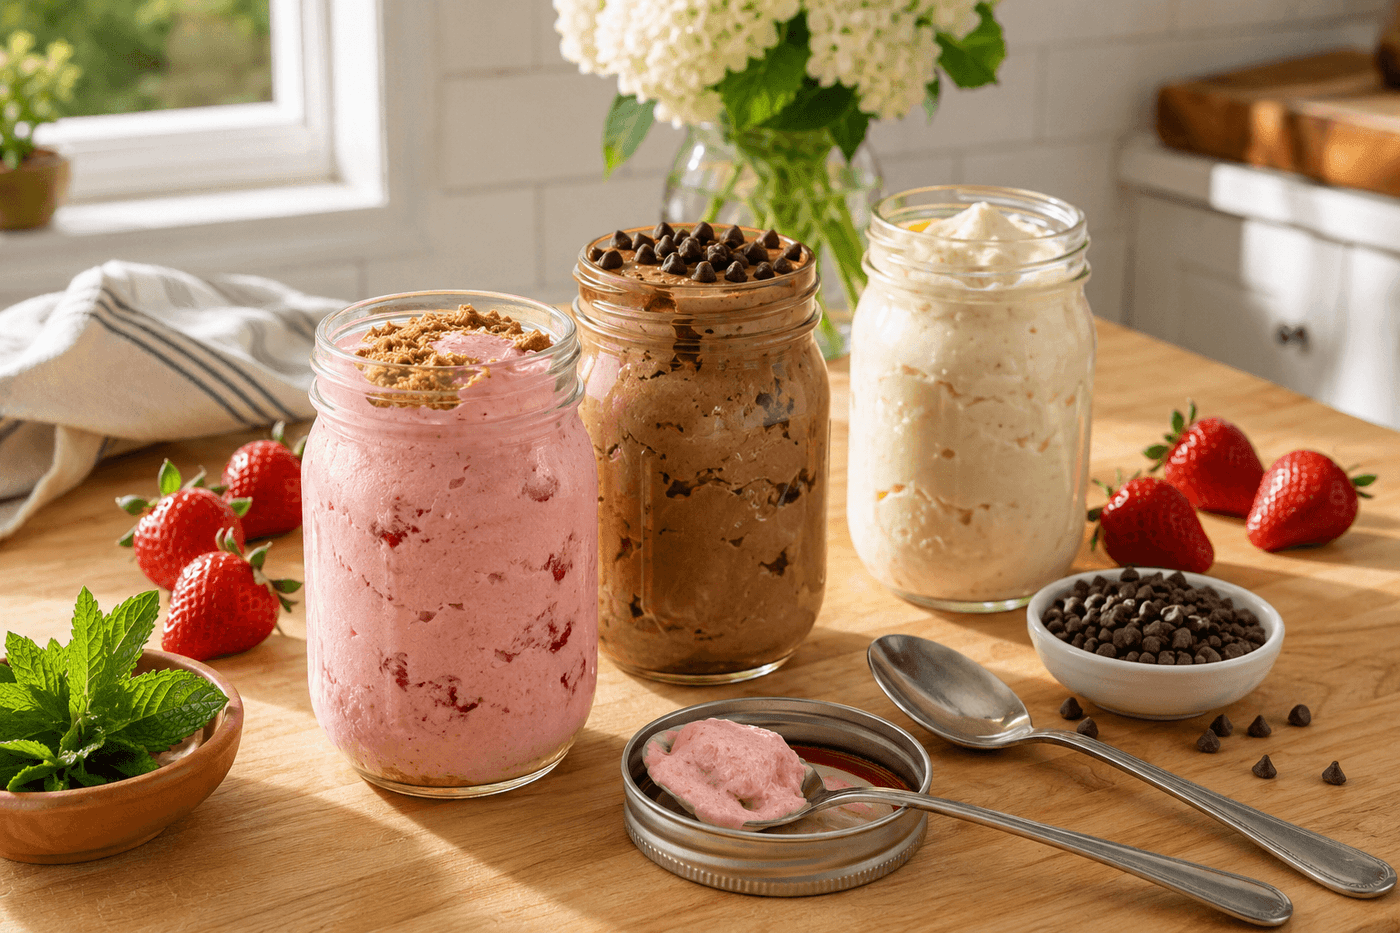
The ice cream maker has always been one of those kitchen appliances that sounds like a great idea until you factor in the cost, the storage space, the pre-freezing the bowl, and the general production involved in what should be a spontaneous hot-afternoon impulse. The mason jar method eliminates every single one of those objections: heavy cream, sugar, vanilla, and whatever mix-ins sound good go into a wide-mouth jar, the lid goes on tight, and five minutes of vigorous shaking incorporates enough air to transform the cream into something genuinely thick, creamy, and ice-cream-adjacent before it even touches the freezer. Three to four hours later you come back to a scoopable, creamy frozen dessert that costs about $6 for four generous servings and produces a level of excitement in anyone who watches you make it that is wildly disproportionate to the effort involved. Each person makes their own jar in their own flavor, there's no equipment to clean beyond the jars themselves, and the whole thing has a way of becoming the summer tradition your family actually looks forward to repeating.
What You'll Need
- Heavy whipping cream — not half-and-half, not light cream; the high fat content is what allows the cream to thicken and hold air during shaking (~$3 for a pint, makes 4 servings)
- Granulated sugar — 2 tablespoons per jar; powdered sugar dissolves slightly more easily but granulated works perfectly with sufficient shaking
- Pure vanilla extract — ½ teaspoon per jar; imitation vanilla works but pure extract produces noticeably better flavor in a recipe this simple
- Wide-mouth pint mason jars with lids — one per person; wide-mouth jars are easier to scoop from after freezing; pint size gives the cream room to expand during shaking
- Mix-ins — choose per jar:
- Strawberry: 2 tbsp strawberry jam or 3–4 crushed fresh berries plus crushed graham crackers
- Chocolate: 1 tbsp cocoa powder plus mini chocolate chips
- Classic vanilla: extra vanilla and a pinch of salt to amplify flavor
- Salted caramel: 2 tbsp caramel sauce plus a generous pinch of flaky salt
- Kitchen towel or jar gripper — jars get cold and slippery during extended shaking; a towel wrapped around the jar prevents drops
How to Make It
- Chill your mason jars in the freezer for 10 minutes before filling — a cold jar keeps the cream colder during shaking, which allows it to thicken faster and incorporate more air before warming up and losing structure. This single prep step noticeably improves the final texture and is worth the wait.
- Pour ¾ cup of heavy whipping cream into each chilled jar — filling only to about halfway leaves critical room for the cream to expand as it thickens during shaking; an overfilled jar produces a flat, dense result because the cream has nowhere to go as it aerates.
- Add 2 tablespoons of sugar and ½ teaspoon of vanilla to each jar, followed by any flavor additions — stir briefly with a long spoon to distribute sugar before sealing, which prevents it from sitting undissolved at the bottom where it won't incorporate during shaking.
- Seal the lid firmly — fingertip-tight plus a firm quarter turn — and wrap the jar in a kitchen towel before beginning to shake. The towel insulates your hands from the cold jar surface and gives you a secure non-slip grip for the sustained shaking that's coming.
- Shake vigorously for 5 full minutes without stopping — up and down, side to side, with real energy rather than a gentle swirl. You will feel and hear the cream thickening around the 3-minute mark as it changes from a liquid sloshing sound to a softer, muffled thud; this is the confirmation that the fat is aerating and structure is forming. Five minutes feels longer than it sounds — put on a song and commit to the full duration.
- Check consistency by tilting the jar — thickened cream should move slowly and coat the inside of the jar rather than sloshing freely. If it's still liquid after 5 minutes, shake for another 2 minutes; under-shaking is the most common reason this method produces icy rather than creamy results.
- Add any chunky mix-ins now — chocolate chips, crushed graham crackers, cookie pieces, or fresh fruit — stirring gently with a spoon rather than shaking further, which would break down the air structure you just built. Liquid mix-ins like jam or caramel sauce go in before shaking; solid mix-ins always go in after.
- Freeze the sealed jars upright for 3–4 hours minimum — 4 hours produces a firm, scoopable texture; 3 hours gives a softer, almost soft-serve consistency that many people prefer. If freezing overnight, let the jar sit at room temperature for 8–10 minutes before attempting to scoop, as extended freezing produces a very firm set that benefits from brief tempering.
Pastry chefs and artisan ice cream makers who develop no-churn recipes for home cooks consistently use one ingredient addition that dramatically improves the texture of any cream-based frozen dessert without complicating the process: a tablespoon of sweetened condensed milk stirred in before shaking. Condensed milk contains sugars that interfere with large ice crystal formation during freezing — the same science behind why professional ice creams use invert sugars and glucose syrups — which produces a noticeably smoother, creamier texture that stays scoopable longer after coming out of the freezer rather than going rock-hard at the edges while remaining soft in the center. Reduce the added granulated sugar by half when using condensed milk to compensate for its sweetness, and the result is a no-churn ice cream that genuinely holds its own against the machine-churned version in both texture and flavor — which is a claim very few simple frozen desserts can make honestly.














