
Make Rope-Wrapped Planters for $3 Each
A dollar store planter, a length of natural rope, and fifteen minutes — the boutique garden shop look for $3 that nobody believes costs $3
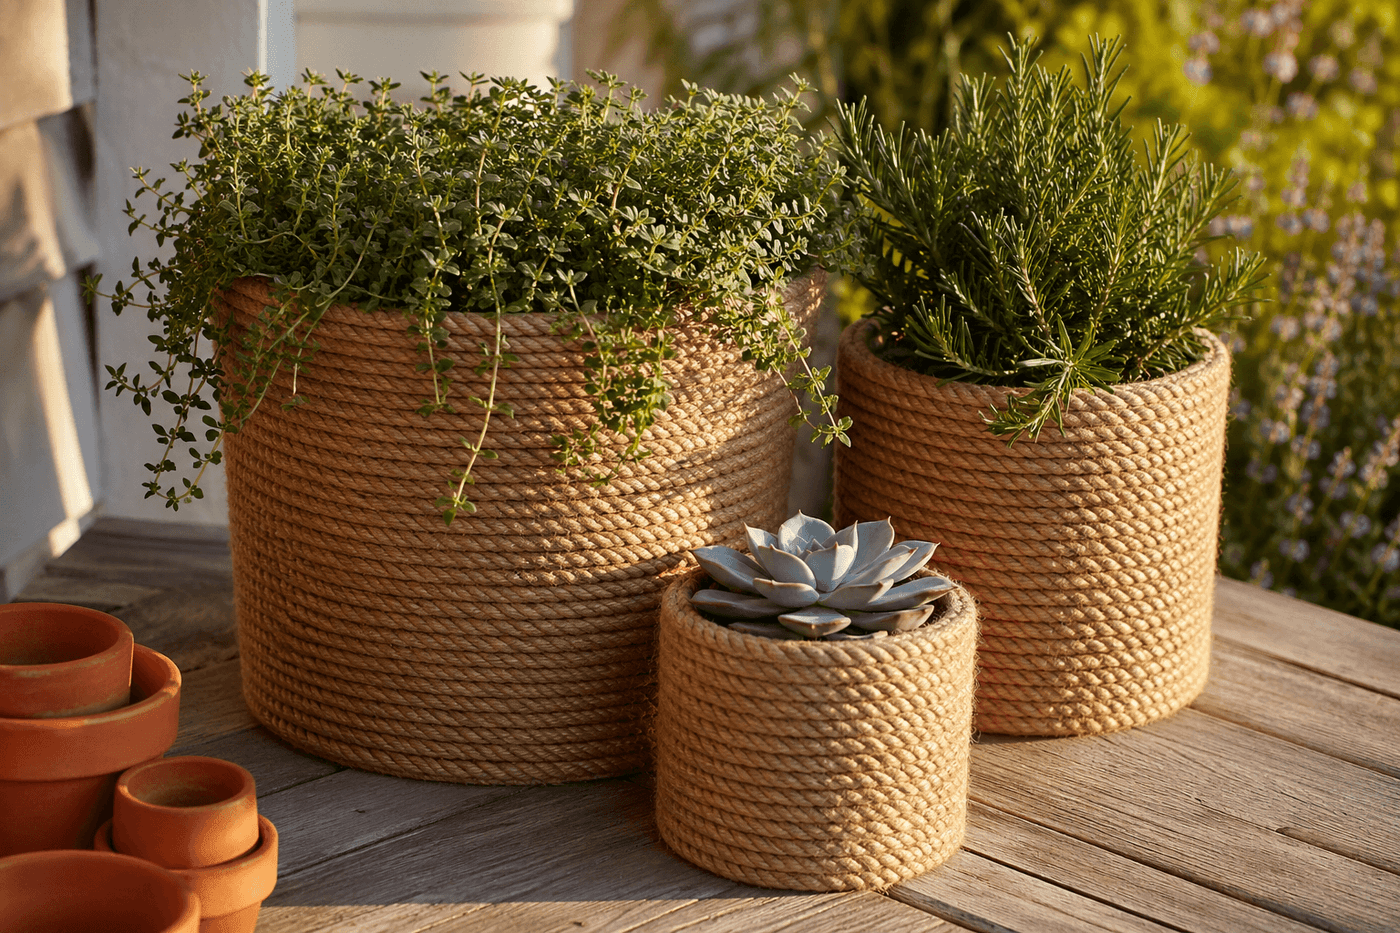
Rope-wrapped planters occupy a specific price point at garden centers and boutique home shops — typically $20 to $35 each for something that is, at its core, a plastic container covered in coiled natural fiber. The dollar store version costs $2 to $3 total in materials, takes fifteen to twenty minutes to make, and is genuinely indistinguishable from the boutique version once it's planted and sitting on a porch or patio surface. The hot glue and rope wrapping process is meditative in the best way — methodical, satisfying, and immediately visible in its progress — and making three or four at once to create a coordinated grouping in different sizes is the kind of productive afternoon that produces something beautiful at the end of it. Natural jute rope gives a warm coastal-boho character; cotton rope gives a cleaner, more modern look; and sisal gives a more rustic, textured finish. All of them transform a plastic planter that looks like a dollar store planter into something that looks like a considered purchase from a shop with good taste.
What You Need
- Plastic planters in graduating sizes — dollar store plastic planters in small, medium, and large create the most visually satisfying coordinated grouping; round planters wrap more smoothly than square ones because the rope follows the curve naturally without requiring corner manipulation (~$1 each)
- Natural rope or clothesline, ¼" diameter — jute, cotton, or sisal all work; jute has the warmest, most organic coastal character; cotton wraps the most smoothly and evenly; sisal has the most rustic texture. A 50-foot clothesline roll from the dollar store covers two to three standard planters depending on planter size (~$1–2 per roll)
- Hot glue gun with glue sticks — the adhesive that makes this project achievable in fifteen minutes rather than an hour; hot glue bonds rope to plastic instantly and permanently, allowing the next wrap to be placed immediately rather than waiting for adhesive to cure (~$8–10 for a basic gun if you don't own one; glue sticks ~$2–3 for a pack)
- Scissors — for cutting the rope to length at the end of each planter and trimming any loose fiber ends that stick out from the wrapped surface
- Clothespins or binder clips — optional, for holding the rope end in place at the start of the first wrap while the glue sets; the first inch of rope is the most likely to lift before the glue fully bonds to the plastic base
How to Make Them
- Start at the very bottom of the planter — not the base, but the lowest point of the vertical side wall where the planter begins to rise from the base. Apply a three-inch bead of hot glue directly to the planter surface, press the rope end firmly into the glue, and hold for ten seconds until the bond sets completely. The starting end of the rope is what determines how cleanly the bottom row sits against the planter base; a start that lifts or gaps at the beginning creates a visible imperfection that shows at the most visible part of the finished planter.
- Wrap the rope in tight, consistent coils working upward from the starting point, applying hot glue in three-inch sections just ahead of where the rope will land rather than gluing a large area at once — hot glue skins over in about fifteen seconds in most room temperatures, and gluing ahead in small sections ensures the adhesive is still tacky when the rope contacts it rather than partially cured and unable to bond firmly. Keep the rope under consistent tension as you wrap, pressing each new row firmly against the one below it so no plastic is visible between the rows.
- Press each wrapped row firmly against the previous one immediately after laying it down — the gap between rows that allows plastic to show through is the most common issue with rope-wrapped planters and it develops because new rows are laid without pressing them into contact with the row below. A firm thumb press along the full length of each new row before moving to the next keeps the wraps tight and gap-free through the full height of the planter.
- Maintain consistent wrapping tension throughout the full planter height — rope wrapped too loosely produces a finished planter where rows shift and separate with handling, while rope under consistent tension stays compressed against the planter wall through years of outdoor use and regular moving. The feel of correct tension is similar to wrapping a package with twine: enough resistance to feel the rope pulling back slightly in the hand, not so much that the rope distorts or pulls the planter walls inward.
- Navigate the drainage holes at the planter base by wrapping across them — the rope bridges drainage holes cleanly and the holes remain functional since water passes through the small gaps between rope rows. Do not attempt to avoid or work around drainage holes in the wrapping path; trying to navigate around them creates irregular spacing that disrupts the even row pattern visible on the finished planter.
- Handle any flared or tapered planter shapes by pulling the rope at a slight downward angle as you wrap — most dollar store planters are wider at the rim than at the base, and rope wrapped at a perfectly horizontal angle on a tapered surface will gradually spiral upward rather than staying in even rows. A very slight downward pull as the rope wraps around the taper compensates for the increasing circumference and keeps the rows horizontal and even across the full height.
- Finish at the rim by applying a final bead of hot glue to the planter surface at the top of the last complete row, pressing the rope firmly into it, and cutting the rope cleanly with scissors so the end is flush with the row rather than extending past it. Tuck the cut end under the final wrap and hold it firmly for fifteen seconds while the glue sets — a cut end that lifts away from the planter surface is the finishing detail that distinguishes a wrapped planter that looks professionally made from one that looks almost finished.
- Group three finished planters in graduating sizes for the arrangement that reads most like a considered boutique purchase rather than a single craft project — set the largest at the back, the medium in the middle, and the smallest at the front on your porch or patio surface, and plant each with something that spills slightly over the rope rim so the planting integrates with the wrapping rather than sitting as a separate element above it. Herbs like trailing thyme, compact succulents, or spilling calibrachoa all work beautifully at the rim scale that rope-wrapped planters naturally produce.
Interior stylists who work with rope-wrapped vessels for professional staging always finish the top two rows of each planter in a contrasting rope color or material — switching from natural jute to black cotton rope, or from white cotton to natural sisal, for the final two rows creates a subtle banded detail at the rim that reads as a deliberate design choice rather than a single-material wrap. The contrast band is visible only at close range but creates the kind of layered, considered detail that distinguishes a styled object from a crafted one. The contrast rope costs nothing additional if you have multiple rope types available from previous projects, and even a single row of contrasting rope at the rim elevates the finished planter into something that looks significantly more designed than the identical wrapping technique applied with a single rope throughout.














