Make Reusable Soy Wax Melts in 45 Minutes for $15
The difference between melts that fill a room and melts that smell like nothing comes down to pouring at the right temperature and adding fragrance oil at exactly 185°F.

Store-bought wax melts run $5 to $7 a pack and often lose their scent after one or two uses. The reason homemade batches succeed or fail comes down to one variable: the temperature at which you stir in the fragrance oil. Add it when the wax is too hot and the scent burns off into the air before the wax cools. Add it too cool and the oil never fully bonds, so it sweats out and leaves you with a weak, greasy melt. Hit about 185°F and the oil locks into the wax as it hardens, releasing scent slowly when warmed. This project takes about 45 minutes and costs $15 total, and it makes roughly 40 melts, which is enough for the whole holiday season.
What You'll Need
- Materials (~$15 total):
- 1 lb soy wax flakes, container-blend style (~$8)
- 1 oz holiday fragrance oil, such as cinnamon-vanilla or balsam fir, rated for wax melts (~$5)
- Silicone mold with small cavities, such as a clamshell or tart shape (~$2, or reuse a clean silicone ice cube tray)
- Optional: 2-3 drops of liquid candle dye
- Tools (already on hand):
- Heat-safe glass measuring cup with a pouring spout (4-cup size)
- Medium saucepan filled with 2 inches of water
- Candy or instant-read thermometer
- Wooden spoon or disposable chopstick for stirring
- Baking sheet to hold the mold
- Old towels or newspaper to protect your counter
How to Do It
- Prep your workspace by covering the counter with newspaper and setting the silicone mold on a baking sheet. The sheet lets you carry the filled mold without sloshing hot wax, and the paper makes cleanup painless.
- Measure the wax flakes into the glass measuring cup, about 2 cups for 1 lb. Using the cup directly as your melting vessel means no transferring, which loses wax and cools it too fast.
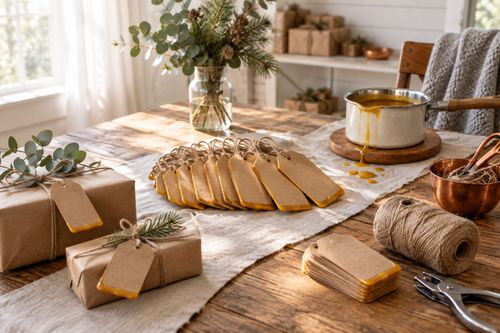
- Melt the wax by setting the cup in the simmering saucepan of water, a makeshift double boiler. Direct heat can scorch soy wax and ruin the scent, while gentle steam melts it evenly in about 10 to 15 minutes. Never leave it unattended and never melt wax over an open flame.
- Check the temperature with your thermometer once the wax is fully liquid. Lift the cup out of the water and let it cool to 185°F. This is the bonding window where the fragrance oil will anchor into the wax instead of evaporating.
- Stir in the fragrance oil, about 1 oz per pound of wax, and the optional dye. Stir slowly for a full two minutes, scraping the sides. Thorough mixing prevents pockets of oil that sweat out later.
- Pour the wax into the mold cavities slowly, filling each nearly to the top. Pouring at a lower temperature gives smoother tops and fewer air bubbles. Tap the baking sheet gently to release trapped air.
- Cool the melts undisturbed for 30 to 60 minutes until completely opaque and firm. Moving them early can cause cracks and uneven surfaces. For faster setting, place the sheet in the fridge for 15 minutes.
- Cure and store by popping the melts out and keeping them in an airtight tin or jar for 48 hours before using. The short cure lets the scent fully develop, so it throws stronger in your warmer. Wipe the measuring cup with a paper towel while the wax is still warm for easy cleanup.
Professional chandlers and small-batch candle makers pour in small test batches before committing to a full recipe. Melt just 2 ounces of wax, add the fragrance oil at the usual ratio, pour a single melt, and warm it after 24 hours to judge its strength. If the scent is too faint, bump the oil up by 0.1 oz per pound in your next batch, but never exceed 1.5 oz per pound or the oil will weep out of the wax.