
Make Mosquito Repellent Candles with Essential Oils for $20
Soy wax, citronella, and lemongrass — six natural candles for $20 that work better and smell far better than anything from the store
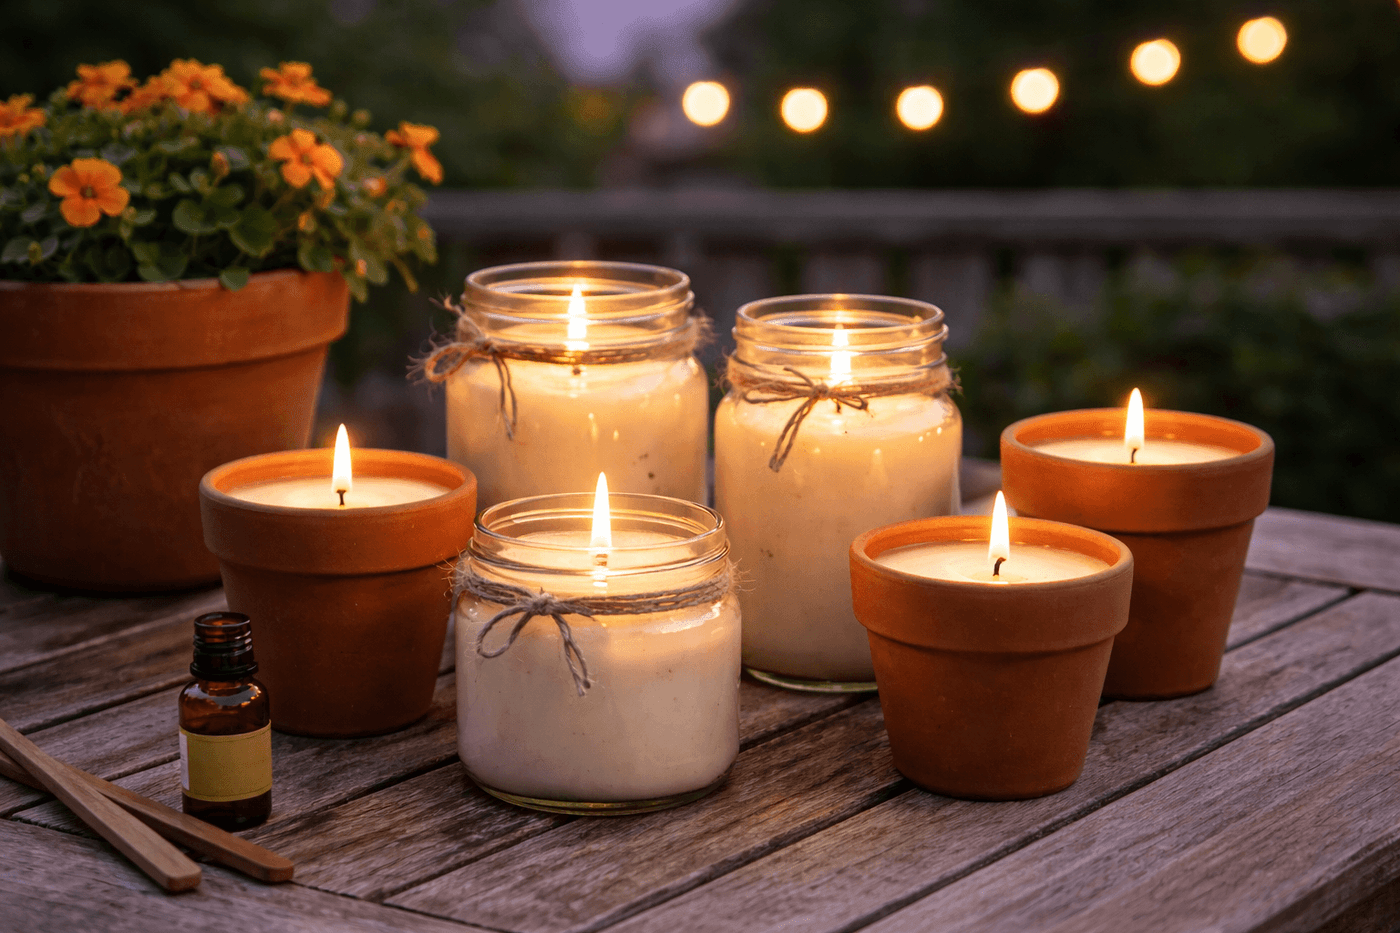
Every summer patio setup eventually confronts the mosquito problem, and the standard solution — a commercial citronella candle in a yellow tin that smells like industrial lemon cleaner and costs $18 for a single vessel — has always felt like a poor trade. Making your own with pure soy wax and essential oils costs about the same $20 and produces six candles instead of one, each with a scent that is light and genuinely pleasant rather than overwhelming, and each poured into whatever vessel suits your patio aesthetic rather than whatever the commercial manufacturer chose. Mason jars, terracotta pots, vintage tins, ceramic bowls — the vessel is entirely yours to choose, which is why homemade candle clusters always look more intentional and beautiful than anything from the store. The process takes about an hour, the cure time is twenty-four hours, and the resulting candles work, smell wonderful, and cost a fraction of what you'd pay to get the same number of burn hours from commercial versions.
What You Need
- Soy wax flakes, 1 lb bag — natural soy wax has a lower melting point than paraffin, holds essential oil fragrance better, and burns cleaner with significantly less soot; one pound fills approximately six 8-ounce vessels (~$8–10)
- Cotton wicks, pre-tabbed, qty 6–8 — sized for your vessel diameter; a wick too narrow for the vessel diameter will tunnel straight down through the center and leave walls of unmelted wax, while a wick too wide produces an oversized flame and burns through the candle in a fraction of its potential burn time (~$4–6 for a pack)
- Citronella essential oil — the primary mosquito-repelling compound; pure citronella essential oil rather than fragrance oil, which contains no active repelling compounds despite the similar scent (~$5–8 for a 1 oz bottle)
- Lemongrass essential oil — complements and extends the citronella effectiveness while softening its sharp edge into a more complex, genuinely pleasant scent profile (~$4–6 for a 1 oz bottle)
- Vessels, qty 6 — mason jars, small terracotta pots sealed with a coat of Mod Podge inside, ceramic ramekins, or any heat-safe container with at least ¾-inch walls; repurposed containers cost nothing
- Double boiler or heatproof bowl over a saucepan — never melt wax in direct contact with a heat source; a double boiler setup gives you gentle, even heat that melts wax without scorching
- Candy or kitchen thermometer — for monitoring wax temperature; essential oils must be added at the right temperature to avoid burning off the fragrance compounds before the wax sets
- Clothespins or pencils — for suspending wicks centered over each vessel while the wax cures
- Measuring cup and stirring stick — a dedicated pourable measuring cup makes transferring melted wax to small vessels significantly less hazardous
How to Make Them
- Prepare all six vessels before melting any wax — center a pre-tabbed wick in each container, pressing the metal tab firmly to the bottom center, and lay a clothespin or pencil across the top of each vessel with the wick threaded through to hold it centered and upright. Setting up all vessels in advance means you can pour immediately when the wax is ready rather than fumbling with wicks while hot wax begins to set in your pouring cup.
- Measure your wax flakes by volume using the two-to-one rule: two cups of wax flakes melts down to approximately one cup of liquid wax, so measure roughly twice the filled volume of all six vessels combined in flakes before melting. Measuring before melting means you pour one complete batch rather than discovering midway through that you don't have enough wax to fill the last two jars.
- Melt the wax flakes in a double boiler over medium-low heat, stirring occasionally and monitoring temperature with a thermometer — soy wax melts fully between 120°F and 180°F and should not exceed 185°F at any point during melting. Overheated soy wax discolors, develops an uneven grainy texture as it sets, and loses much of its ability to bind and hold fragrance compounds through the burn.
- Remove the melted wax from heat once fully liquid and allow it to cool, watching the thermometer until the temperature drops to between 140°F and 150°F before adding any essential oils. Adding oils to wax above 160°F burns off the volatile aromatic compounds that both produce the scent and provide the mosquito-repelling effectiveness — this temperature window is the single most consequential detail in the entire candle-making process, and a thermometer is the only way to hit it reliably.
- Add essential oils at the correct temperature by stirring in one ounce of citronella and half an ounce of lemongrass per pound of wax — approximately 80 drops of citronella and 40 drops of lemongrass for a one-pound batch. Stir slowly and continuously for two full minutes to distribute the oils evenly throughout the wax rather than leaving fragrance concentrated in pockets that burn unevenly and produce inconsistent scent throw.
- Pour the scented wax slowly into each prepared vessel, filling to about half an inch below the rim and working steadily across all six containers in sequence. Pour in a single smooth motion rather than stopping and starting — interrupted pours create visible pour lines in the finished candle surface where the wax temperature dropped between fills and the layers bonded imperfectly.
- Expect and plan for a small sinkhole or surface depression to form in the center of each candle as the wax cools and contracts — this is normal with soy wax and not a flaw. Save a small amount of melted wax to pour a thin top-up coat once the initial pour has set for about an hour, which fills the sinkhole and produces a smooth, level finished surface on each candle.
- Cure the finished candles undisturbed for a full twenty-four hours before trimming wicks to ¼ inch and lighting — soy wax needs this full cure period to complete its crystalline structure, and candles burned before full cure have a significantly shorter total burn life and produce noticeably weaker scent throw than properly cured candles. The first burn should last long enough for the entire surface to melt to the vessel walls — typically two to three hours — which sets the burn memory and prevents tunneling on every subsequent burn.
Aromatherapists and natural product formulators who work with insect-repelling essential oils always add a third oil to the citronella and lemongrass base — eucalyptus or cedarwood at about half the volume of the lemongrass addition — because both compounds target different mosquito sensory receptors than citronella does, broadening the repelling effectiveness significantly beyond what any single-oil formula achieves. Cedarwood in particular adds a warm, grounding base note that rounds out the sharper citrus edge of citronella and lemongrass into a genuinely sophisticated scent profile that works as well as a patio fragrance as it does as a repellent. A small bottle of cedarwood essential oil costs about $5 and makes the finished candles noticeably more effective and considerably more pleasant to sit beside all evening.














