Hanging Herb Jars: The Pebble Layer Isn't Optional
A jar has no drainage hole, which means water has nowhere to go once it reaches the bottom — a pebble layer isn't decorative, it's the only thing standing between healthy roots and slow root rot.
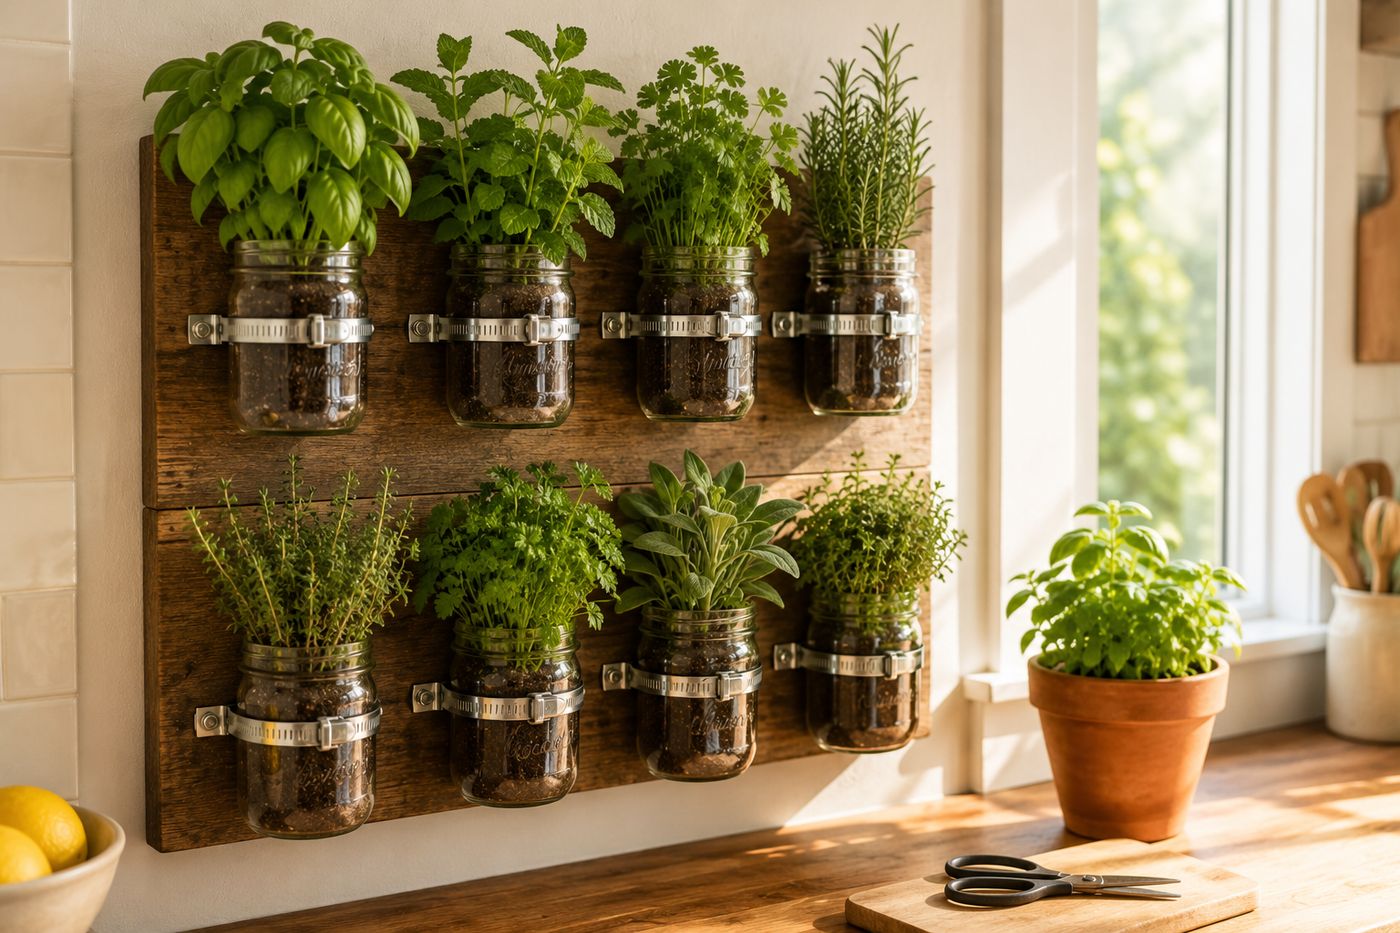
A traditional planter has a drainage hole so excess water escapes instead of pooling around the roots, but a repurposed glass jar has no such hole, which means every drop of water you add stays inside permanently unless something changes how the jar behaves. A layer of small pebbles at the bottom creates a reservoir space below the soil line, so excess water drains down into the pebbles and away from direct root contact instead of sitting in saturated soil where it slowly suffocates and rots the roots. Skip that layer and even careful watering eventually overwaters the herb, since the water has nowhere else to go. That's the entire reason this detail matters more than the mounting hardware, the wood finish, or which herbs you choose — it's the difference between herbs that thrive in a jar for months and ones that mysteriously decline within weeks despite seemingly good care. Get the pebble layer right, and the rest of the build — mounting, planting, hanging — is genuinely simple. The whole project is mostly free using saved jars, plus about $12 for clamps and board, and takes roughly 90 minutes.
What You'll Need
- Mason jars or clean food jars, similar sizes — free if saved from kitchen use
- Reclaimed wood board or a 1x4 — about $6
- Pipe/hose clamps, sized to fit your jars, one per jar — about $6
- Small pebbles or gravel, for the drainage layer — a small bag, often already on hand from other projects
- Potting soil
- Herb starts or seeds (basil, mint, parsley, chives, thyme)
- Stain or paint, to finish the board
- Screws and wall anchors, for mounting
- Drill/driver
How to Do It
- Soak your saved jars in hot soapy water to loosen and remove labels, scrubbing away any leftover residue.
- Finish your wood board with stain or paint to match your kitchen, and let it dry fully before attaching hardware.
- Space your pipe clamps evenly along the board, screwing each clamp's base securely into the wood.
- Slip a jar into each clamp and tighten until it holds securely without excessive pressure on the glass.
- Add a layer of small pebbles to the bottom of each jar before any soil goes in — this is the step that determines whether your herbs thrive long-term or slowly decline from waterlogged roots, so don't skip it even though it's tempting to go straight to planting.
- Fill each jar with potting soil on top of the pebble layer, leaving room for the herb's root ball.
- Plant one herb variety per jar, firming the soil gently around each root ball.
- Mount the finished board to the wall using sturdy anchors or screws into studs, positioning it somewhere that gets good light, then water lightly and watch for the pebble layer to catch any excess.
Market gardeners who grow herbs in containers without drainage holes often water these jars from the side with a small amount at a time rather than pouring generously from the top, checking that the pebble layer below never looks fully saturated. That slower, more deliberate watering habit works alongside the pebble drainage layer rather than relying on the pebbles alone to correct for overly generous watering.