
Enamel Chip Fix: A $12 Kit Beats Bath Mat Hiding
A chipped tub isn't a cosmetic problem you can ignore indefinitely — exposed metal underneath rusts and spreads over time, turning a $12 fix into a repair that eventually needs professional refinishing.
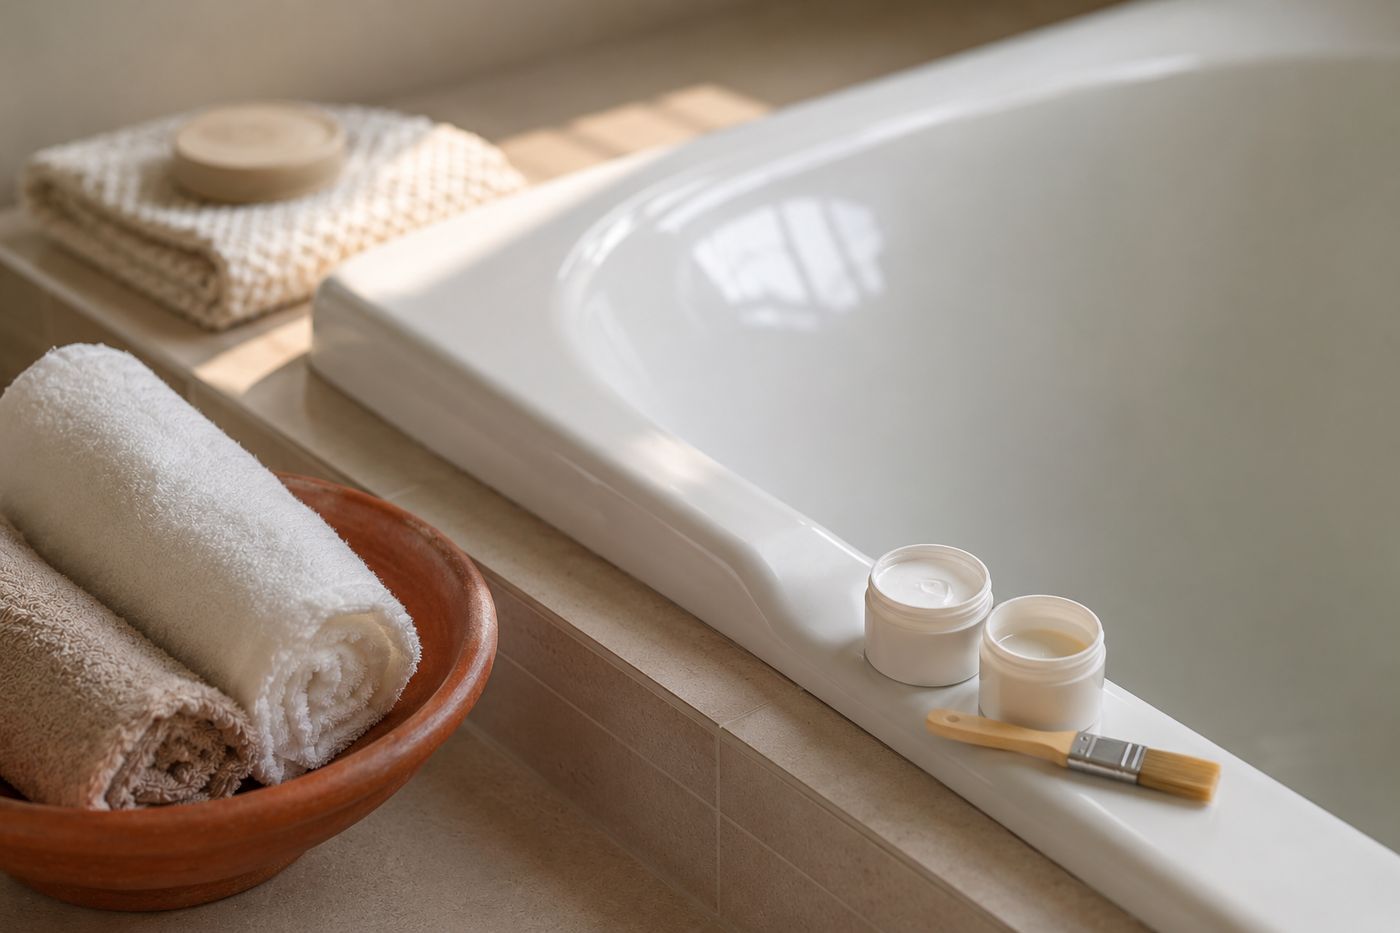
A chip in bathtub or sink enamel exposes the metal underneath, and that bare metal starts rusting the moment it's regularly wet, which means a small cosmetic chip left alone doesn't stay small — it spreads as the rust undermines more of the enamel around it, eventually reaching the point where a DIY touch-up can't fix it and full professional refinishing becomes the only option. The distinction between a repair that lasts for years and one that peels up within a season has nothing to do with the epoxy kit itself and everything to do with surface prep: rubbing alcohol has to fully remove every trace of soap residue and body oil, and the chip's edges need a light sand so the epoxy actually has something to grip rather than sitting on a slick surface. Skip either step and the epoxy bonds weakly and lifts. Get the prep right, and building the repair up in thin layers rather than one thick fill is what keeps the surface flat instead of domed. The whole repair costs about $12 and takes roughly twenty minutes, and it's the maintenance habit that keeps a small chip from ever becoming a much bigger bill.
What You'll Need
- Two-part porcelain/enamel touch-up epoxy kit, color-matched to your fixture — about $12
- Rubbing alcohol, for degreasing the chipped area
- Fine grit sandpaper (around 400-600 grit), for prepping the chip edges and final smoothing
- Small artist's brush, for applying epoxy in thin, controlled layers
- Clean lint-free cloths
- Painter's tape (optional), for masking off the area immediately around the chip
How to Do It
- Clean the chipped area thoroughly with rubbing alcohol, wiping until a clean cloth comes away with no residue — any leftover soap film or body oil will prevent the epoxy from bonding properly no matter how carefully you apply it.
- Sand the edges of the chip lightly with fine grit sandpaper, which roughens the surface just enough to give the epoxy something to physically grip rather than sitting on smooth, slick enamel.
- Wipe away any sanding dust with a clean, dry cloth and let the area dry completely before opening the kit — any moisture at this stage compromises the bond.
- Mix the two-part epoxy according to the kit's instructions, working quickly once combined since these epoxies typically begin curing fast.
- Apply the epoxy in a thin first layer with a small brush, covering the chip without overfilling — thin layers are what keep the final surface flat instead of domed above the surrounding enamel.
- Let each layer cure fully per the kit's timing before adding the next, building up gradually to the level of the surrounding surface rather than trying to fill the chip in one pass.
- Let the final layer cure completely per the kit's full cure time before touching or sanding it.
- Sand lightly with wet fine-grit sandpaper once fully cured, blending the repair into the surrounding enamel until the surface feels smooth and seamless under your hand.
Bathroom refinishing contractors who see enamel chips at every stage of damage consistently point to the same detail: color-matching kits rarely list an exact match on the box, so testing the mixed epoxy on a hidden edge of the fixture first — the underside of a lip or a spot the shower curtain covers — catches a color mismatch before it's permanently applied to the visible chip. A slightly off-white or ivory-toned fixture is one of the most common places a bright white touch-up kit stands out rather than blends in.














