
Draw Mindful Zentangle Patterns on Stones for $10
One smooth stone, a fine-point marker, and thirty minutes of unhurried pattern-making — the practice that quiets mental chatter one stroke at a time
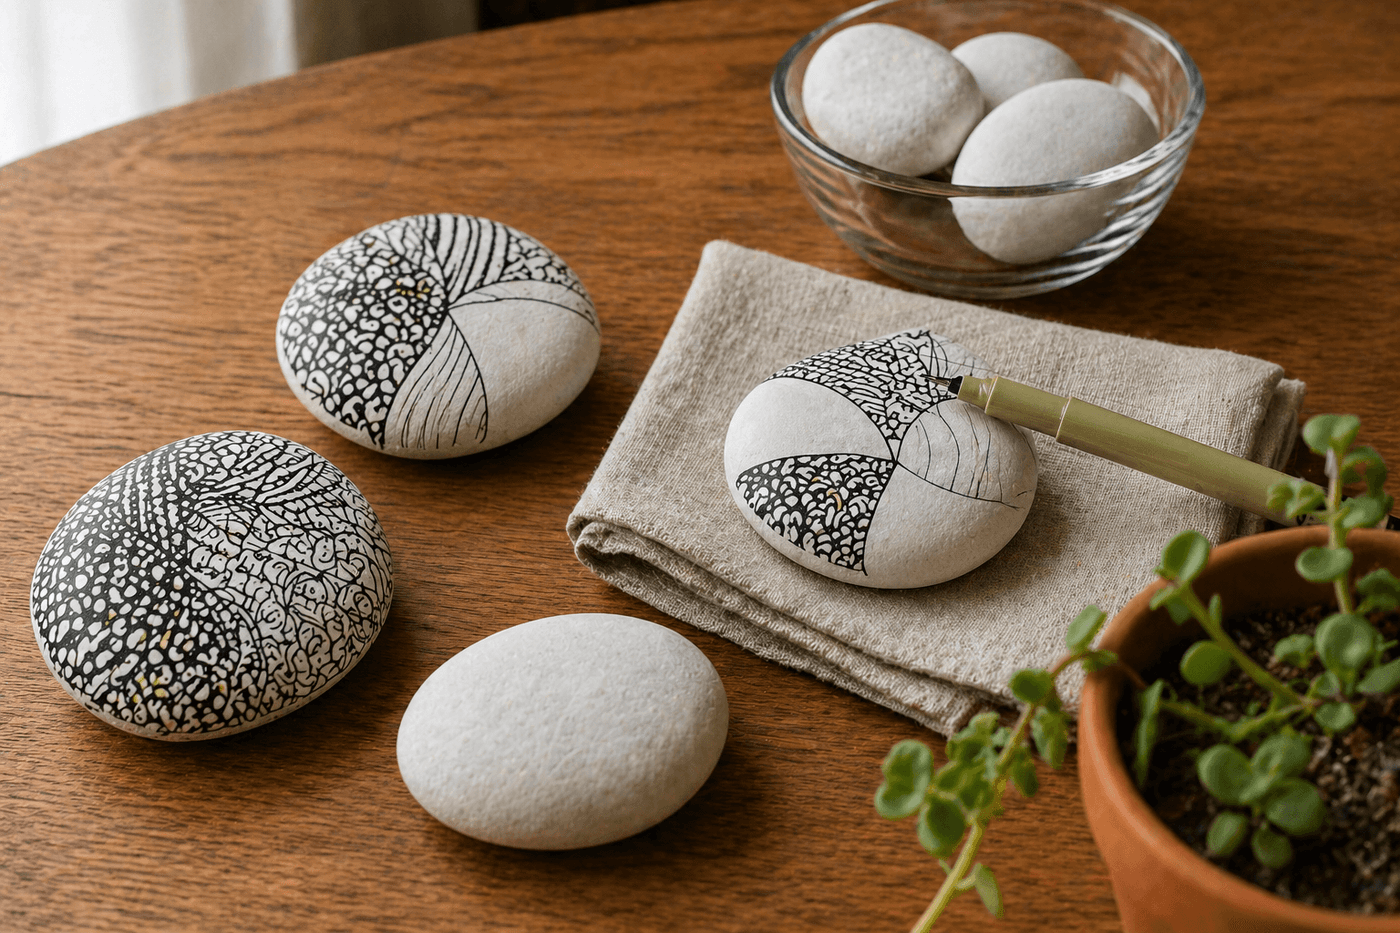
Zentangle is not drawing in the way most people think about drawing — it requires no artistic skill, no planning, no erasing, and no particular talent for making things look like other things. It is the practice of filling a bounded space with a single repeating pattern, slowly and without rushing, then moving to an adjacent space with a different pattern, building the whole surface one small section at a time until the stone is covered in interlocking textures that look far more complex and beautiful than the individual marks that produced them. The repetitive, rhythmic quality of the mark-making — one dot, another dot, another dot, row after row — is precisely what produces the meditative effect that practitioners consistently describe as one of the most effective methods for quieting anxious mental activity without requiring either silence or stillness. Under $10 in materials. A smooth stone and a fine-point marker. Twenty to forty-five minutes per stone of genuine, productive calm that leaves you with something beautiful at the end of it.
What You Need
- Smooth, flat river rocks or white craft stones — the flatter and smoother the drawing surface, the more comfortable and controlled the pen work feels; craft stores sell bags of white-coated smooth stones specifically for painting and drawing that provide the most consistent surface for fine-point work (~$4–6 for a bag of 10–15 stones, or free from creek beds)
- Fine-point permanent markers, black — Micron or Staedtler Pigment Liner pens in 01 or 03 tip sizes give the crispest, most consistent line on stone surfaces; standard Sharpie fine-point works acceptably but bleeds slightly on very smooth stone surfaces (~$3–5 for a pack of assorted tip sizes)
- White paint pens for dark stones — Posca white paint markers in a fine tip produce opaque, vivid white marks on dark river rocks; the white-on-dark color combination produces a completely different visual effect from black-on-white and is particularly striking with metallic stone surfaces (~$3–5 per pen)
- Clear sealant spray — a light coat of clear matte or gloss sealant over the finished stone protects the marker ink from moisture and handling wear; without sealer, permanent marker on stone can smear with repeated handling over time (~$6–8 for a can that treats dozens of stones)
- Small bowl or tray — for holding the stone at a comfortable working angle during drawing; a folded cloth or small beanbag beneath the stone keeps it from rolling and allows you to rotate it freely as you work different sections without picking it up
- Good light source — a desk lamp or well-lit workspace that illuminates the stone surface evenly without casting the drawing hand's shadow across the working area, which makes fine line work more difficult than the practice itself requires
How to Do It
- Choose your stone and set it on a cloth or folded towel so it rests stably without rolling — a stone that shifts as you draw forces constant micro-corrections that interrupt the rhythmic flow that makes zentangle meditative. Before making a single mark, hold the stone in both hands for a moment and simply look at its surface, noticing the natural variations in color, texture, and shape that make this particular stone worth spending time with. This brief observation before drawing is the transition from ordinary cognitive activity into the more receptive, present-focused state that the practice is designed to produce.
- Divide the stone surface into three to five irregular sections by drawing a few loose, curving boundary lines across the surface — these become the borders between pattern sections and give the finished stone its characteristic tiled, mosaic quality. The boundary lines do not need to be precise or symmetrical; organic, slightly uneven section boundaries produce a more interesting composition than geometric divisions, and any line that feels wrong can simply become part of the pattern that fills the section around it.
- Begin filling one section with a single repeating pattern, starting at one edge of the section and working inward — rows of evenly spaced dots, parallel curved lines, overlapping circles, fish-scale arcs, or simple spirals all make excellent first patterns. The choice of which pattern to use is less important than the commitment to repeating it consistently within its section; the meditative quality emerges from the repetition rather than from the selection, and any simple mark repeated with unhurried attention produces the characteristic zentangle visual complexity.
- Work slowly and without rushing between marks — the therapeutic benefit of zentangle comes specifically from the deliberate pace of mark-making rather than from the speed at which the stone gets covered. A row of dots placed one at a time with a small pause between each is more genuinely meditative than the same row of dots placed quickly in a single continuous motion, because the pause between marks is where the mental quieting actually occurs. If you notice yourself speeding up, that noticing itself is the practice — simply slow back down without judgment and continue.
- Move to the next section when the first feels complete — not before, and not after, but when the pattern has filled the space in a way that feels settled and done. There is no correct density of marks per section; some zentangle practitioners fill sections so densely that the white stone surface almost disappears beneath the ink, while others prefer more breathing room between marks. Both approaches produce beautiful results, and the preference that emerges through practice is one of the things the practice teaches you about your own aesthetic sensibility.
- Choose a different pattern for each new section — varying the visual vocabulary across sections is what produces the complex, layered quality that makes zentangle stones so visually interesting. The contrast between a section of dense fine dots and an adjacent section of bold sweeping curves, or between tightly packed parallel lines and loosely scattered spirals, creates the visual rhythm that makes the finished stone rewarding to look at from any angle and in any light.
- Add shading if desired once the primary pattern work is complete — a second pass with a slightly broader marker tip, or careful crosshatching in the shadow areas of curved patterns, creates the three-dimensional quality that distinguishes zentangle work that reads as flat pattern from work that appears to have depth and dimension. Shading is not required for the practice to be complete or beautiful, and many practitioners prefer the graphic clarity of unshaded pattern work; it is an option to explore rather than a standard to achieve.
- Seal the finished stone with a light coat of clear sealant spray once the marker ink has dried completely — hold the can twelve inches from the stone surface and apply two thin coats rather than one heavy coat, which can cause the ink to bleed slightly at the edges of fine lines. Allow the sealed stone to cure for an hour before handling. Display it in a bowl with other finished stones, use it as a paperweight on a desk, place it in a garden bed where it will be found slowly, or give it to someone who needs something quietly beautiful in their day.
Art therapists who use zentangle drawing in clinical mindfulness programs always begin sessions with what they call a breath anchor — three slow, deliberate breaths taken while holding the stone and looking at its surface before the first mark is made. The breath anchor serves a specific neurological function: it activates the parasympathetic nervous system response that shifts the brain from the alert, task-oriented state most people carry into an activity into the calmer, more receptive state that allows the repetitive mark-making to become genuinely meditative rather than just another task to complete. Practitioners who skip the breath anchor and begin drawing immediately consistently report less of the calming benefit that practitioners who take the three breaths before starting report reliably experiencing. Three breaths costs six seconds and changes the entire quality of the practice that follows.














