
Cable Spool Side Table: Free Wood, Real Character
The difference between a spool that looks like reclaimed junk and one that looks like intentional industrial furniture comes down to how much time you spend on the sanding, not the finish you put on top.
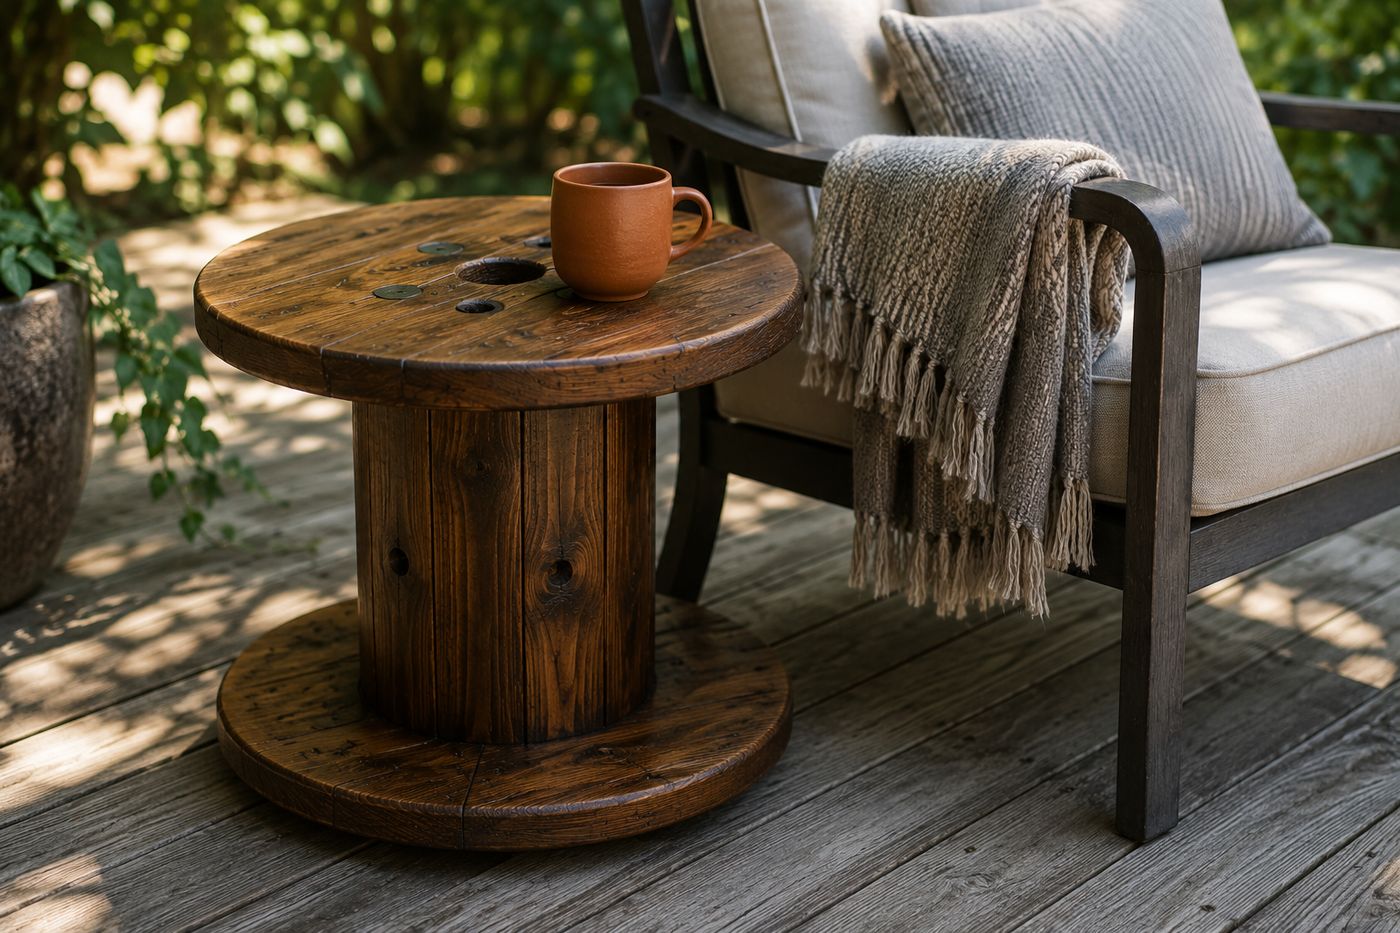
A cable spool is rough industrial wood built for durability under a cable coil, not for a hand resting on it, and that raw surface is exactly what separates a beautifully weathered piece of furniture from one that just looks like scavenged junk with a coat of stain on it. The distinction comes down almost entirely to the sanding stage: stain applied over rough, splintery wood highlights every flaw and soaks in unevenly, while wood sanded progressively through finer grits accepts stain smoothly and lets the grain variations and nail holes read as character instead of neglect. Skip straight to staining to save time and the spool will always look like what it was rather than what you made it into. Put in the sanding time first, and the same free industrial castoff becomes a side table with more depth and personality than anything off a shelf — for about $15 in stain, sandpaper, and sealant, and two hours of actual work.
What You'll Need
- Wooden cable spool — often free from electrical supply companies or utility contractors if you simply ask
- Sandpaper in progressive grits (80, 120, 220) — about $6
- Exterior wood stain in a warm walnut tone — about $6
- Waterproof exterior sealant — about $3, or use what you already have on hand for outdoor projects
- Clean rags or foam brushes for stain and sealant application
- Shop vacuum or damp cloth for dust removal between sanding passes
- Work gloves for handling rough wood and any protruding staples or nails
How to Build It
- Inspect the spool for protruding nails, staples, or splinters before you touch it with bare hands, and remove or hammer down anything sharp.
- Sand the top disc surface starting with 80-grit to knock down major roughness, working in the direction of the grain rather than against it, which prevents new scratches from fighting the wood's natural texture.
- Progress to 120-grit and then 220-grit, sanding the full surface again at each stage — this progressive step-down is what actually produces a smooth result, since jumping straight to fine grit won't remove the coarse scratches the first pass left behind.
- Vacuum or wipe down every surface thoroughly to remove sanding dust, since any dust left behind gets trapped under the stain and creates a gritty, uneven finish.
- Apply the stain in long, even strokes moving with the grain, letting each coat soak in fully before deciding whether a second coat is needed for depth of color.
- Let the stain cure fully per the product's instructions before moving on — sealing over stain that hasn't finished curing traps moisture underneath and can cause a cloudy or tacky finish later.
- Apply two coats of waterproof sealant, allowing full dry time between coats, to protect the surface through rain, sun, and years of outdoor use.
- Roll the finished table into place — the heavy base drum keeps it stable on uneven patio surfaces without any anchoring or assembly required.
Furniture restorers who work with reclaimed industrial wood often leave a few of the original nail holes and surface marks completely untouched rather than filling them with wood putty, because those details are what signal genuine reclaimed material instead of a manufactured piece styled to look rustic. Filling every imperfection erases the exact texture that makes a cable spool table read as authentic in the first place — the goal is smooth to the touch, not flawless to the eye.














