Cabinet Liner: One Motion Stops the Bubbling
Bubbles under contact paper aren't a material flaw — they're trapped air from pressing the whole sheet down at once, and the fix is a single change in application order, not a better brand of liner.
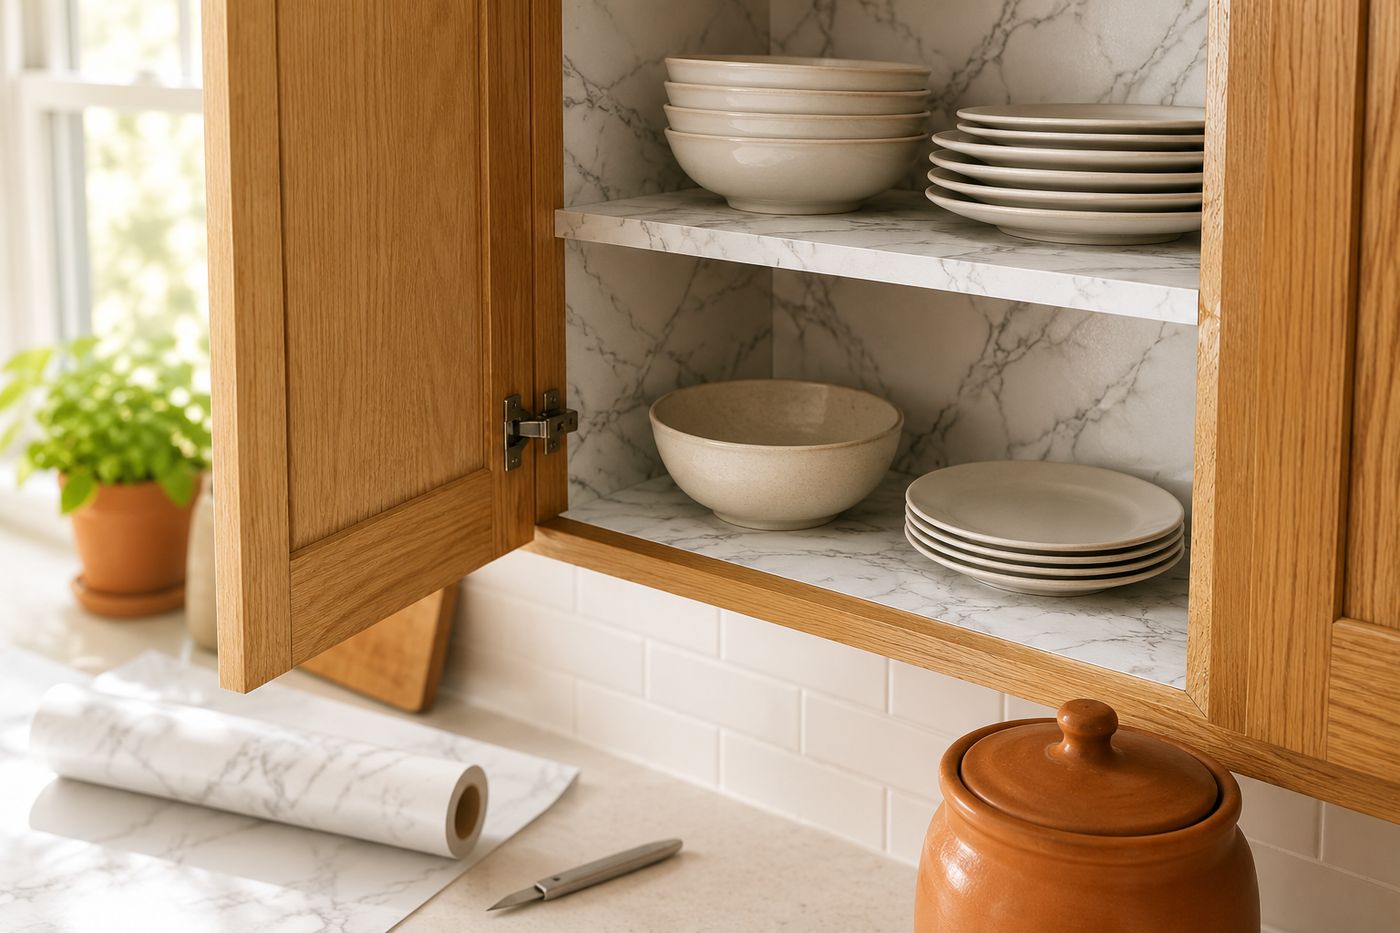
Peel-and-stick liner traps whatever air is underneath it the instant it makes contact with the shelf, so pressing an entire sheet down at once seals in pockets of air that then have nowhere to go except into visible bubbles you're stuck chasing around afterward. The distinction between a liner that lies perfectly flat and one that bubbles no matter how much smoothing you do afterward comes down to application order: peeling back the backing gradually and pressing from one end toward the other with a credit card or squeegee pushes air out ahead of the contact line instead of sealing it underneath. That's the entire mechanical difference — it isn't the liner brand, the shelf surface, or how carefully you smooth after the fact, it's whether air had somewhere to escape to during application. Once that technique is right, the rest of this project is nearly foolproof. A full kitchen's worth of shelves runs about $18 in liner and takes roughly an hour.
What You'll Need
- Peel-and-stick contact paper/shelf liner, removable adhesive style — about $18 for enough to cover a full kitchen's shelves
- Tape measure
- Craft knife and straight edge, for trimming
- Credit card or plastic squeegee, for smoothing air out during application
- All-purpose cleaner and cloth, for wiping down shelves before lining
- Scissors, for rough-cutting pieces before final trimming
How to Do It
- Empty each cabinet or drawer completely and wipe the shelf surface down thoroughly, since any grime, grease, or stickiness left underneath will show through or prevent the liner from adhering evenly.
- Measure each shelf and cut your liner pieces about a half inch larger than the shelf dimensions on all sides, giving yourself room to trim precisely rather than coming up short.
- Peel back just a few inches of the backing at one end of the shelf rather than removing the entire backing sheet at once.
- Press that exposed section down firmly, then continue peeling the backing back gradually while pressing forward with a credit card or squeegee — this is the exact step that pushes air out ahead of the contact line instead of trapping it underneath, so keep your motion slow and consistent rather than rushing to get the whole piece down.
- Continue working across the full shelf this way, smoothing as you go rather than pressing the far end down before the middle is fully adhered.
- Overlap the liner slightly at the front edge of the shelf for a clean, finished look that reads as intentional rather than stopping short.
- Trim the excess liner with a craft knife and straight edge, working slowly at the corners for crisp, clean lines.
- Repeat for every shelf and drawer before returning items to the cabinets, since it's much easier to work with fully empty, accessible surfaces than to line around items you've already put back.
Kitchen designers who spec cabinet liners for new builds often choose a pattern with some visual texture, like a subtle marble or woodgrain, over a plain solid color specifically because texture disguises the seam where two pieces of liner meet on a wide shelf, while a flat solid color makes that same seam visibly obvious under kitchen lighting. It's a small pattern choice that has nothing to do with the application technique but makes a noticeable difference in how seamless the finished cabinets look.