
Beeswax Wraps: The Fabric Underneath Determines It
Wax alone isn't what makes these wraps hold their shape — it's wax fully saturated into 100% cotton fibers, and the wrong fabric is the one thing that quietly ruins this project.
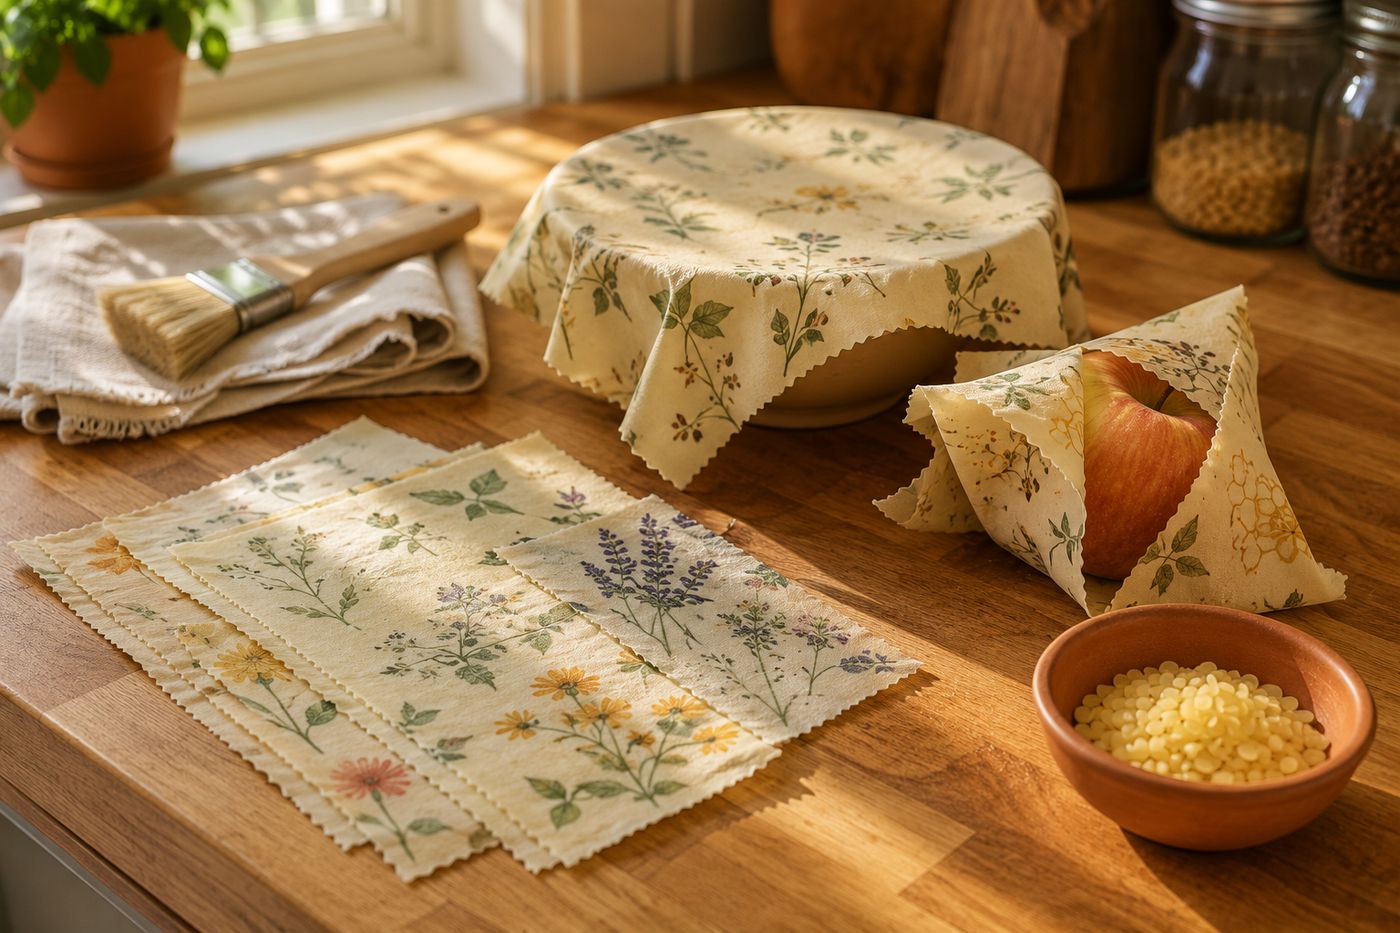
A beeswax wrap only molds and holds its shape because melted wax fully saturates natural cotton fibers, filling the weave completely so the fabric becomes pliable when warm and stiff when cool — a synthetic fabric or fabric blend doesn't absorb wax the same way, so wax sits on the surface instead of soaking in, and the finished wrap ends up flaky, cracked, or unable to hold a fold at all. That's the entire reason 100% cotton, not a cotton blend, is the fabric that actually matters here, and it's the detail most likely to quietly sabotage the project if skipped. Once you've got true cotton, the wax application itself is nearly foolproof: scatter pellets, melt briefly in the oven, and the fabric does the rest. Twelve wraps in three sizes cost about $8 in wax and repurposed fabric, take roughly 30 minutes to make, and replace a genuinely significant amount of single-use plastic wrap and bags over the following year.
What You'll Need
- Beeswax pellets — about $6 for a bag, enough for a full set
- 100% cotton fabric, cut into squares in a few sizes — free if repurposed from an old pillowcase or fabric scraps, or about $2 if purchasing new
- Parchment paper, for lining the baking sheet
- Baking sheet
- Pastry brush, dedicated to craft use afterward rather than food use
- Scissors or pinking shears, for cutting fabric squares
- Oven
How to Do It
- Cut your fabric into squares in a few useful sizes, confirming it's 100% cotton — this single detail determines whether the finished wrap actually molds and holds shape, so it's worth checking the fabric content before you cut a single piece.
- Preheat your oven to about 200 degrees.
- Line a baking sheet with parchment paper and lay one fabric square flat on top.
- Scatter beeswax pellets evenly across the entire surface of the fabric, covering it reasonably well rather than concentrating wax in the center.
- Slide the sheet into the oven for about three minutes, watching closely until the wax has melted completely and spread across the fabric.
- Pull the sheet out and quickly brush the melted wax into any spots that look uncovered or thin, working fast while the wax is still liquid.
- Lift the fabric by two corners and wave it gently in the air for about thirty seconds, which cools and sets the wax evenly across the whole piece without letting it pool or drip.
- Repeat for each remaining fabric square, then let the finished wraps cool fully flat before using them — press and mold them around bowls or food using the warmth of your hands, and wash in cool water between uses to extend their life.
Makers who sell handmade beeswax wraps commercially often add a small amount of jojoba oil and pine resin to the beeswax rather than using straight wax alone, since the oil keeps the finished wrap more flexible over repeated folding, and the resin adds extra tackiness that helps the wrap cling and seal around bowl edges. It's an optional upgrade that isn't necessary for a wrap to function, but it noticeably extends how long a wrap stays pliable before needing a refresh.














