Backyard Star-Gazing Lounge: Sky-Ready for $80
Two zero-gravity chairs in the darkest corner of the yard, a monthly star chart in a waterproof sleeve, a blanket basket, and a solar path lantern — and meteor shower magic becomes a regular summer evening rather than a lucky accident.
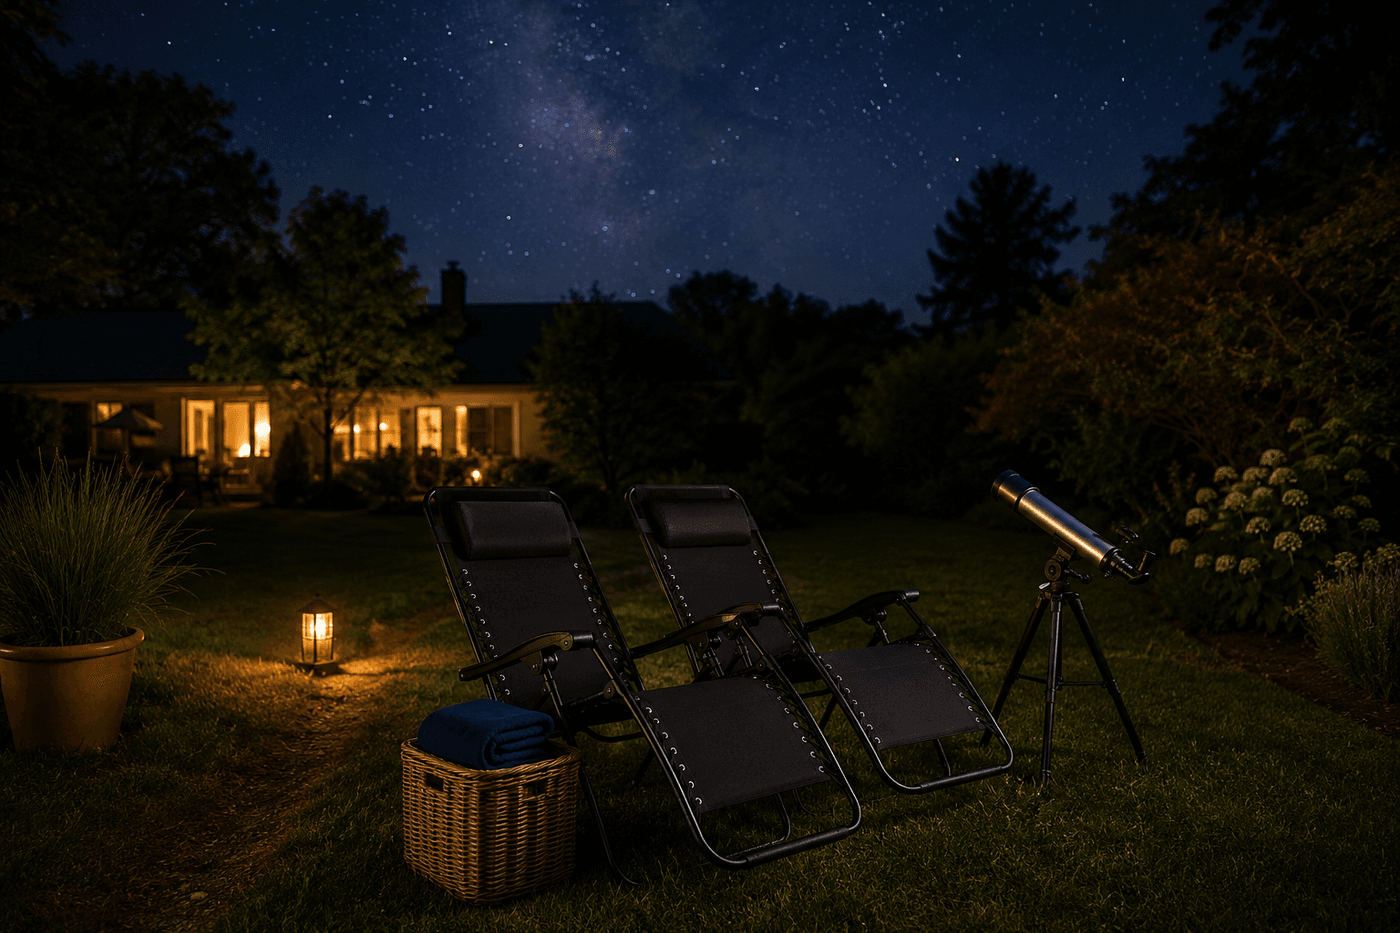
The spontaneous star-gazing session — two lawn chairs dragged to the dark corner of the backyard, everyone lying back looking up, nobody reaching for a phone — is one of those family experiences that feels simultaneously simple and irreplaceable, and the specific quality that makes it feel magical is also what makes it happen so rarely: it requires a spontaneous decision to go outside in the dark, find the right spot, retrieve chairs, and settle in before the impulse passes. A dedicated star-gazing lounge that is permanently positioned, supplied, and ready eliminates every one of those friction points. The zero-gravity chairs are already there, already reclined to the correct viewing angle. The blanket is already in the basket beside them. The monthly star chart is already clipped to the telescope case. The solar lantern is already on the path so the walk out does not destroy night vision before anyone sits down. When everything is set up and waiting, the decision to spend an hour watching the summer sky costs nothing more than walking outside — and that reduction in friction is what converts a memorable annual accident into the regular summer evening ritual that becomes part of how a family experiences a season.
What You'll Need
- Zero-gravity reclining chairs, 2 — the specific chair type that makes extended star-gazing comfortable; the zero-gravity recline position angles the back at approximately 160 degrees from vertical, which keeps the neck in a sustainable neutral position for an hour of sky-watching rather than the neck strain that a standard upright chair produces within fifteen minutes of looking upward; folding zero-gravity chairs with cup holders are the most practical for a lounge that may need to be moved for mowing (~$25–40 each at outdoor retailers or online; budget options are available at warehouse clubs for under $30 each)
- Entry-level refractor telescope — optional but significantly deepens the engagement, particularly for children; a 70mm aperture refractor on an alt-azimuth mount is the correct entry point: enough aperture to show lunar craters, Jupiter's moons, and Saturn's rings clearly, simple enough that it can be set up and pointed in under two minutes without specialized knowledge; Celestron and Orion both make reliable 70mm refractors in the $45–70 range; avoid department store telescopes without these specifications (~$45–70)
- Monthly star chart printed and waterproofed — Skymaps.com provides free monthly star charts for any latitude; print the current month's chart, place it in a letter-sized waterproof document sleeve, and clip it to the telescope case or chair arm; a printed chart works in the dark without producing the bright screen light that destroys night vision in seconds (~$0 to print)
- Red LED flashlight or headlamp — the specific tool for reading star charts and making telescope adjustments without destroying night adaptation; red light does not trigger the rod-cell bleaching that white light causes; the human eye requires 20–30 minutes to fully dark-adapt after white light exposure, and a single phone screen check resets that adaptation completely (~$8–12)
- Weatherproof storage basket or bin — positioned permanently beside the chairs to hold the blanket, bug spray, red flashlight, and star chart between sessions; a lidded wicker or resin basket keeps contents dry through light rain and morning dew; the basket is what makes the lounge feel like a curated destination rather than two chairs sitting in the yard (~$15–25)
- Lightweight weatherproof blanket — for summer evenings that cool faster than expected after dark; a packable outdoor blanket that compresses into the basket without taking up significant space is the correct choice over a full-size blanket that dominates the basket and makes other items inaccessible (~$15–25)
- Solar path lantern — one low-output solar lantern placed on the path leading to the star-gazing corner; bright enough to navigate without tripping, dim enough to not affect night vision in the chairs 15–20 feet away; the lantern also makes the star-gazing corner visible from the house, which signals the lounge's location to other family members and makes joining spontaneously easy (~$8–15)
- Small insulated tote or cooler — for cold drinks that make a spontaneous session feel effortlessly prepared; a small soft-sided insulated tote that holds ice packs and four to six beverages is sufficient for a family session without the bulk of a full cooler (~$10–15)
How to Set It Up
- Identify the correct location before placing any furniture — go outside on a clear night and stand in different corners of the yard, looking up to assess sky coverage, light interference, and the direction of the most open sky view. The ideal star-gazing position has the least artificial light in the primary viewing direction, maximum open sky overhead with minimum tree canopy interference, and enough distance from the house that the indoor lighting does not wash out the view directly above the chairs. Walk the yard after dark rather than planning the location during the day, which gives a completely inaccurate picture of the light environment that will be present during actual use.
- Orient the chairs before setting them permanently — lie back in each chair in the intended position and assess the sky view from the actual reclined angle before committing to the placement. The ideal orientation for summer star-gazing in the northern hemisphere points the chairs slightly south of overhead, which captures the most active and densely populated section of the summer Milky Way; a chair oriented due north reduces sky interest significantly in summer months when the galactic center is in the southern sky. Adjust the orientation by rotating both chairs in 10-degree increments until the view from the reclined position is maximally open and unobstructed.
- Assess the light environment from the chair position before installing the solar lantern — sit in the reclined position and identify every artificial light source visible from that angle, including neighbor's porch lights, street lights visible over fences, and the house windows behind the chairs that become a light source when interior lights are on. Note any light sources that can be practically reduced — a neighbor's porch light that a privacy fence extension would block, or house windows whose blinds can be closed during star-gazing sessions — before designing the solar lantern placement that guides the path without adding to the problem.
- Position the solar lantern on the path at a point where its light reaches the path clearly but the light cone does not extend to the chair area — typically 15–20 feet from the chairs is sufficient separation; place the lantern at the path edge rather than the center of the path so its light illuminates the walking surface directionally rather than broadcasting in a full circle that reaches the star-gazing area. A lantern with an adjustable brightness setting should be set to its lowest functional level — enough to prevent tripping, not enough to be seen from the chairs as a point of brightness that the eye is drawn to during sky-watching.
- Stock the basket before the first session and maintain it as a standing supply station between sessions — the blanket folds to the bottom of the basket, the bug spray and red flashlight sit upright in the basket interior accessible without removing the blanket, and the current month's waterproofed star chart is clipped to the basket handle or the telescope case where it is immediately reachable when someone asks what that bright object is. Restock bug spray at the start of each month and replace the star chart with the current month's chart at the same time; making the restock a monthly routine rather than a response to discovering an empty basket prevents the situation of reaching for bug spray that isn't there on the first warm evening of peak mosquito season.
- Set up the telescope if including one — position on a flat, stable surface beside rather than between the chairs, with the eyepiece accessible from a seated position without requiring either viewer to stand. Point the finder scope at a bright known object — the moon if visible, Jupiter or Venus if not — and confirm the alignment between the finder and the main telescope tube before the first session so viewing targets can be acquired quickly in the dark without the extended fumbling that discourages telescope use in children who expect immediate results.
- Establish the dark adaptation protocol before the first session — explain to all family members that white screen light (phones, tablets) resets the 20–30 minute dark adaptation process that allows the eye to see faint stars, and that the red flashlight is the only light source used at the star-gazing lounge. The protocol sounds more restrictive than it is in practice; within two full dark-adaptation cycles — roughly 45 minutes of uninterrupted dark — the visible star count in the same sky increases dramatically, and the difference in the sky visible to a fully dark-adapted eye versus a white-light-exposed eye is so dramatic that the protocol tends to enforce itself after the first time it is demonstrated.
- Identify the annual meteor shower calendar and mark the peak nights on the family calendar as standing star-gazing lounge appointments — the Perseids peak in mid-August, the Leonids in mid-November, the Geminids in mid-December, and the Orionids in late October. Peak meteor shower nights produce shooting stars at rates that are immediately impressive to anyone lying back in a zero-gravity chair under a clear sky, and scheduling these nights in advance prevents the situation of discovering the Perseid peak has passed during the only three cloudy nights of August.
Amateur astronomers and astronomy educators who design backyard observing setups for families and beginners consistently recommend one app pairing with a printed star chart that dramatically increases the star-gazing experience for both children and adults without introducing the white-screen light that destroys night vision: download SkySafari or Stellarium on a phone and switch it to its night-vision red-screen mode before walking outside, then use it exclusively in that mode throughout the session. Both apps offer a night-vision setting that renders all screen content in red tones at reduced brightness — preserving dark adaptation while providing the interactive, real-time sky identification capability that a static printed chart cannot match. Point the phone at an unidentified bright object and the app identifies it in seconds; select any object and get its rise and set times, distance, and mythology. Astronomy educators who introduce this tool pairing to families report that the combination of the printed chart for general orientation and the red-mode phone app for specific identification produces the highest engagement and retention in beginner star-gazers — because the printed chart provides the big-picture context that makes the sky feel navigable, while the app provides the instant gratification of identification that keeps children asking questions rather than getting bored between notable sightings.