
Turn an Old Wagon into a Rolling Garden Cart for $18
A yard sale wagon, a can of spray paint, and an afternoon — the most charming and functional garden cart on your entire street
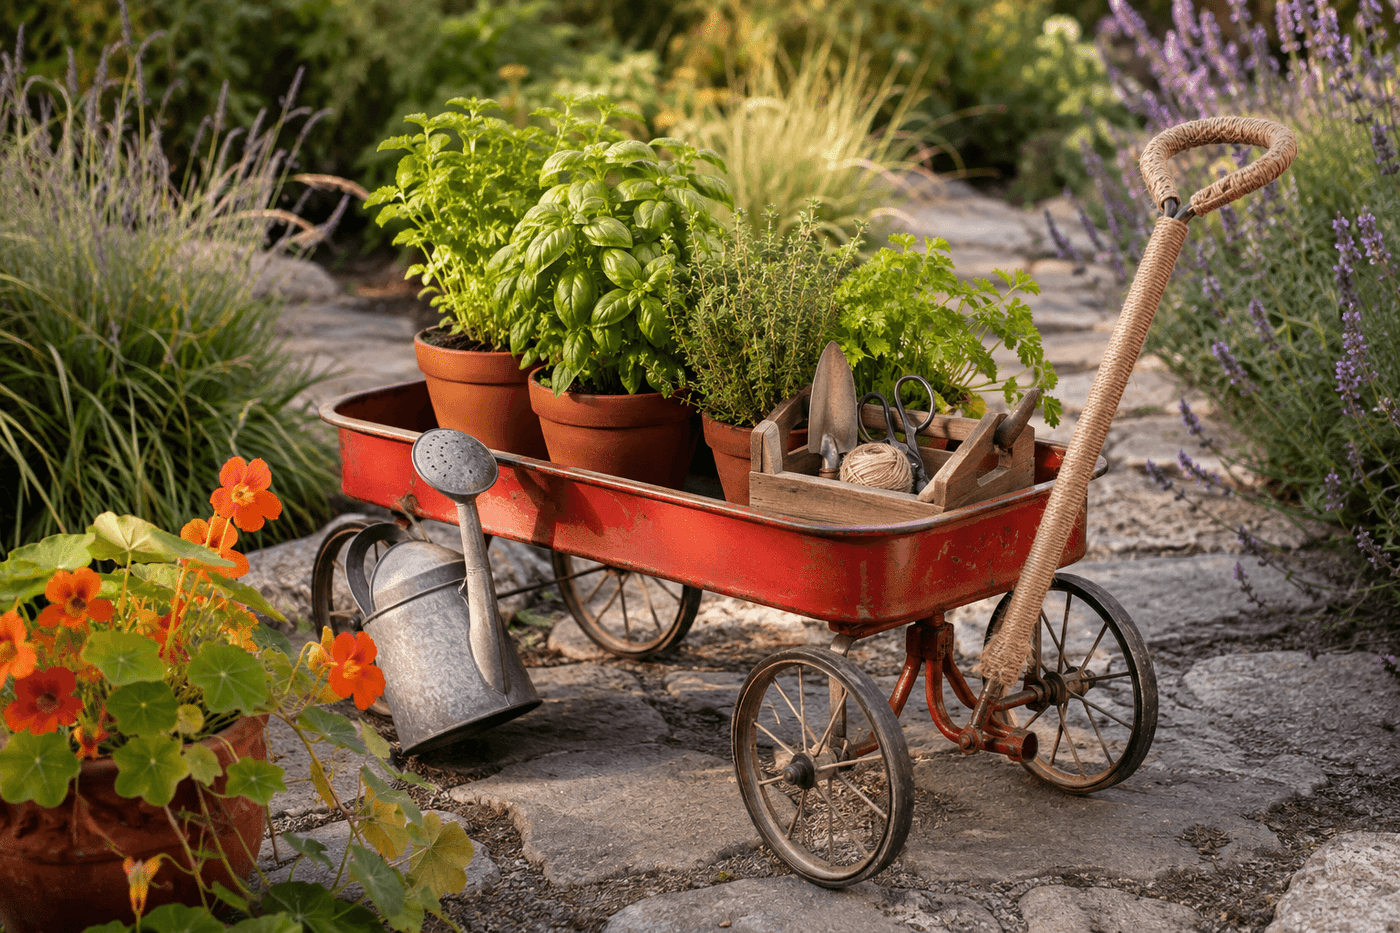
There is a specific kind of garden charm that can only come from something with a history — and a vintage child's wagon, rusty and well-loved and discovered at a yard sale for $5, carries more of that character in its dented metal body than any purpose-built garden cart could manufacture. Cleaned up, wire-brushed, and given a coat of bold exterior spray paint, it becomes a rolling garden cart that moves tools, plants, harvested vegetables, and party supplies around the yard with the kind of effortless, nostalgic personality that makes visitors reach for their phones before they even look at the garden. The transformation costs about $18 in paint, rope, and any minor hardware, takes an afternoon, and produces something that functions as a serious garden workhorse while looking like the most considered and deliberate design decision in the entire outdoor space. Rusty and beat-up is not a problem to solve — it is raw material for a character that brand-new garden carts at triple the price simply cannot replicate.
What You Need
- Vintage child's wagon — metal wagons are most durable for garden use; wooden wagons work beautifully but require more prep work and sealant protection for outdoor longevity. Rusty is ideal; structurally compromised or wheel-damaged wagons require more repair than the project justifies (yard sales, thrift stores, Marketplace, $0–10)
- Wire brush or drill with wire brush attachment — for removing loose and flaking rust from the wagon body and any moving parts before painting; loose rust under paint causes immediate paint failure, while stable rust patina painted over produces a durable, character-rich finish (~$4–6 for a hand wire brush)
- Rust-inhibiting exterior spray paint — Rust-Oleum specifically formulates paint-and-primer-in-one products for metal surfaces that bond to cleaned rust and inhibit further corrosion; classic red, farmhouse white, and matte black are the most versatile color choices for a garden setting (~$6–9 per can, one can covers most standard wagon bodies)
- Natural rope or leather cord, 3 feet — for wrapping the wagon handle if the original grip is deteriorated, missing, or simply uncomfortable; jute rope wrapped in tight coils and secured with small nails or staples transforms a bare metal handle into a comfortable, attractive pulling grip (~$2–4)
- Small wooden crate or basket — optional interior organizer that sits in the wagon bed and creates separate storage zones for tools, seed packets, and small supplies; a single crate tucked into one end of the wagon bed leaves the other end clear for larger items like potted plants (~$4–8 from craft stores or thrift shops)
- Exterior clear coat sealer — a final spray coat over the painted wagon body dramatically extends paint durability through outdoor weather exposure and protects the rust-inhibiting primer layer from moisture intrusion at any chipped areas (~$5–7)
How to Transform It
- Assess the wagon's structural condition before investing any time or paint — check that all four wheels spin freely, the axles are intact, and the wagon bed has no holes or cracks that would cause soil or water from plant pots to pour through the bottom during use. Wheels that don't spin are usually freed with penetrating oil and ten minutes of working them back and forth; bent axles are more involved to correct and may require sourcing replacement hardware from a wagon manufacturer or hardware store.
- Clean the entire wagon thoroughly with soapy water and a stiff brush, removing accumulated dirt, bird droppings, and surface grime from every surface including the undercarriage and wheel wells where debris packs densely. This cleaning pass serves two functions — it reveals the actual condition of the metal beneath the surface dirt, and it removes the contaminants that prevent spray paint from bonding to the wagon surface regardless of how well the rust is addressed.
- Address the rust with a wire brush, working vigorously over all rusted areas to remove any flaking, powdery, or loose rust while leaving the stable rust patina that has chemically bonded to the metal surface. The distinction between loose rust that must be removed and stable rust that can be painted over is this: loose rust comes away with wire brush pressure, while stable rust stays firmly in place. Rust-inhibiting spray paint applied over stable rust bonds to it and stops further corrosion; the same paint applied over loose rust fails within the first wet season as the loose particles continue to deteriorate beneath the paint film.
- Mask the wheels, axles, and any decals or metal badges you want to preserve before painting — painter's tape applied carefully around wheel edges and along axle shafts keeps the paint color contained to the wagon body and produces the clean, deliberate paint line that distinguishes a finished transformation from a hasty spray job. Wheels left unpainted and simply cleaned often look better than painted wheels, because the visual contrast between the painted body and natural metal wheels reads as intentional and styled.
- Apply rust-inhibiting exterior spray paint in two thin, even coats with the wagon positioned on a drop cloth and the can held twelve inches from the surface — thin coats applied in overlapping passes produce a smooth, even finish that adheres durably, while a single heavy coat runs, drips, and takes significantly longer to cure to a hard finish. Allow full drying time between coats as specified on the can; typically thirty minutes in warm weather and up to an hour in humidity.
- Wrap the handle with natural rope or leather cord once the body paint has fully cured — begin at one end of the handle, apply a small amount of outdoor-rated adhesive to the starting point, and wrap the rope or cord tightly in close, even coils toward the other end, securing the finishing end with a small nail driven into the handle or a tight knot tucked under the last two coils. A wrapped handle transforms the tactile experience of using the wagon from pushing a bare metal rod to pulling a properly gripped garden tool.
- Seal the fully painted and decorated wagon with one coat of exterior clear coat sealer — this top coat is the investment that makes the painted finish last through multiple seasons rather than chalking and chipping within the first year. Apply with the same twelve-inch-distance, thin-and-even technique as the color coats, and allow full cure time before loading the wagon with any weight.
- Style the finished cart for its intended use — a wooden crate tucked into one end creates organized tool storage while the other end remains clear for potted plants or harvested produce; a small chalkboard label on the crate side adds a farmhouse market character that photographs beautifully. Roll it to its position near the garden beds or back door, load it with the tools and plants you reach for most often, and allow it to become the functional garden feature that also happens to be the most charming thing anyone notices when they walk into the yard.
Garden stylists who work with upcycled outdoor elements for professional shoots and residential installations always add drainage holes to the wagon bed before using it as a plant display — drilling four to six ½-inch holes in a grid pattern across the wagon bed floor allows water to drain from potted plants and prevents the standing water accumulation that promotes rust from the inside out and produces the soil-rot smell that makes a wagon used for plant display develop an increasingly unpleasant character over a single summer. The holes are invisible once the wagon is loaded and styled but make an enormous difference in how the wagon performs and smells through months of daily outdoor plant care. A wagon with drainage holes that is used to display potted plants directly in the bed rather than in individual pots looks particularly lush and garden-esque — the visual of a wagon bed full of herbs or flowers with no individual pot edges visible is the styling effect that generates the most social media interest and the most guest questions.














