Interior Design

Recent Content

Wooden Dish Rack: The Dowel Angle That Drains Right

Wooden Dish Rack: The Dowel Angle That Drains Right

Build a slatted wood dish rack for $18—the dowel tilt angle is what actually drains water into the tray instead of pooling on your counter.

Install a Fireplace Draft Stopper in 20 Minutes for $25

Install a Fireplace Draft Stopper in 20 Minutes for $25

Stop your chimney from sucking heat right out of the house—an inflatable draft stopper seals it in 20 minutes for about $25.

The Shower Rod Trick That Fakes a Walk-In Closet

The Shower Rod Trick That Fakes a Walk-In Closet

Steal spare closet space with a second shower-curtain rod—zero holes, zero fuss, and your full deposit stays safe.

Pool Noodle Knife Block: The Slice Depth That Stops Wobble

Pool Noodle Knife Block: The Slice Depth That Stops Wobble

Turn a $1 pool noodle into a safe knife block—the slice depth is what keeps blades from wobbling loose or slicing through the foam.

Build a Wooden Pie Carrier in 2 Hours for $25

Build a Wooden Pie Carrier in 2 Hours for $25

Never smash a pie in the car again! Build a snug wooden pie carrier in 2 hours for $25—perfect timing for fall potlucks.

logo
  • Home Improvement
  • DIY Projects
  • Interior Design
  • Gardening & Outdoor
  • Real Estate
  • Home Improvement
  • DIY Projects
  • Interior Design
  • Gardening & Outdoor
  • Real Estate
  • ​

Sand Art Vases: Boutique Look, Dollar Store Price

Flat, level sand layers read as a craft project — angled, wavy layers read as boutique decor, and the only difference between the two is how you tilt the vase while you pour.
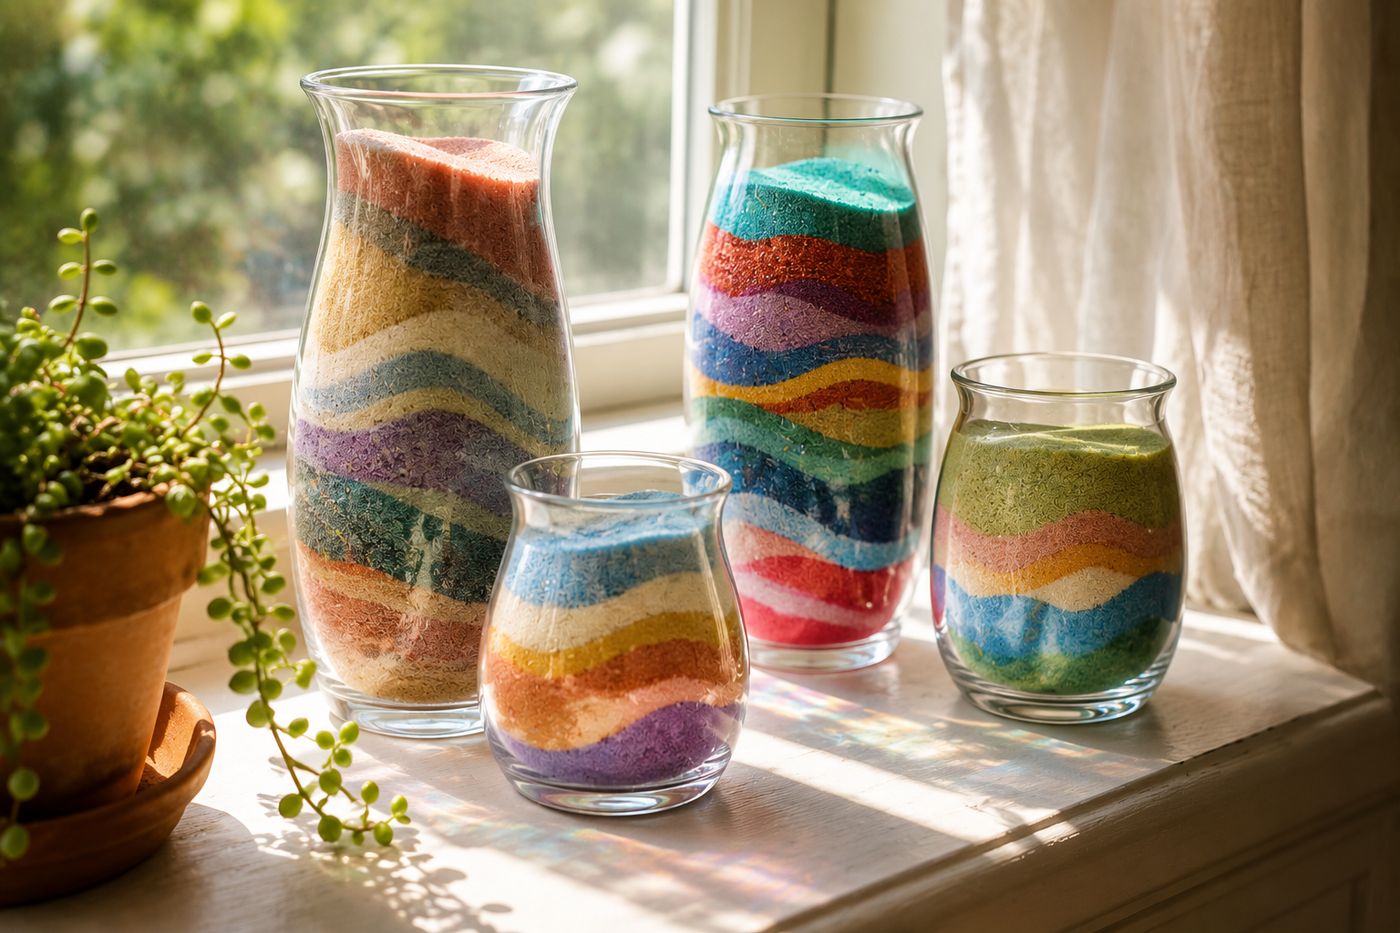
Clear glass vases filled with colorful layered sand art in wavy angled patterns, grouped together on a windowsill
Interior Design

Sand poured straight down into a vase settles into a flat, level line every time, and flat lines are exactly what make layered sand art look like a kids' craft project instead of intentional decor. The distinction between a vase that looks like a $20 boutique piece and one that looks homemade comes down entirely to what happens while you're pouring: tilting the vase as each layer goes in forces the sand to settle at an angle instead of level, and that single motion is what creates the wavy, dimensional strata that reads as designed rather than dumped in. Varying the tilt angle and thickness from layer to layer is what keeps the whole piece from looking repetitive once you've got several colors stacked. Once you understand that the tilt is doing all the visual work, the rest of the project is just picking a palette and layering — each vase costs about $3-6 in dollar store supplies.

What You'll Need

  • Clear glass vases, jars, or wide drinking glasses — about $1-2 each
  • Colored craft sand, in 2-4 coordinating colors — about $1 per color at most dollar stores
  • Thin wooden skewer or chopstick, for creating peaks and valleys in the layers
  • Small funnel or folded paper (optional), for controlled pouring into narrow vessels
  • Decorative shell, small air plant, or dried accent (optional), to top off the finished piece
  • Tray or drop cloth, to catch spilled sand while you work

How to Do It

  1. Choose your color palette before you start pouring — calming blues and whites for coastal, warm terracotta and cream for desert, or a bold rainbow for playful energy — since committing to a palette upfront keeps the layers cohesive instead of random.
  2. Pour your first color of sand into the vessel while gently tilting the vase, letting the sand settle at an angle rather than pouring straight down into a flat layer.
  3. Vary the tilt direction and thickness of each new layer as you add colors — a repeated identical tilt across every layer starts to look mechanical, while varied angles keep the piece visually dynamic.
  4. Continue building layers, alternating colors and angles, until the vase is filled to your desired height.
  5. Press a thin wooden skewer or chopstick down along the inside of the glass and pull it back up through a few layers to create peaks and valleys, which adds a more dramatic, hand-carved look to the strata.
  6. Tap the vase gently on your work surface occasionally as you fill it, which settles the sand just enough to prevent large air gaps without flattening out your angled lines.
  7. Top the finished vase with a decorative shell, small air plant, or leave it as-is for a cleaner, more minimal look.
  8. Group several finished vases together at varying heights on a shelf or windowsill, since grouped odd numbers read as a more intentional, styled display than a single vase alone.
DESIGNER TIP

Floral and home stylists who build layered displays for boutique window installations often stick to an odd number of sand colors per vase — three or five rather than two or four — because odd-numbered color groupings read as more visually balanced to the eye than even ones, a principle borrowed directly from floral arranging. It's a small compositional rule that makes a $6 dollar store vase look like it was styled by someone with formal design training.


Related Content

Interior Design

26 October 2026

Post

Fish Tank Terrarium: The Drainage Layer That Saves It

Turn a leaky old fish tank into a stunning terrarium—the gravel drainage layer is what stops root rot before your plants ever get a chance....

Interior Design

24 October 2026

Post

Tie-Dye Shower Curtain: The Fold That Makes Spirals

Turn a plain $8 shower curtain into a wild tie-dye spiral—the fold-and-twist technique is what makes the pattern radiate instead of blotch....

Interior Design

21 October 2026

Post

Peel-and-Stick Wallpaper Accent Wall in 3 Hours for $60

Turn one blank wall into a showstopper with peel-and-stick wallpaper—no wet paste, no mess, just a sharp accent wall by dinnertime....

Interior Design

19 October 2026

Post

Necktie Wall Organizer: The Knot Spacing That Holds

Turn old neckties into a boho wall organizer for keys and mail—even knot spacing is what keeps the pockets from sagging open. Under $10....

Interior Design

17 October 2026

Post

Neon Ombré File Cabinet: The Tape Order That Prevents Bleed

Turn a beige metal file cabinet into a neon ombré showstopper—the tape-layering order is what keeps colors crisp instead of muddy. Under $25....

Interior Design

15 October 2026

Post

Style a Cozy Fall Guest Bathroom Refresh in 2 Hours for $35

Turn a sterile guest bath into a warm fall retreat with layered textiles and scent—2 hours, $35, zero renovation required....

Interior Design

13 October 2026

Post

Whisk Jewelry Holder: The Bend That Stops Sagging

Turn a $1 dollar-store whisk into a boutique earring holder—the wire bend angle is what stops it from drooping under real jewelry weight....

Interior Design

12 October 2026

Post

Shutter Towel Rack: The Anchor Screw That Won't Rip Out

Turn a salvaged wood shutter into a bathroom towel rack—the stud anchor is what stops it ripping out under soaked towels....

Interior Design

11 October 2026

Post

Style a Cozy Window Seat Nook in 2 Hours for $45

Turn a bare window seat into a cozy fall reading nook with the right cushion layering trick—2 hours, $45, instant curl-up energy....

Interior Design

10 October 2026

Post

Sunburst Mirror: The Ray Overlap That Hides Gaps

Paint a bold rainbow sunburst mirror for $25—overlapping each ray's base is the trick that hides gaps and makes it look store-bought....

Interior Design

07 October 2026

Post

Style a Cozy Fall Bedroom Refresh in 2 Hours for $50

Layer flannel, wool, and warm light the right way and your bedroom finally feels like fall — 2 hours, $50, zero renovation....

Interior Design

03 October 2026

Post

Style a Fall Bookshelf Refresh in 2 Hours for $40

Turn a cluttered bookshelf into a magazine-worthy fall vignette using the triangle rule and warm accents—2 hours, $40, zero carpentry....

Interior Design

03 October 2026

Post

Gold Leaf Frame: The Size Overlap That Prevents Cracks

Turn a plain thrift mirror into a bold gold-leaf statement piece—overlapping each sheet correctly is what stops the finish from cracking and flaking later....

Interior Design

29 September 2026

Post

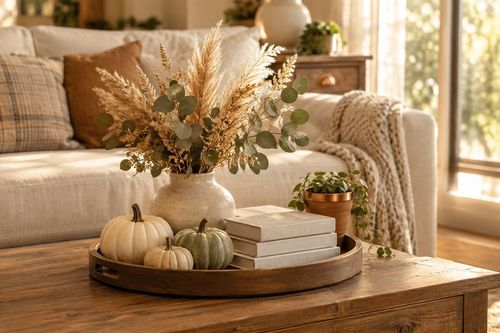
Style a Fall Coffee Table Tray Vignette for $30

Turn a plain coffee table into a cozy fall focal point with a layered tray vignette—45 minutes, $30, zero design degree required....

Interior Design

28 September 2026

Post

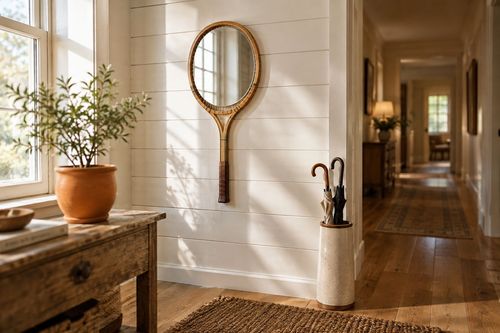
Tennis Racket Mirror: The Backing Trick That Locks It Flat

Turn a thrifted tennis racket into a quirky wall mirror—the plywood backing is what keeps the round mirror from popping loose over time....
Terms and ConditionsDo Not Sell or Share My Personal InformationPrivacy PolicyPrivacy NoticeAccessibility NoticeUnsubscribe
Copyright © 2026 DIY HomeBoost