The Shoe Rack Bench Trick for Tiny Entryways
One sturdy shoe rack, one cushion, and your doorway finally has a place to sit and a place to stash.

Small Space
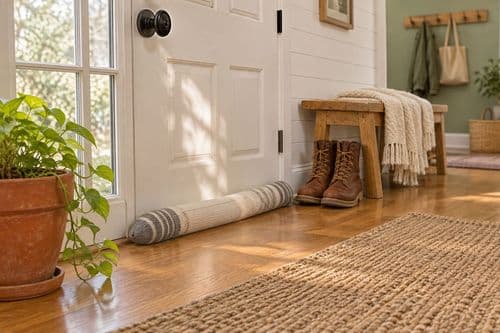
Tiny entry, no room for a bench? A sturdy freestanding shoe rack topped with a cushion gives you a seat and shoe storage in one move. It is fully renter-safe because nothing is drilled, glued, or attached to the wall or floor.
What You'll Need
- A sturdy two-tier freestanding shoe rack with a flat, slatted top that can hold weight (about $25-$40)
- A firm seat cushion or folded foam pad cut to fit the rack top (about $12-$20)
- Non-slip rubber shelf liner to keep the cushion from sliding (about $5)
- Small felt furniture pads for the rack feet to protect floors (about $4)
- A basket or two for gloves, scarves, and hats (about $10-$15 each)
How to Do It
- Measure your entry wall space so the rack sits flush along the wall without blocking the door swing. Nothing is marked or attached.
- Assemble the shoe rack following its instructions, using only the included hardware. It is freestanding, so it needs no wall anchors.
- Stick felt pads on the bottom of each foot. They peel off cleanly and keep your floors scratch-free for deposit day.
- Test the rack top by pressing down firmly. Only use the bench for brief sitting, such as putting on shoes, if the rack is rated for it.
- Layer the non-slip liner on the rack top, then place the cushion on top. Both lift off with no residue.
- Load the shelves with shoes, lining up the pairs, and tuck a basket in the lower tier for small items.
- Style the spot with a tote or a small plant beside the rack. Everything can be rearranged or removed in seconds when you move.
DESIGNER TIP
Pick a cushion in a bold color or pattern to give your entry a styled look, and swap it seasonally for a fresh feel without changing the rack.