Interior Design

Recent Content

Wooden Dish Rack: The Dowel Angle That Drains Right

Wooden Dish Rack: The Dowel Angle That Drains Right

Build a slatted wood dish rack for $18—the dowel tilt angle is what actually drains water into the tray instead of pooling on your counter.

Install a Fireplace Draft Stopper in 20 Minutes for $25

Install a Fireplace Draft Stopper in 20 Minutes for $25

Stop your chimney from sucking heat right out of the house—an inflatable draft stopper seals it in 20 minutes for about $25.

The Shower Rod Trick That Fakes a Walk-In Closet

The Shower Rod Trick That Fakes a Walk-In Closet

Steal spare closet space with a second shower-curtain rod—zero holes, zero fuss, and your full deposit stays safe.

Pool Noodle Knife Block: The Slice Depth That Stops Wobble

Pool Noodle Knife Block: The Slice Depth That Stops Wobble

Turn a $1 pool noodle into a safe knife block—the slice depth is what keeps blades from wobbling loose or slicing through the foam.

Build a Wooden Pie Carrier in 2 Hours for $25

Build a Wooden Pie Carrier in 2 Hours for $25

Never smash a pie in the car again! Build a snug wooden pie carrier in 2 hours for $25—perfect timing for fall potlucks.

logo
  • Home Improvement
  • DIY Projects
  • Interior Design
  • Gardening & Outdoor
  • Real Estate
  • Home Improvement
  • DIY Projects
  • Interior Design
  • Gardening & Outdoor
  • Real Estate
  • ​

Craft Jar Reset: See Everything You Already Own

Opaque bins don't just hide clutter — they hide the materials you already own, which is the real reason craft supplies get forgotten and rebought instead of used.
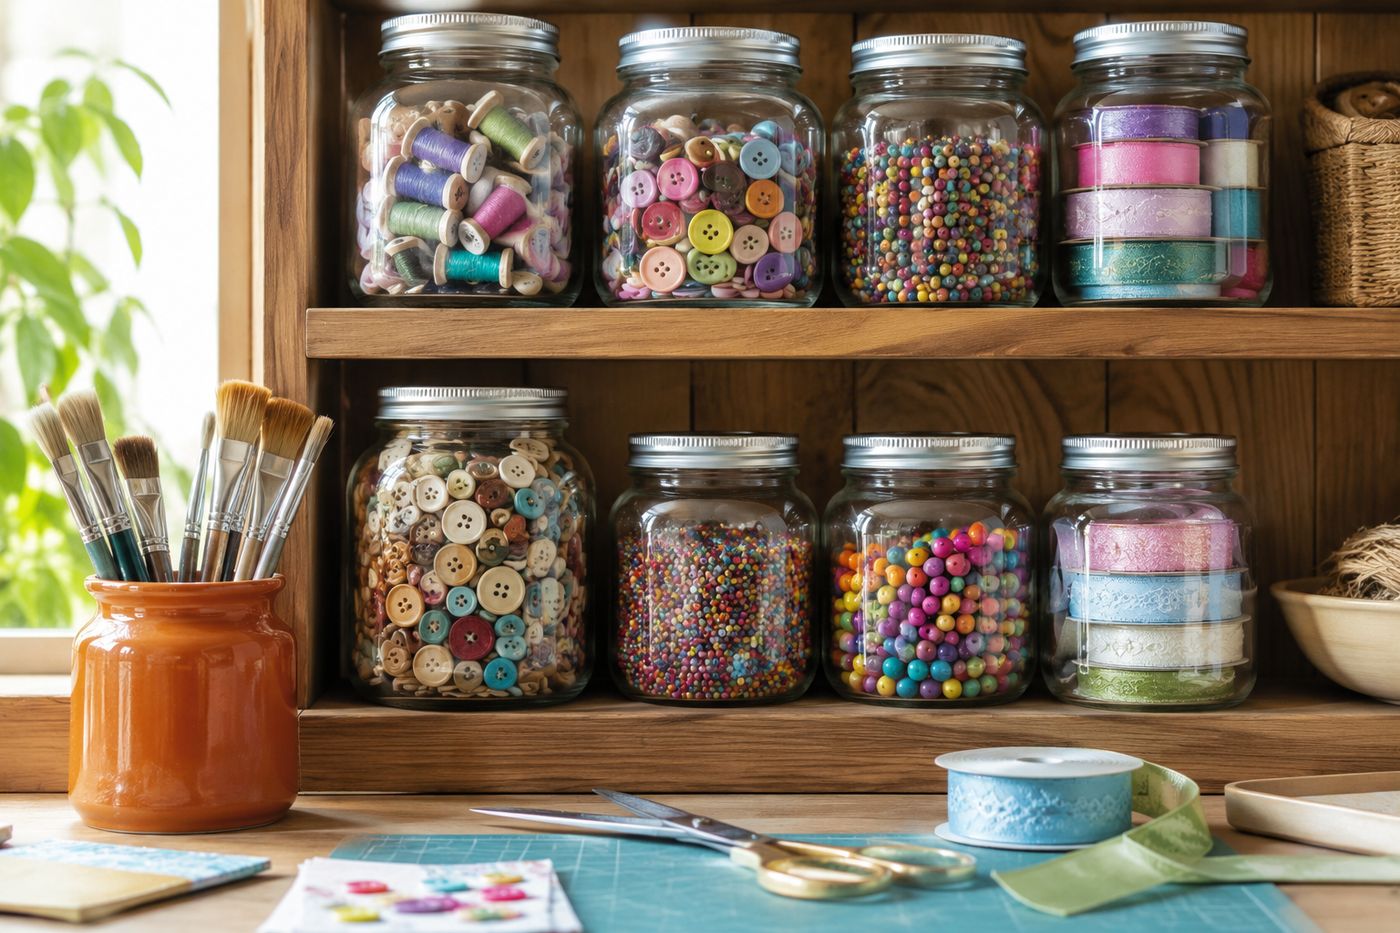
Shelf lined with repurposed clear glass jars filled with sorted craft supplies like buttons, beads, and ribbon, each labeled
Interior Design

A craft supply buried in an opaque bin or a ziplock bag isn't just disorganized, it's functionally invisible — you can't use what you can't see, and that invisibility is exactly why people rebuy buttons, beads, and ribbon they already own three times over. The fix isn't better bins, it's transparency: clear glass jars let you see the exact contents and quantity of every category at a glance, which means a forgotten button collection stops being forgotten the moment it's visible on a shelf instead of sealed in an opaque container. That visibility is also what actually gets projects started, since seeing your materials waiting for you removes the excavation step that quietly kills creative momentum before it starts. Repurposed pasta, pickle, and mason jars saved over a few weeks cost nothing, and a label maker refill plus a few dollar-store jars to fill gaps brings the whole project in around $8 and about two hours of sorting.

What You'll Need

  • Repurposed glass jars (pasta, pickle, mason, jam) in various sizes — free if saved over time from kitchen use
  • A few extra jars from the dollar store to fill any size gaps — about $3-4
  • Label maker refill or masking tape and marker — about $4
  • Dish soap and hot water, for removing old labels and residue from repurposed jars
  • A large flat work surface (craft table or floor space), to sort everything at once
  • Open shelving or existing shelf space to display the finished jars

How to Do It

  1. Wash and fully dry every repurposed jar, removing old labels and any lingering residue or scent that could transfer to craft materials.
  2. Empty every current storage container — bins, bags, drawers — onto your work surface so every supply is visible and out in the open at the same time, including anything you'd stopped opening because the contents were unidentifiable.
  3. Sort everything into categories first, before any jars come into play — by material type, then by color or size within each category.
  4. Match each sorted category to a jar sized appropriately for its quantity — this is what keeps the shelf looking intentional rather than half-empty jars next to overstuffed ones.
  5. Decant each category into its matched jar, filling it to a level that's easy to pour from rather than packed to the very top.
  6. Label each jar clearly on the front with the contents and any relevant detail like size, color family, or material — specific enough that you don't have to open the jar to know exactly what's inside.
  7. Arrange the jars on open shelving, grouping related categories near each other so related supplies for a given project type are physically close together.
  8. Discard any leftover opaque bins, bags, or unidentifiable containers you no longer need now that everything has a clear, visible home.
DESIGNER TIP

Professional organizers who set up craft and hobby spaces often arrange jars by color gradient across a shelf rather than strictly by category, because a shelf that reads as a visual color story doubles as functional storage and as decor at the same time. It's a small styling choice that costs nothing extra but changes a utilitarian supply shelf into something that actually looks intentional in the room, not just tidy.


Related Content

Interior Design

26 October 2026

Post

Fish Tank Terrarium: The Drainage Layer That Saves It

Turn a leaky old fish tank into a stunning terrarium—the gravel drainage layer is what stops root rot before your plants ever get a chance....

Interior Design

24 October 2026

Post

Tie-Dye Shower Curtain: The Fold That Makes Spirals

Turn a plain $8 shower curtain into a wild tie-dye spiral—the fold-and-twist technique is what makes the pattern radiate instead of blotch....

Interior Design

21 October 2026

Post

Peel-and-Stick Wallpaper Accent Wall in 3 Hours for $60

Turn one blank wall into a showstopper with peel-and-stick wallpaper—no wet paste, no mess, just a sharp accent wall by dinnertime....

Interior Design

19 October 2026

Post

Necktie Wall Organizer: The Knot Spacing That Holds

Turn old neckties into a boho wall organizer for keys and mail—even knot spacing is what keeps the pockets from sagging open. Under $10....

Interior Design

17 October 2026

Post

Neon Ombré File Cabinet: The Tape Order That Prevents Bleed

Turn a beige metal file cabinet into a neon ombré showstopper—the tape-layering order is what keeps colors crisp instead of muddy. Under $25....

Interior Design

15 October 2026

Post

Style a Cozy Fall Guest Bathroom Refresh in 2 Hours for $35

Turn a sterile guest bath into a warm fall retreat with layered textiles and scent—2 hours, $35, zero renovation required....

Interior Design

13 October 2026

Post

Whisk Jewelry Holder: The Bend That Stops Sagging

Turn a $1 dollar-store whisk into a boutique earring holder—the wire bend angle is what stops it from drooping under real jewelry weight....

Interior Design

12 October 2026

Post

Shutter Towel Rack: The Anchor Screw That Won't Rip Out

Turn a salvaged wood shutter into a bathroom towel rack—the stud anchor is what stops it ripping out under soaked towels....

Interior Design

11 October 2026

Post

Style a Cozy Window Seat Nook in 2 Hours for $45

Turn a bare window seat into a cozy fall reading nook with the right cushion layering trick—2 hours, $45, instant curl-up energy....

Interior Design

10 October 2026

Post

Sunburst Mirror: The Ray Overlap That Hides Gaps

Paint a bold rainbow sunburst mirror for $25—overlapping each ray's base is the trick that hides gaps and makes it look store-bought....

Interior Design

07 October 2026

Post

Style a Cozy Fall Bedroom Refresh in 2 Hours for $50

Layer flannel, wool, and warm light the right way and your bedroom finally feels like fall — 2 hours, $50, zero renovation....

Interior Design

03 October 2026

Post

Style a Fall Bookshelf Refresh in 2 Hours for $40

Turn a cluttered bookshelf into a magazine-worthy fall vignette using the triangle rule and warm accents—2 hours, $40, zero carpentry....

Interior Design

03 October 2026

Post

Gold Leaf Frame: The Size Overlap That Prevents Cracks

Turn a plain thrift mirror into a bold gold-leaf statement piece—overlapping each sheet correctly is what stops the finish from cracking and flaking later....

Interior Design

29 September 2026

Post

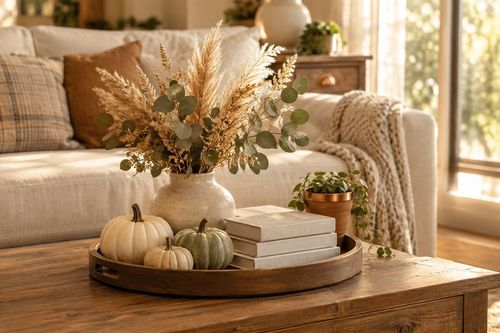
Style a Fall Coffee Table Tray Vignette for $30

Turn a plain coffee table into a cozy fall focal point with a layered tray vignette—45 minutes, $30, zero design degree required....

Interior Design

28 September 2026

Post

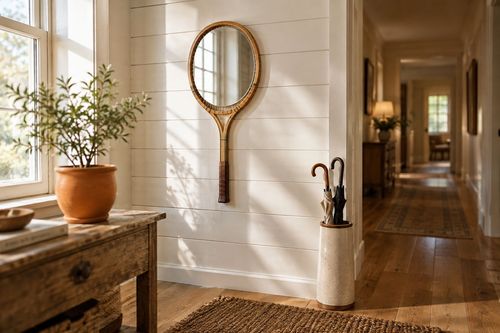
Tennis Racket Mirror: The Backing Trick That Locks It Flat

Turn a thrifted tennis racket into a quirky wall mirror—the plywood backing is what keeps the round mirror from popping loose over time....
Terms and ConditionsDo Not Sell or Share My Personal InformationPrivacy PolicyPrivacy NoticeAccessibility NoticeUnsubscribe
Copyright © 2026 DIY HomeBoost