Coffee Table to Ottoman: The Hinge Makes It Work
A padded lid without a safety hinge is a lid that slams shut on fingers or falls closed mid-search — the small hardware detail most tutorials skip is the one that actually makes storage safe to use.
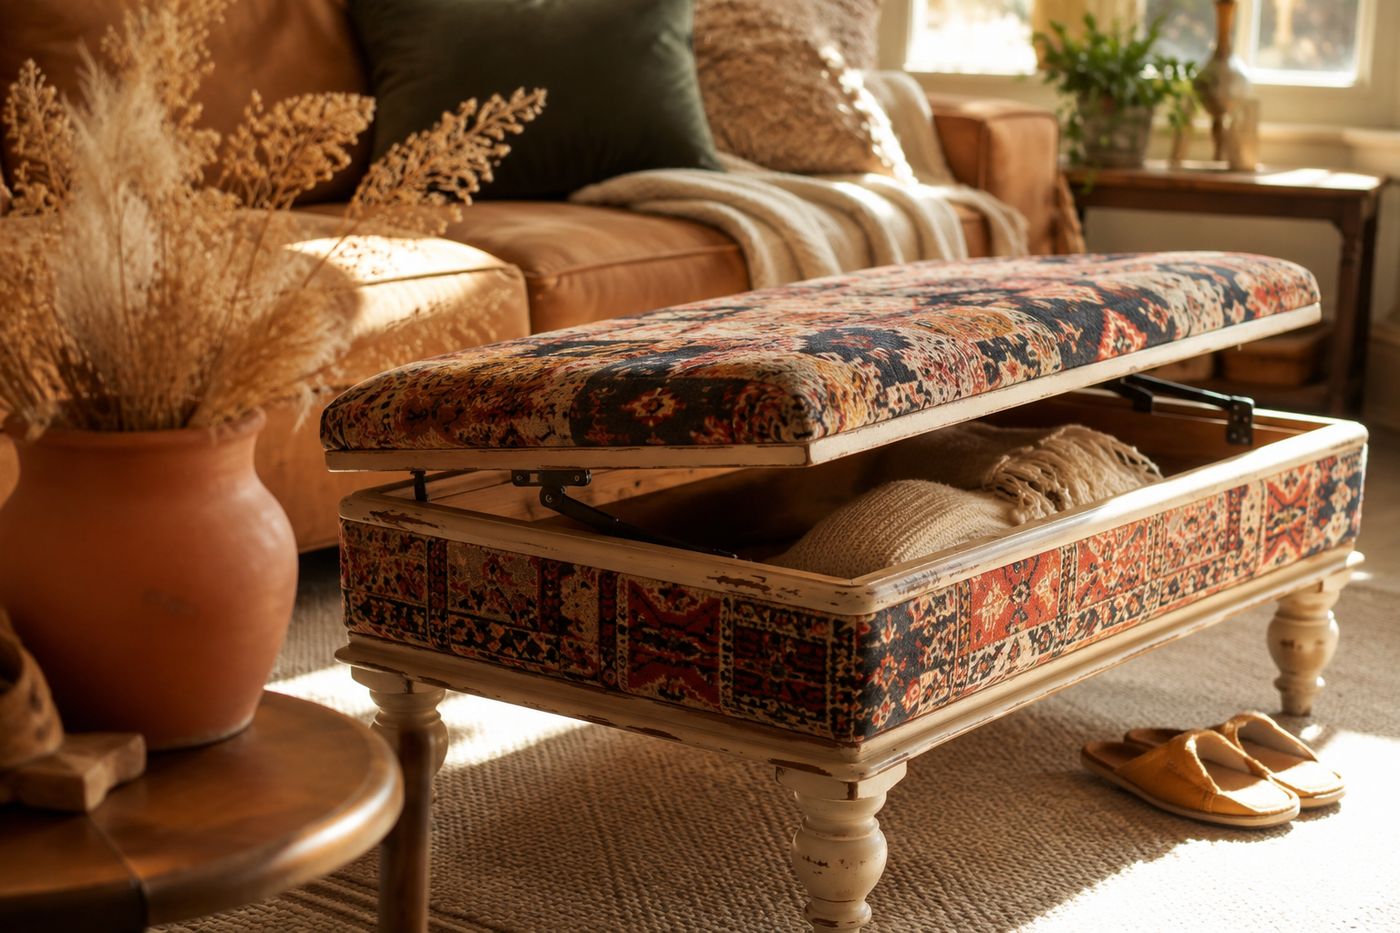
A padded lid is heavier than the plain wood top it replaces, since foam, batting, and fabric all add weight above the hinge line, and a standard hinge alone has nothing stopping that added weight from swinging back down once the lid passes a certain angle. That's the actual mechanical reason a safety hinge matters here — it's not an optional upgrade, it's the part that holds the lid open against gravity instead of letting it drop the moment you let go, which is exactly the moment your hand is usually still inside reaching for a blanket. The second detail that determines whether this project looks upholstered or just glued-on is how the fabric wraps the foam edges: pulling it smoothly over the corners before stapling underneath, rather than stapling first and tugging fabric flat after, is what keeps the padded top looking rounded and finished instead of lumpy at the seams. Get those two things right, and a $10-25 thrifted table with foam and fabric turns into a $30-50 ottoman that does more than the table it replaced.
What You'll Need
- Solid wooden coffee table with a flat top — about $10-25 thrifted, ideally with a lower shelf for extra storage
- Plywood sheet, cut to tabletop dimensions if making a removable/lidded lid — about $8
- High-density foam, 2-3 inches thick, cut to size — about $15
- Batting, for a softer finish over the foam — about $6
- Upholstery fabric, a bold pattern or rich texture — about $15-20
- Staple gun and staples
- Hinges with a safety/lid-support hinge, if building the lift-top storage version — about $6-10
- Paint or stain, for the legs — about $5
How to Do It
- Remove any existing hardware from the table, and decide whether you're building a removable lid on a cut plywood piece or padding the existing tabletop directly.
- Cut your plywood to match the tabletop dimensions if going the removable-lid route.
- Layer high-density foam cut to size on top of the plywood or tabletop, followed by a layer of batting over the foam for a softer, more rounded final feel.
- Wrap your upholstery fabric smoothly over the foam and edges before pulling it taut and stapling — wrapping first and tugging as you go keeps the corners rounded and clean, rather than stapling flat first and fighting bunched fabric at the corners afterward.
- Staple the fabric underneath the plywood or table edge, working from the center of each side outward toward the corners for even tension.
- Attach the padded top to the table frame with hinges if building the lift-top storage version, positioning them so the lid opens fully without obstruction.
- Add a safety/lid-support hinge in addition to your main hinges — this is the piece that actually holds the padded lid open safely, since a padded top is heavier than the original wood lid and a standard hinge alone won't reliably support that added weight.
- Paint or stain the legs to complement your fabric choice, letting them dry fully before use.
Interior stylists who furnish small living rooms often choose an ottoman fabric in a bold pattern specifically because a solid neutral piece this size tends to disappear into the room, while a patterned top reads as an intentional statement piece even at the same scale. Pairing that bold top with legs painted in a single solid color pulled from the pattern — rather than staining them to match the original wood — is what makes the whole piece look designed as a set rather than assembled from parts.