Small Space

Recent Content

Shoe Bench Build: The Cubby Depth That Keeps Pairs Upright

Shoe Bench Build: The Cubby Depth That Keeps Pairs Upright

Build a wooden entryway shoe bench for $35—the cubby depth is what keeps boots standing instead of toppling into a pile every morning.

Style a Layered Nightstand Vignette in 1 Hour for $35

Style a Layered Nightstand Vignette in 1 Hour for $35

Turn a cluttered nightstand into a cozy styled vignette with the height-rule trick—1 hour, $35, instant bedroom upgrade.

The Cafe Rod Trick for a Fake Built-In Vanity

The Cafe Rod Trick for a Fake Built-In Vanity

Fake a built-in bathroom vanity shelf with a tiny cafe rod and basket—zero drilling, zero suction cups, full deposit intact.

Tension Rod Shelf: The Rod Width That Won't Slip

Tension Rod Shelf: The Rod Width That Won't Slip

Build a hidden double-decker shelf under your sink for $6—the rod tension width is what keeps it from crashing down on cleaning day.

Mulch Perennial Beds for Winter in 1 Hour for $25

Mulch Perennial Beds for Winter in 1 Hour for $25

Tuck your perennials in right! A 3-inch mulch blanket now saves roots from winter heave for about $25.

logo
  • Home Improvement
  • DIY Projects
  • Interior Design
  • Gardening & Outdoor
  • Real Estate
  • Home Improvement
  • DIY Projects
  • Interior Design
  • Gardening & Outdoor
  • Real Estate
  • ​

The Tension Rod Trick That Doubles Your Pantry Shelf

One rod, zero tools, and suddenly your cabinet has twice the room.

[#~image_alt_1~#]
Small Space

Rental kitchens and dorm cabinets never seem to have enough shelf space, and stacking cans just leads to an avalanche every time you reach for one. This tension rod trick creates an instant second-tier shelf with zero tools and zero damage — pull it out anytime and the cabinet looks untouched.

What You'll Need

  • Two adjustable tension rods, spring-loaded, sized to your cabinet width (approx. $6-$10 each)
  • Optional: thin rubber grip liner to prevent rod slipping (approx. $4)
  • Optional: small flat items (light boxes, flat cans) to test the new shelf's weight limit

How to Do It

  1. Measure the width of your cabinet and the height where you want the new shelf tier.
  2. Extend each tension rod to fit snugly between the cabinet's side walls, leaving no marks since nothing is screwed or glued in place.
  3. Space two rods a few inches apart, front to back, so they can support flat-bottomed items like plates or boxed goods.
  4. Test the rods with light items first, adjusting tension until they hold steady without slipping.
  5. Load your new upper tier with lightweight items, keeping heavier things on the original shelf below.
  6. Remove anytime by simply collapsing the rods — no residue, no marks, no landlord side-eye.
DESIGNER TIP

Add a strip of rubber shelf liner along the rods before loading items — it grips better and keeps things from sliding when you open the cabinet door.
Related Content

Small Space

14 October 2026

Post

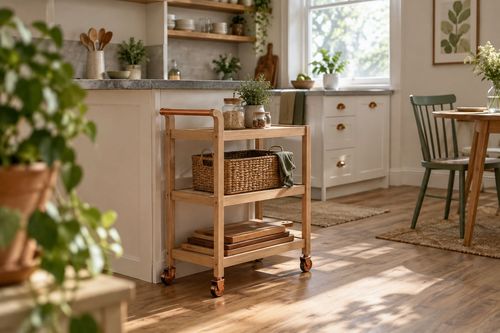
The Rolling Cart Trick That Fakes a Kitchen Island

No island, no problem. A rolling cart fakes extra counter space and storage—zero drilling, full deposit intact....

Small Space

04 October 2026

Post

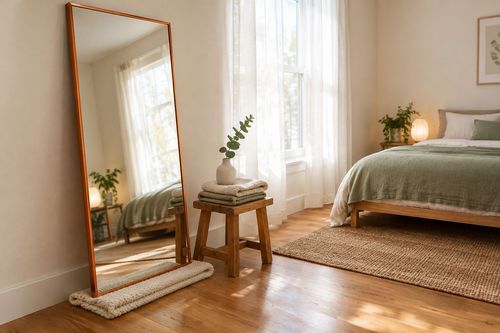
The Mirror Trick That Makes Tiny Rooms Feel Huge

Lean a big mirror, skip the wall damage. This renter-safe trick doubles your light and space in minutes—no drilling, no stress....

Small Space

03 October 2026

Post

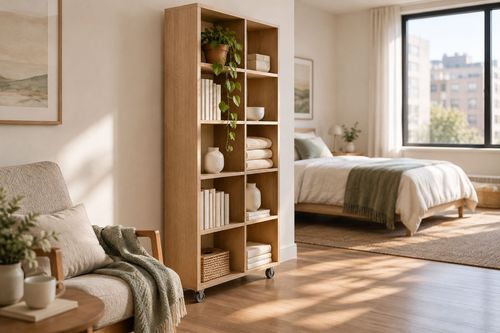
The Freestanding Bookshelf Trick for Instant Wall Storage

No drilling, no anchors — a slim freestanding shelf unit that fakes built-in storage and rolls away deposit-free....
Terms and ConditionsDo Not Sell or Share My Personal InformationPrivacy PolicyPrivacy NoticeAccessibility NoticeUnsubscribe
Copyright © 2026 DIY HomeBoost