DIY Projects

Recent Content

Shoe Bench Build: The Cubby Depth That Keeps Pairs Upright

Shoe Bench Build: The Cubby Depth That Keeps Pairs Upright

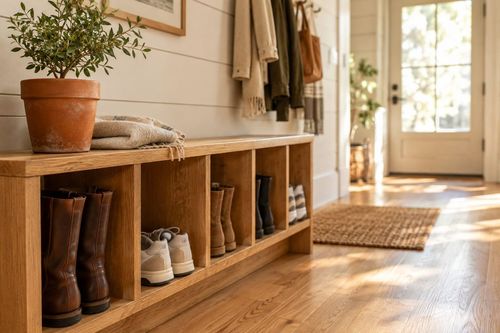
Build a wooden entryway shoe bench for $35—the cubby depth is what keeps boots standing instead of toppling into a pile every morning.

Style a Layered Nightstand Vignette in 1 Hour for $35

Style a Layered Nightstand Vignette in 1 Hour for $35

Turn a cluttered nightstand into a cozy styled vignette with the height-rule trick—1 hour, $35, instant bedroom upgrade.

The Cafe Rod Trick for a Fake Built-In Vanity

The Cafe Rod Trick for a Fake Built-In Vanity

Fake a built-in bathroom vanity shelf with a tiny cafe rod and basket—zero drilling, zero suction cups, full deposit intact.

Tension Rod Shelf: The Rod Width That Won't Slip

Tension Rod Shelf: The Rod Width That Won't Slip

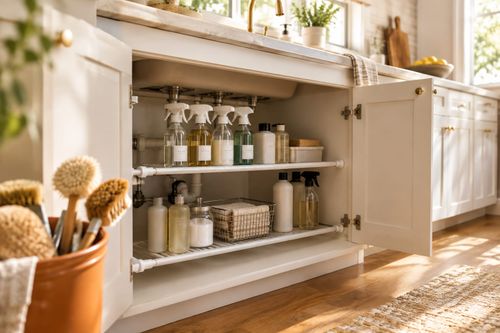
Build a hidden double-decker shelf under your sink for $6—the rod tension width is what keeps it from crashing down on cleaning day.

Mulch Perennial Beds for Winter in 1 Hour for $25

Mulch Perennial Beds for Winter in 1 Hour for $25

Tuck your perennials in right! A 3-inch mulch blanket now saves roots from winter heave for about $25.

logo
  • Home Improvement
  • DIY Projects
  • Interior Design
  • Gardening & Outdoor
  • Real Estate
  • Home Improvement
  • DIY Projects
  • Interior Design
  • Gardening & Outdoor
  • Real Estate
  • ​

Travel in Style: Sew Custom Fabric Luggage Tags

Turn fabric scraps into personalized travel companions for late summer adventures

Colorful handmade fabric luggage tags in various patterns attached to modern suitcases ready for travel with bright summer lighting
DIY PROJECTS

There's something absolutely delightful about spotting your bright, handmade luggage tags on the baggage carousel while everyone else squints at identical black cases! I started making these fabric tags years ago when my daughter kept losing her generic plastic ones, and now they've become our little family tradition before any trip. With end-of-summer getaways and back-to-school moves approaching, it's the perfect time to raid your fabric scrap bin and create something both practical and personal. These tags are incredibly quick to make – you can whip up a whole set during a single afternoon – and they're tough enough to survive countless airport adventures. Plus, there's something so satisfying about using up those beautiful fabric remnants that have been waiting patiently in your craft stash!

Materials & Supplies

  • Outer Fabric: Cotton quilting scraps or canvas in bright patterns (¼ yard makes 6-8 tags)
  • Backing Fabric: Solid cotton or coordinating print for information panel ($8-12)
  • Interfacing: Medium-weight fusible interfacing for durability ($5)
  • Clear Vinyl: Heavy-duty clear vinyl for contact info protection ($8)
  • Hardware: Key rings, metal eyelets, or heavy-duty snaps ($10)
  • Notions: Coordinating thread, fabric markers, small scissors ($15)
  • Tools: Sewing machine, iron, rotary cutter, cutting mat, eyelet setter

Sewing Process

  1. Cut fabric pieces to 4" x 6" for tag body, plus 2" x 4" for attachment strap
  2. Fuse interfacing to wrong side of outer fabric pieces following manufacturer's instructions
  3. Create clear window by cutting vinyl slightly smaller than contact info area
  4. Layer pieces with outer fabric face down, vinyl, backing fabric face up, pin carefully
  5. Sew around edges with ¼" seam allowance, leaving 2" opening for turning
  6. Trim corners and turn right side out, pressing edges crisp and clean
  7. Topstitch around entire perimeter for professional finish and durability
  8. Install eyelet or snap for strap attachment, add key ring or luggage loop connection
DESIGNER TIP

The secret to luggage tags that actually survive travel is all in the construction details. Always use medium-weight interfacing – it prevents the fabric from stretching and tearing under stress. For the attachment point, reinforce with a small square of extra interfacing before installing your eyelet or snap. Pro seamstresses also know to make the clear vinyl window slightly recessed from the edges, which protects it from snagging. My favorite trick? Include a small loop of elastic inside the tag so you can slip in business cards or hotel key cards along with your contact info – incredibly handy for frequent travelers!
Related Content

DIY Projects

04 November 2026

Post

Shoe Bench Build: The Cubby Depth That Keeps Pairs Upright

Build a wooden entryway shoe bench for $35—the cubby depth is what keeps boots standing instead of toppling into a pile every morning....

DIY Projects

03 November 2026

Post

Tension Rod Shelf: The Rod Width That Won't Slip

Build a hidden double-decker shelf under your sink for $6—the rod tension width is what keeps it from crashing down on cleaning day....

DIY Projects

01 November 2026

Post

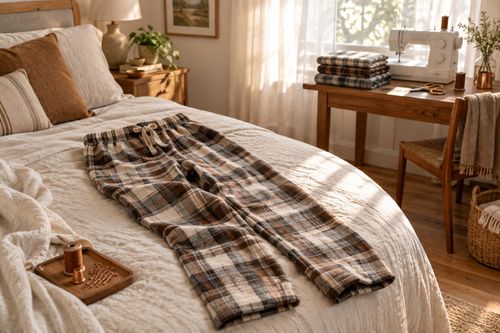
Sew Flannel Pajama Pants in 3 Hours for $25

Ditch store PJs! Sew cozy flannel pajama pants with an elastic waist in 3 hours for about $25 — perfect for chilly November nights....

DIY Projects

31 October 2026

Post

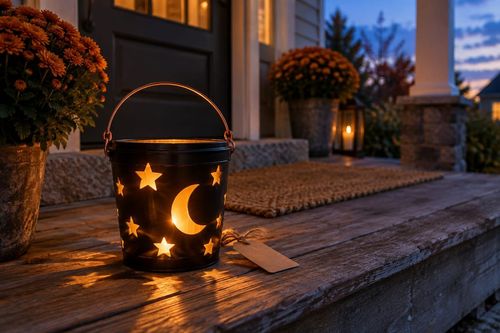
Build a Trick-or-Treat Bucket Lantern in 1 Hour for $15

Light up Halloween night with a glowing trick-or-treat bucket lantern—1 hour, $15, and way safer than a candle in a pumpkin....

DIY Projects

30 October 2026

Post

Pour Pumpkin Spice Candles in 1 Hour for $15

Ditch the $28 mall candle—pour your own pumpkin spice soy candles at home for $15 and fill your house with fall in an hour....

DIY Projects

29 October 2026

Post

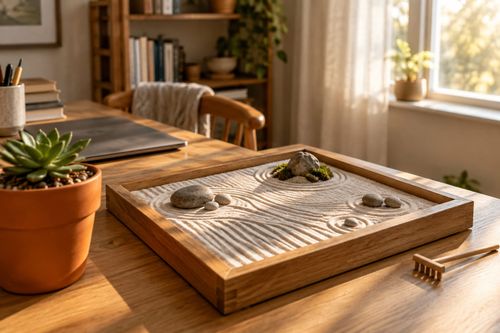
Tabletop Zen Garden: The Sand Depth That Holds Lines

Build a calming tabletop zen garden for $15—the sand depth is the one thing that decides if your rake lines actually hold or vanish....

DIY Projects

28 October 2026

Post

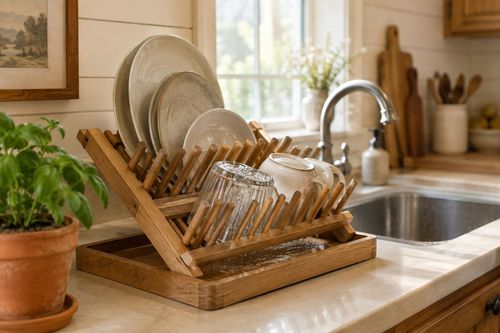
Wooden Dish Rack: The Dowel Angle That Drains Right

Build a slatted wood dish rack for $18—the dowel tilt angle is what actually drains water into the tray instead of pooling on your counter....

DIY Projects

27 October 2026

Post

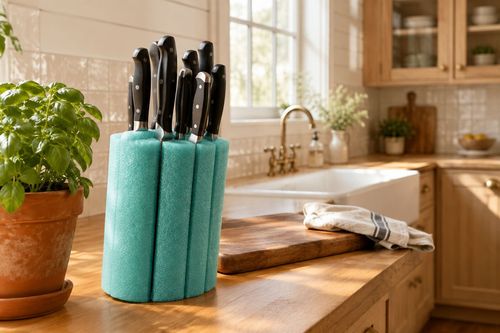
Pool Noodle Knife Block: The Slice Depth That Stops Wobble

Turn a $1 pool noodle into a safe knife block—the slice depth is what keeps blades from wobbling loose or slicing through the foam....

DIY Projects

27 October 2026

Post

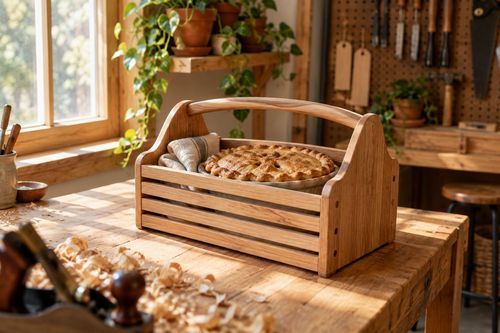
Build a Wooden Pie Carrier in 2 Hours for $25

Never smash a pie in the car again! Build a snug wooden pie carrier in 2 hours for $25—perfect timing for fall potlucks....

DIY Projects

26 October 2026

Post

Make Herb-Infused Honey in 30 Minutes for $12

Turn raw honey into a cold-season secret weapon—infuse it with thyme and ginger in 30 minutes for about $12, no fancy gear needed....

DIY Projects

25 October 2026

Post

Make Homemade Fire Cider in 20 Minutes for $15

Steep this spicy apple cider vinegar tonic now so it's ready to fight off fall colds in 4 weeks—20 minutes, $15, zero cooking skills....

DIY Projects

23 October 2026

Post

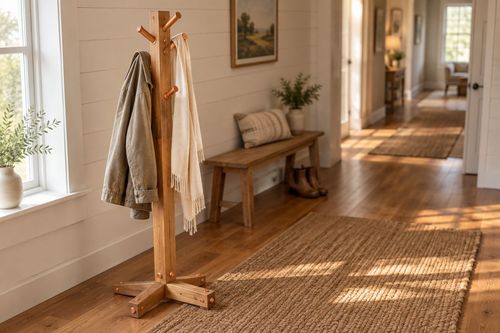
Build a Freestanding Coat Rack in 2 Hours for $35

Sick of coats piled on chairs? Build a sturdy freestanding coat rack in 2 hours for $35 — no wall drilling, just solid joinery....

DIY Projects

22 October 2026

Post

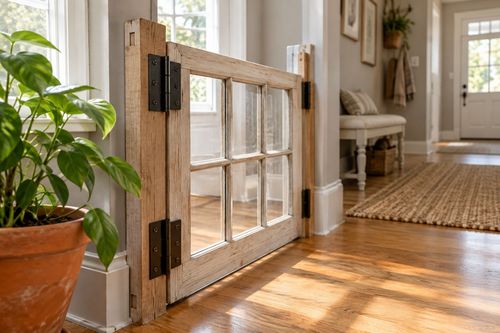
Window Frame to Pet Gate: The Hinge Set That Holds

Turn an old wooden window frame into a swinging pet gate for $22 — the hinge mortise depth is what keeps it from sagging open over time....

DIY Projects

22 October 2026

Post

Make Spiced Homemade Applesauce in 1 Hour for $12

Turn a bag of fall apples into silky spiced applesauce in an hour for $12 — no peeling required if you've got the right tool....

DIY Projects

21 October 2026

Post

Floating Nightstand: The Bracket Depth That Holds Weight

Build a wall-mounted wooden nightstand for $25 — the bracket depth inside the wood is what stops it from sagging under a lamp and books....
Terms and ConditionsDo Not Sell or Share My Personal InformationPrivacy PolicyPrivacy NoticeAccessibility NoticeUnsubscribe
Copyright © 2026 DIY HomeBoost