DIY Projects

Recent Content

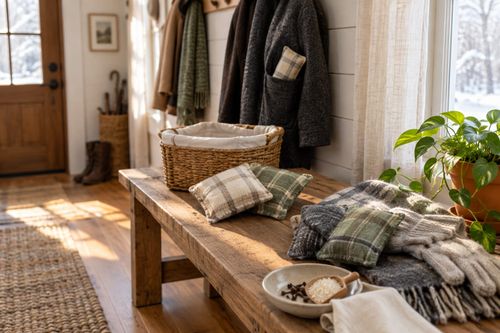
Wooden Boot Tray: The Slat Gap That Drains Right

Wooden Boot Tray: The Slat Gap That Drains Right

Build a slatted pine boot tray for about $20 in an afternoon. The slat gap is what lets meltwater drain instead of pooling and rotting your entryway floor.

Magnetic Window Sill Herb Garden: Renter-Safe Trick

Magnetic Window Sill Herb Garden: Renter-Safe Trick

Grow fresh herbs on a bare rental window with a no-drill hanging trick. Zero holes, zero residue, deposit safe. Winter greens for your tiny kitchen!

Build a Wooden Gift Wrap Station in 2 Hours for $28

Build a Wooden Gift Wrap Station in 2 Hours for $28

Stop wrestling curling paper on the floor! Build a slim wooden gift wrap station with a paper rod and ribbon pegs in 2 hours for $28, just in time for gifting.

Dollar Store Spice Tiers: The Riser Lip That Holds

Dollar Store Spice Tiers: The Riser Lip That Holds

Turn $1 plastic risers into a tiered cabinet spice organizer for about $8. The lip height is what stops jars from sliding forward.

Under-Bed Rolling Bins: Renter Storage Hack

Under-Bed Rolling Bins: Renter Storage Hack

Tiny space, big stash. Rolling under-bed bins add hidden storage with zero drilling, zero residue, and a safe deposit. Set up in 15 minutes!

logo
  • Home Improvement
  • DIY Projects
  • Interior Design
  • Gardening & Outdoor
  • Real Estate
  • Home Improvement
  • DIY Projects
  • Interior Design
  • Gardening & Outdoor
  • Real Estate
  • ​

Transform a Coffee Table into an Ottoman: Furniture Magic in One Day

Turn tired furniture into plush seating that serves multiple purposes beautifully

Before and after showing old coffee table transformed into elegant upholstered ottoman with decorative nail heads and beautiful fabric
DIY PROJECTS

That tired coffee table taking up space in your garage or basement holds incredible potential to become the perfect ottoman that serves as extra seating, footrest, and even hidden storage depending on your needs. Converting worn furniture into plush, upholstered ottomans costs a fraction of buying new pieces while giving you complete control over size, fabric, and style to match your existing decor perfectly. The transformation process involves adding foam padding for comfort, wrapping in beautiful fabric, and finishing with decorative nail heads that give it a professional, high-end appearance. What makes this project so rewarding is watching a piece destined for donation become the focal point that guests always compliment, proving that sometimes the best furniture transformations happen when you see potential where others see problems.

Transformation Materials

  • Upholstery Supplies: High-density foam padding (2-3 inches thick), batting for smooth finish, durable upholstery fabric
  • Hardware and Trim: Decorative nail heads or upholstery tacks, heavy-duty staples, fabric adhesive
  • Tools Required: Staple gun, hammer, fabric scissors, measuring tape, electric carving knife for foam cutting
  • Table Preparation: Sandpaper for surface prep, wood stain or paint if refinishing legs, screwdriver for leg adjustments
  • Optional Additions: Furniture legs in desired height, casters for mobility, storage hinges if creating lift-top design

Makeover Process

  1. Assess table height and either shorten legs for standard ottoman height (14-18 inches) or leave as-is for higher seating
  2. Clean and sand table surface, removing old finish and creating smooth base for padding attachment
  3. Cut foam padding to match tabletop dimensions exactly, using electric knife for clean, straight edges
  4. Attach foam to tabletop using spray adhesive, ensuring even coverage without wrinkles or bubbles
  5. Layer batting over foam, pulling taut and stapling to table underside for smooth, professional finish
  6. Measure and cut fabric with 6-inch overhang on all sides for proper wrapping and tucking
  7. Wrap fabric around padded top, pulling tight and stapling underneath while maintaining even tension
  8. Install decorative nail heads around perimeter, spacing evenly for polished, upholstered furniture appearance
DESIGNER TIP

Professional upholsterers always create paper templates before cutting expensive fabric, ensuring perfect fit and minimizing waste on costly materials. For the smoothest corners, use the "hospital corner" technique from bedmaking – fold fabric at 45-degree angles and pull tight before stapling. If your coffee table has drawers, consider converting them into hidden storage by adding soft-close hinges to create a lift-top ottoman that provides both seating and organization. The key to professional-looking results is taking time with the fabric wrapping – rushed corners always show, but careful attention to tension and fold placement creates furniture that looks store-bought.
Related Content

DIY Projects

02 December 2026

Post

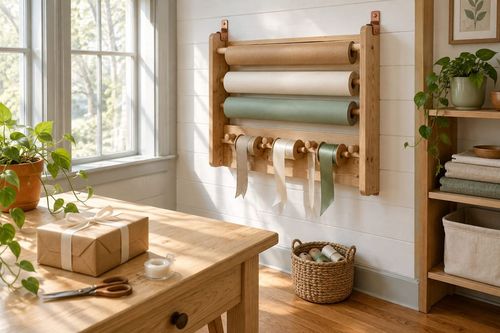
Build a Wooden Gift Wrap Station in 2 Hours for $28

Stop wrestling curling paper on the floor! Build a slim wooden gift wrap station with a paper rod and ribbon pegs in 2 hours for $28, just in time for gifting....

DIY Projects

30 November 2026

Post

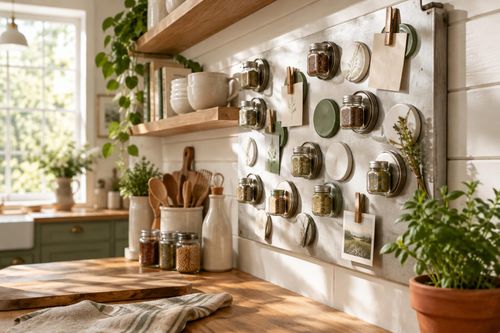
Jar Lid Magnet Board: The Backing That Holds

Turn old jar lids into a magnetic spice and note board for about $12. The right magnet backing is what keeps lids from sliding off. Easy Monday upcycle!...

DIY Projects

30 November 2026

Post

Make Felted Wool Dryer Sachets in 45 Minutes for $12

Skip the pricey scented sheets! Sew wool-and-lavender dryer sachets in 45 minutes for $12 and give every winter laundry load a fresh, cozy upgrade....

DIY Projects

28 November 2026

Post

Make Hand-Stamped Wooden Ornaments in 2 Hours for $18

Wood slices, a wood-burning-free stamp trick, and sealant turn into keepsake ornaments that survive decades of holiday boxes. Cute, cheap, and totally doable!...

DIY Projects

27 November 2026

Post

Make Salt Dough Gift Ornaments in 2 Hours for $12

Flour, salt, and a low oven turn into keepsake ornaments that last for decades. Beginner-friendly, kid-approved, and ready to hang in about 2 hours for $12....

DIY Projects

26 November 2026

Post

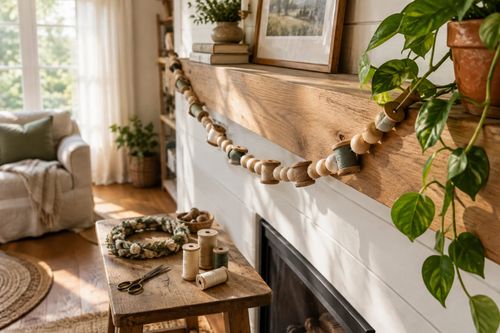
Thread Spool Garland: Why Tension Ties Matter

Turn a hand-stitched wreath into calm: a mindful beaded-thread garland for $9 where even tension is what keeps every bead from sliding into a slump....

DIY Projects

26 November 2026

Post

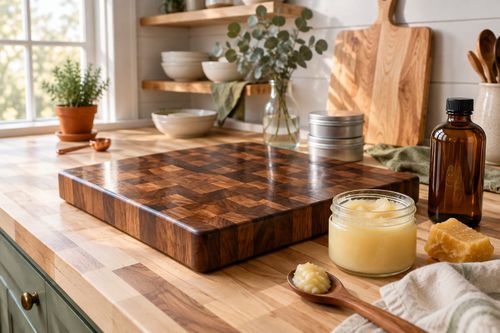
Build a Wooden Cutting Board Oil Kit in 1 Hour for $20

Dry cutting boards crack and harbor bacteria. Whip up a food-safe board butter in an hour for $20 and keep your boards gorgeous for years....

DIY Projects

25 November 2026

Post

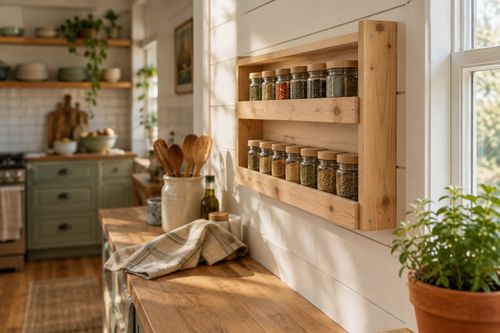
Wooden Spice Rack: The Shelf Lip Height That Holds

Build a slim pine wall spice rack in an afternoon for about $18. The shelf lip height is what keeps jars from sliding off. Beginner-friendly....

DIY Projects

24 November 2026

Post

Foil Pan Light Reflector: The Tab Fold That Holds

Turn a $1 foil pan into a Christmas-ready tabletop candle reflector for under $5. The tab fold is what keeps it standing, not slumping....

DIY Projects

24 November 2026

Post

Sew a Rice-Weighted Hand Warmer Set in 1 Hour for $14

Cold hands at the bus stop? Sew reusable flannel hand warmers filled with rice and cloves in an hour for $14. Zap, pocket, and enjoy cozy fingers all winter....

DIY Projects

22 November 2026

Post

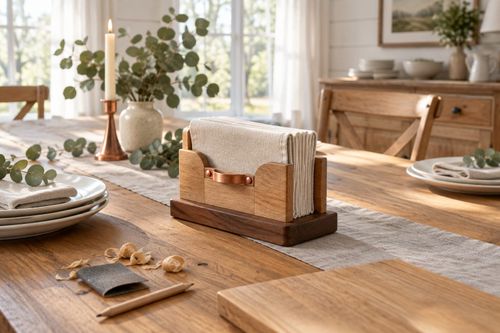
Build a Wooden Napkin Holder in 1 Hour for $15

Stop napkins from flying off the table! Build a weighted wooden napkin holder in an hour for $15 and be ready for holiday hosting. Beginner friendly....

DIY Projects

21 November 2026

Post

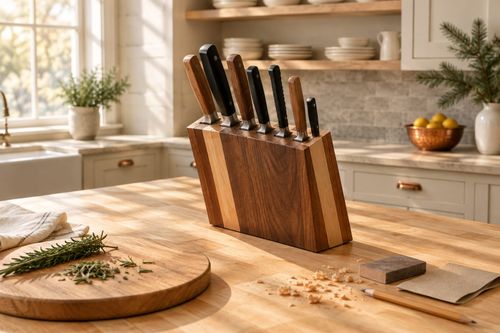
Build a Wooden Knife Block in 2 Hours for $28

Ditch the dull-blade drawer shuffle! Build a slotted hardwood knife block in 2 hours for $28 and get holiday-ready prep space with safer, sharper knives....

DIY Projects

20 November 2026

Post

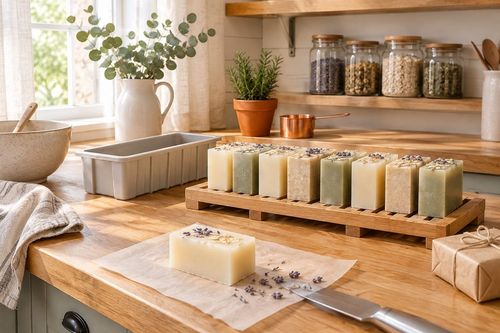
Make Hand-Poured Soap Bars in 1 Hour for $20

Skip the pricey boutique bars! Melt, scent, and pour your own glycerin soap in about an hour for $20. Cure-time secrets included, bubbles guaranteed....

DIY Projects

19 November 2026

Post

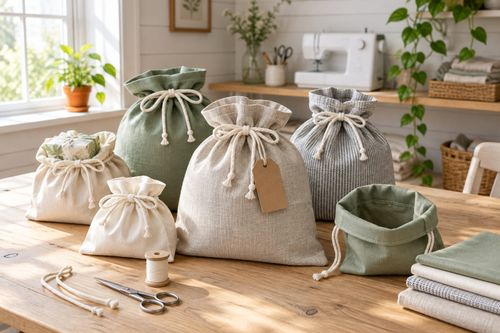
Sew Reusable Fabric Gift Bags in 90 Minutes for $15

Ditch the wrapping paper landfill! Sew drawstring fabric gift bags with French-folded hems in 90 minutes for $15 and reuse them every holiday for years....

DIY Projects

18 November 2026

Post

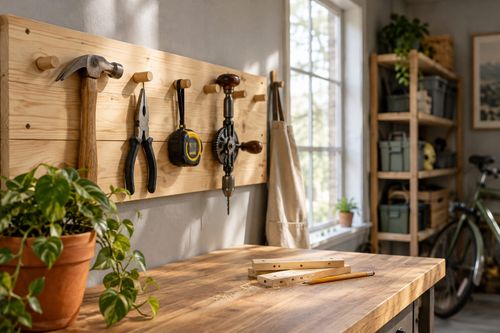
Wooden Tool Wall: The Pilot Hole Depth That Holds

Build a pine wall-mounted tool rack for about $22. Pre-drilling pilot holes to the right depth keeps the wood from splitting and the pegs holding....
Terms and ConditionsDo Not Sell or Share My Personal InformationPrivacy PolicyPrivacy NoticeAccessibility NoticeUnsubscribe
Copyright © 2026 DIY HomeBoost