Interior Design

Recent Content

Wooden Boot Tray: The Slat Gap That Drains Right

Wooden Boot Tray: The Slat Gap That Drains Right

Build a slatted pine boot tray for about $20 in an afternoon. The slat gap is what lets meltwater drain instead of pooling and rotting your entryway floor.

Magnetic Window Sill Herb Garden: Renter-Safe Trick

Magnetic Window Sill Herb Garden: Renter-Safe Trick

Grow fresh herbs on a bare rental window with a no-drill hanging trick. Zero holes, zero residue, deposit safe. Winter greens for your tiny kitchen!

Build a Wooden Gift Wrap Station in 2 Hours for $28

Build a Wooden Gift Wrap Station in 2 Hours for $28

Stop wrestling curling paper on the floor! Build a slim wooden gift wrap station with a paper rod and ribbon pegs in 2 hours for $28, just in time for gifting.

Dollar Store Spice Tiers: The Riser Lip That Holds

Dollar Store Spice Tiers: The Riser Lip That Holds

Turn $1 plastic risers into a tiered cabinet spice organizer for about $8. The lip height is what stops jars from sliding forward.

Under-Bed Rolling Bins: Renter Storage Hack

Under-Bed Rolling Bins: Renter Storage Hack

Tiny space, big stash. Rolling under-bed bins add hidden storage with zero drilling, zero residue, and a safe deposit. Set up in 15 minutes!

logo
  • Home Improvement
  • DIY Projects
  • Interior Design
  • Gardening & Outdoor
  • Real Estate
  • Home Improvement
  • DIY Projects
  • Interior Design
  • Gardening & Outdoor
  • Real Estate
  • ​

Textile Artistry: Creative Ways to Decorate with Tapestries

Transform your space with versatile fabric art that adds color, texture, and personality

Bedroom with beautifully mounted tapestry as focal point above bed
INTERIOR DESIGN

Tapestries offer an affordable, versatile solution for adding color, texture, and visual interest to any space. Unlike framed art, these textile pieces soften a room's acoustics while making a bold style statement. From bohemian mandalas to vintage-inspired prints, tapestries allow you to transform bland walls into compelling focal points without the commitment or damage of wallpaper or paint. With proper installation techniques and creative styling approaches, you can elevate these fabric art pieces from dorm room decor to sophisticated design elements.

Tapestry Options & Tools

• Tapestry Types: Woven, printed, macramé, batik
• Materials: Cotton, wool, silk, synthetic blends
• Size Options: Twin (60"x80"), Queen (90"x90"), etc.
• Mounting Hardware: Velcro strips, command strips
• Alternative Hanging: Curtain rods, dowels, clips
• Framing Options: Wood frames, stretcher bars
• Tools: Level, measuring tape, pencil, hammer
• Accessories: Fabric stiffener, iron, weights
• Maintenance: Lint roller, gentle detergent

Creative Display Methods

  1. Traditional Wall Hanging
    • For a polished look, iron your tapestry on low heat before hanging.
    • Use a curtain rod with decorative finials threaded through a rod pocket or attached with curtain clips for a traditional display.
    • For damage-free installation, apply a row of command strips or hooks along the top edge, spaced every 8-12 inches.
    • Create a cleaner appearance by using velcro strips along all four edges, which keeps the fabric taut and prevents sagging.
    • For heavier tapestries, consider mounting a wooden batten to the wall and attaching the tapestry using staples or velcro.
  2. Framed Textile Art
    • Elevate your tapestry by creating a floating frame from lightweight wood molding.
    • For smaller pieces, stretch the tapestry over canvas stretcher bars like an artist's canvas.
    • Use a staple gun to attach the fabric to the back of the frame, pulling taut as you work.
    • Add a fabric stiffener spray before framing to reduce wrinkling and maintain crisp edges.
    • Consider adding matting between the frame and tapestry for a gallery-quality presentation.
  3. Ceiling Installation
    • Create a dreamy canopy effect by centering a tapestry over a bed or seating area.
    • Use clear thumbtacks, small hooks, or adhesive ceiling hooks for lightweight fabrics.
    • Allow slight draping for a tent-like effect, or pull taut for a more architectural look.
    • Combine with string lights woven between the ceiling and tapestry for a magical ambiance.
    • Consider fire safety and avoid placing ceiling-mounted tapestries near light fixtures or heat sources.
  4. Room Divider Application
    • Hang tapestries from ceiling-mounted curtain tracks to create flexible room divisions.
    • Install multiple tapestries side by side for wider spaces or to create visual variety.
    • Add weights to the bottom hem to prevent movement and maintain a straight hanging position.
    • Consider double-sided displays with complementary tapestries facing each divided area.
    • Use tension rods between walls for a temporary, rental-friendly division solution.
  5. Furniture Enhancement
    • Drape tapestries over plain sofas or chairs as stylish slipcovers that protect furniture.
    • Create a custom headboard by mounting a tapestry behind your bed, either hanging loose or stretched on a frame.
    • Revitalize dining chairs by upholstering seat cushions with tapestry fabric, sealed with protective spray.
    • Use smaller tapestries as luxurious table runners or unique placemats for special occasions.
    • Transform a basic ottoman by wrapping and stapling tapestry fabric to create a bohemian accent piece.
  6. Alternative Applications
    • Sew tapestry fabric into unique pillow covers that coordinate with your wall displays.
    • Use weather-resistant tapestries to create outdoor privacy screens or shade solutions.
    • Frame smaller sections of intricate tapestries in multiple frames for a gallery wall effect.
    • Create a dramatic bed canopy by hanging a tapestry from a ceiling-mounted curtain rod above the headboard.
    • Convert tapestries into window coverings by adding rod pockets or clip rings for an affordable alternative to custom curtains.
DESIGNER TIP

To elevate tapestries beyond their bohemian associations, consider their scale and placement carefully. Oversized tapestries create more impact when they're the only statement piece in a room, while smaller tapestries work well in gallery arrangements with other art. For a sophisticated installation that prevents the fabric from looking like a temporary college dorm solution, create tension by using hidden rare-earth magnets sandwiched between the tapestry and a thin piece of steel behind the wall. This technique creates a floating effect without visible hardware. Finally, choose tapestries with colors that complement your existing decor rather than introducing an entirely new palette—this integration makes the piece feel intentional rather than random.
Related Content

Interior Design

28 November 2026

Post

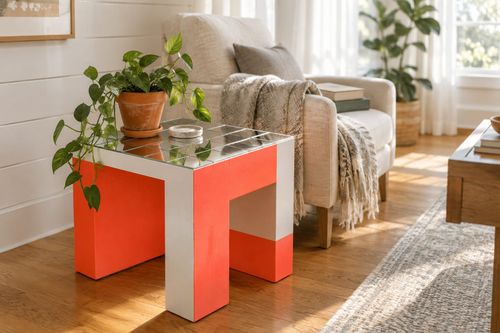
Mirror Tile Table: The Adhesive Bead That Stops Slide

Turn a plain side table into a bold, color-blocked Saturday showstopper for about $30. The primer coat is what keeps the neon from chipping or going streaky....

Interior Design

25 November 2026

Post

Style a Holiday Mantel Garland in 90 Minutes for $30

Your mantel deserves better than one sad stocking. Layer a lush faux-and-fresh greenery garland in 90 minutes for $30 and watch the holidays move in....

Interior Design

21 November 2026

Post

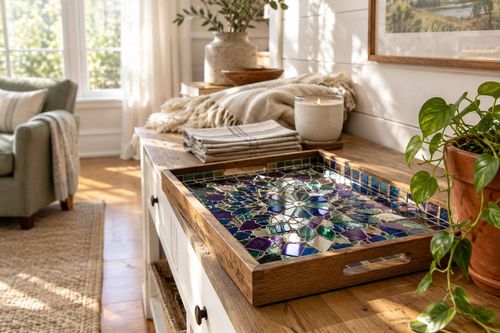
Mosaic Mirror Tray: The Grout Wipe-Off Timing Rule

Turn a plain wooden tray into a bold, jewel-toned mosaic showpiece for about $28. Wiping grout at the right moment keeps colors vivid, not hazy....

Interior Design

16 November 2026

Post

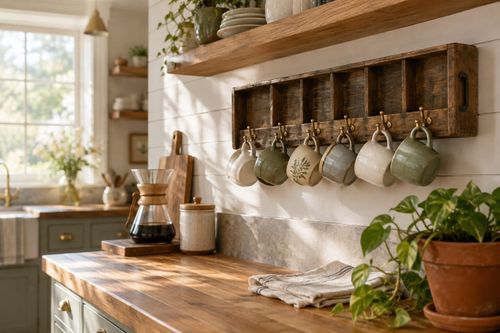
Mug Rack from Cutlery Tray: The Hook Spacing Rule

Turn a thrifted silverware tray into a wall mug rack for about $15. Spacing hooks by handle width keeps mugs from clanking and chipping. Done in an hour....

Interior Design

14 November 2026

Post

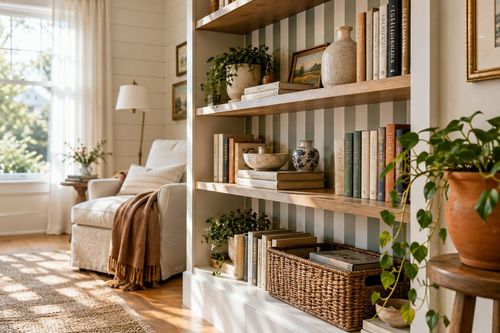
Painted Bookcase Backs: Why Tape Edges Need Sealing

Give a plain bookcase a bold, colorful backdrop for about $25. Sealing your tape edge before the color coat is what keeps the stripes razor-sharp....

Interior Design

07 November 2026

Post

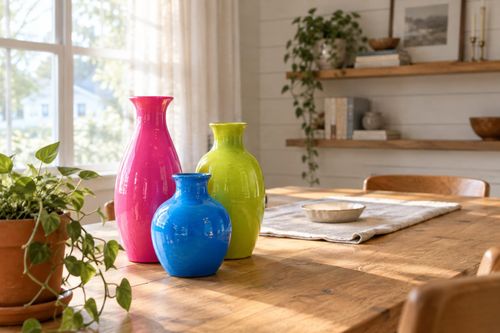
Painted Vase Trio: Why the Gloss Coat Must Go Last

Turn thrifted vases into a bold, color-blocked trio for under $20. The clear gloss coat is what makes the color pop and keeps the paint from chipping....

Interior Design

04 November 2026

Post

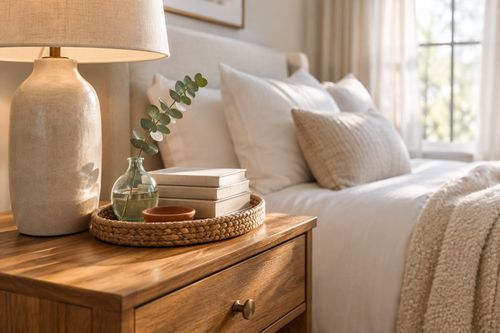
Style a Layered Nightstand Vignette in 1 Hour for $35

Turn a cluttered nightstand into a cozy styled vignette with the height-rule trick—1 hour, $35, instant bedroom upgrade....

Interior Design

02 November 2026

Post

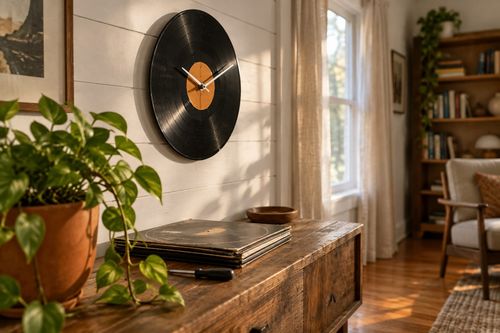
Vinyl Record Clock: The Center Hole Size That Matters

Turn a scratched vinyl record into a working wall clock—the center hole size is what keeps the mechanism snug instead of wobbling off-center. Under $15....

Interior Design

26 October 2026

Post

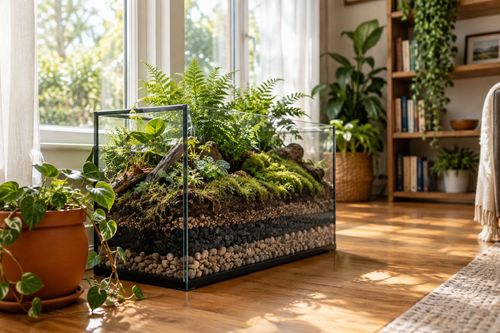
Fish Tank Terrarium: The Drainage Layer That Saves It

Turn a leaky old fish tank into a stunning terrarium—the gravel drainage layer is what stops root rot before your plants ever get a chance....

Interior Design

24 October 2026

Post

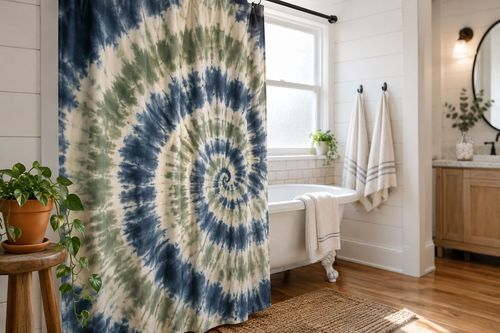
Tie-Dye Shower Curtain: The Fold That Makes Spirals

Turn a plain $8 shower curtain into a wild tie-dye spiral—the fold-and-twist technique is what makes the pattern radiate instead of blotch....

Interior Design

21 October 2026

Post

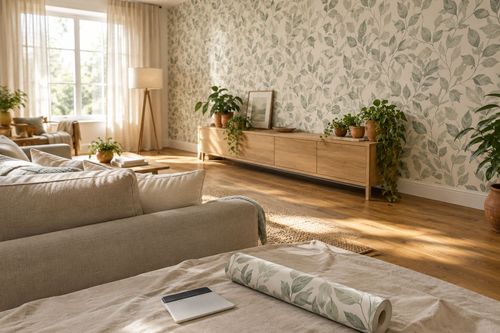
Peel-and-Stick Wallpaper Accent Wall in 3 Hours for $60

Turn one blank wall into a showstopper with peel-and-stick wallpaper—no wet paste, no mess, just a sharp accent wall by dinnertime....

Interior Design

19 October 2026

Post

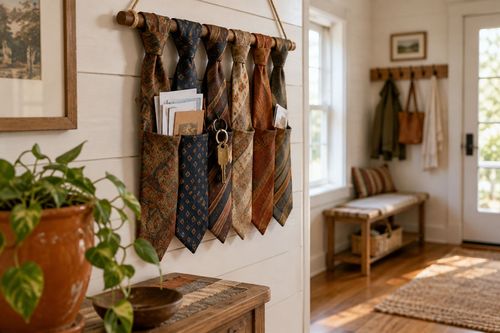
Necktie Wall Organizer: The Knot Spacing That Holds

Turn old neckties into a boho wall organizer for keys and mail—even knot spacing is what keeps the pockets from sagging open. Under $10....

Interior Design

17 October 2026

Post

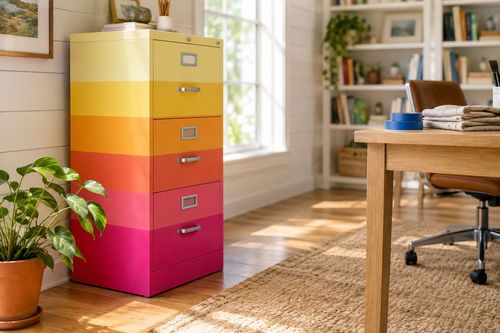
Neon Ombré File Cabinet: The Tape Order That Prevents Bleed

Turn a beige metal file cabinet into a neon ombré showstopper—the tape-layering order is what keeps colors crisp instead of muddy. Under $25....

Interior Design

15 October 2026

Post

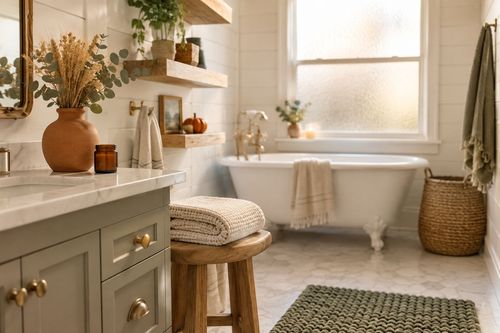
Style a Cozy Fall Guest Bathroom Refresh in 2 Hours for $35

Turn a sterile guest bath into a warm fall retreat with layered textiles and scent—2 hours, $35, zero renovation required....

Interior Design

13 October 2026

Post

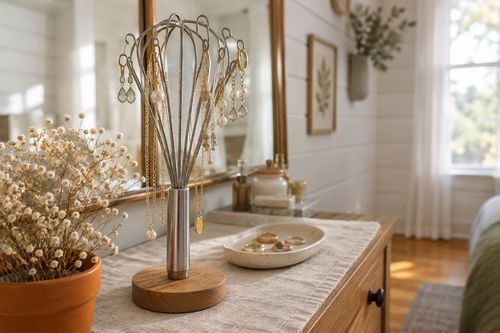
Whisk Jewelry Holder: The Bend That Stops Sagging

Turn a $1 dollar-store whisk into a boutique earring holder—the wire bend angle is what stops it from drooping under real jewelry weight....
Terms and ConditionsDo Not Sell or Share My Personal InformationPrivacy PolicyPrivacy NoticeAccessibility NoticeUnsubscribe
Copyright © 2026 DIY HomeBoost