DIY Projects

Recent Content

Wooden Boot Tray: The Slat Gap That Drains Right

Wooden Boot Tray: The Slat Gap That Drains Right

Build a slatted pine boot tray for about $20 in an afternoon. The slat gap is what lets meltwater drain instead of pooling and rotting your entryway floor.

Magnetic Window Sill Herb Garden: Renter-Safe Trick

Magnetic Window Sill Herb Garden: Renter-Safe Trick

Grow fresh herbs on a bare rental window with a no-drill hanging trick. Zero holes, zero residue, deposit safe. Winter greens for your tiny kitchen!

Build a Wooden Gift Wrap Station in 2 Hours for $28

Build a Wooden Gift Wrap Station in 2 Hours for $28

Stop wrestling curling paper on the floor! Build a slim wooden gift wrap station with a paper rod and ribbon pegs in 2 hours for $28, just in time for gifting.

Dollar Store Spice Tiers: The Riser Lip That Holds

Dollar Store Spice Tiers: The Riser Lip That Holds

Turn $1 plastic risers into a tiered cabinet spice organizer for about $8. The lip height is what stops jars from sliding forward.

Under-Bed Rolling Bins: Renter Storage Hack

Under-Bed Rolling Bins: Renter Storage Hack

Tiny space, big stash. Rolling under-bed bins add hidden storage with zero drilling, zero residue, and a safe deposit. Set up in 15 minutes!

logo
  • Home Improvement
  • DIY Projects
  • Interior Design
  • Gardening & Outdoor
  • Real Estate
  • Home Improvement
  • DIY Projects
  • Interior Design
  • Gardening & Outdoor
  • Real Estate
  • ​

Swing Into Serenity: Build Your Perfect Hammock Escape

Create your own personal paradise where stress melts away with every gentle sway

Cozy hammock nook with comfortable hammock, soft cushions, small side table, and peaceful garden setting
DIY Projects

There's something almost magical about having your own hammock retreat – a place where time seems to slow down and the world's worries just drift away with each gentle rock. I installed my first hammock three summers ago in a forgotten corner of my backyard, and it quickly became my favorite spot for everything from morning coffee to afternoon reading sessions to evening stargazing. The beauty of creating a hammock nook isn't just about hanging a piece of fabric between two points; it's about crafting a complete sensory experience that invites you to truly disconnect and recharge. Whether you're working with a spacious backyard, a cozy sunroom, or even a large covered porch, the right hammock setup can transform any space into your personal sanctuary. Once you experience that perfect balance of comfort, tranquility, and gentle motion, you'll wonder how you ever relaxed without it.

Nook Essentials

  • Quality Hammock: Rope, fabric, or quilted style for your comfort preference ($40-120)
  • Mounting Hardware: Tree straps, wall anchors, or hammock stand ($20-80)
  • Comfort Cushions: Outdoor pillows and throws in weather-resistant fabrics ($25-60)
  • Side Table: Small surface for drinks, books, and essentials ($15-50)
  • Shade Solution: Umbrella, canopy, or natural tree coverage ($30-100)
  • Storage Basket: Weatherproof container for cushions and accessories ($20-40)
  • Ambient Lighting: Solar lanterns or string lights for evening use ($15-35)
  • Personal Touches: Wind chimes, plants, or decorative elements ($20-50)

Setup Process

  1. Scout your location considering shade, privacy, and anchor point options
  2. Install secure mounting points 12-15 feet apart using appropriate hardware
  3. Hang hammock with proper curve – about 30-degree angle for optimal comfort
  4. Test weight capacity and adjust height so you can easily get in and out
  5. Position side table within arm's reach of the hammock's center
  6. Add comfortable cushions and throws, choosing quick-dry materials
  7. Create shade overhead with umbrella, canopy, or strategic placement
  8. Enhance ambiance with lighting, plants, and personal comfort elements
DESIGNER TIP

Professional landscape designers create "destination spaces" by defining the hammock area as a complete outdoor room rather than just a hanging spot. Use a large outdoor rug underneath to ground the space, add tall planters or a decorative screen to create intimacy, and include multiple comfort layers like a lumbar pillow for back support and a lightweight blanket for temperature changes. The key is positioning your hammock to face your best view – whether that's your garden, a water feature, or simply away from the house toward nature. This creates the psychological separation that makes your nook feel like a true escape rather than just backyard furniture.
Related Content

DIY Projects

02 December 2026

Post

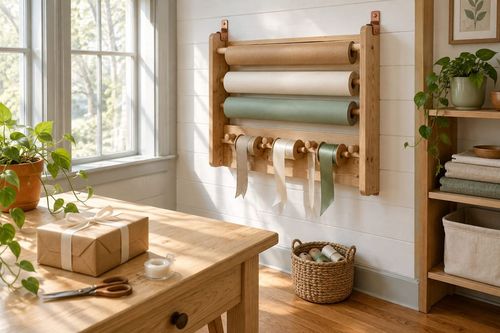
Build a Wooden Gift Wrap Station in 2 Hours for $28

Stop wrestling curling paper on the floor! Build a slim wooden gift wrap station with a paper rod and ribbon pegs in 2 hours for $28, just in time for gifting....

DIY Projects

30 November 2026

Post

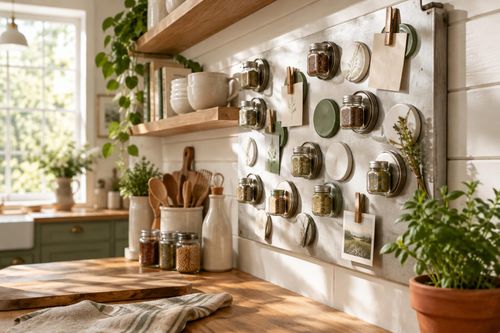
Jar Lid Magnet Board: The Backing That Holds

Turn old jar lids into a magnetic spice and note board for about $12. The right magnet backing is what keeps lids from sliding off. Easy Monday upcycle!...

DIY Projects

30 November 2026

Post

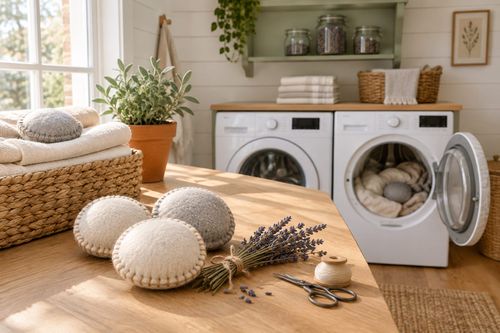
Make Felted Wool Dryer Sachets in 45 Minutes for $12

Skip the pricey scented sheets! Sew wool-and-lavender dryer sachets in 45 minutes for $12 and give every winter laundry load a fresh, cozy upgrade....

DIY Projects

28 November 2026

Post

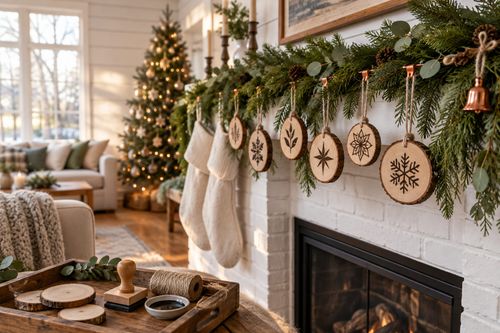
Make Hand-Stamped Wooden Ornaments in 2 Hours for $18

Wood slices, a wood-burning-free stamp trick, and sealant turn into keepsake ornaments that survive decades of holiday boxes. Cute, cheap, and totally doable!...

DIY Projects

27 November 2026

Post

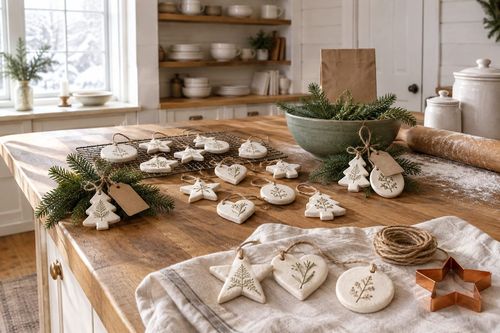
Make Salt Dough Gift Ornaments in 2 Hours for $12

Flour, salt, and a low oven turn into keepsake ornaments that last for decades. Beginner-friendly, kid-approved, and ready to hang in about 2 hours for $12....

DIY Projects

26 November 2026

Post

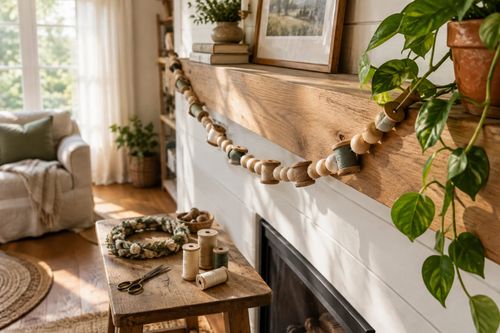
Thread Spool Garland: Why Tension Ties Matter

Turn a hand-stitched wreath into calm: a mindful beaded-thread garland for $9 where even tension is what keeps every bead from sliding into a slump....

DIY Projects

26 November 2026

Post

Build a Wooden Cutting Board Oil Kit in 1 Hour for $20

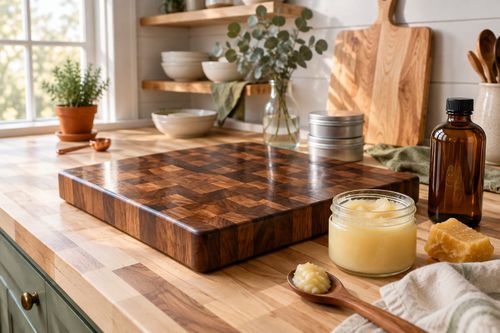
Dry cutting boards crack and harbor bacteria. Whip up a food-safe board butter in an hour for $20 and keep your boards gorgeous for years....

DIY Projects

25 November 2026

Post

Wooden Spice Rack: The Shelf Lip Height That Holds

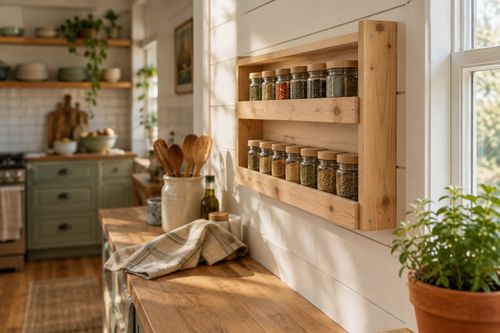
Build a slim pine wall spice rack in an afternoon for about $18. The shelf lip height is what keeps jars from sliding off. Beginner-friendly....

DIY Projects

24 November 2026

Post

Foil Pan Light Reflector: The Tab Fold That Holds

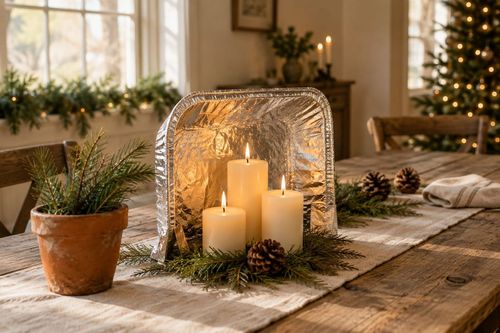
Turn a $1 foil pan into a Christmas-ready tabletop candle reflector for under $5. The tab fold is what keeps it standing, not slumping....

DIY Projects

24 November 2026

Post

Sew a Rice-Weighted Hand Warmer Set in 1 Hour for $14

Cold hands at the bus stop? Sew reusable flannel hand warmers filled with rice and cloves in an hour for $14. Zap, pocket, and enjoy cozy fingers all winter....

DIY Projects

22 November 2026

Post

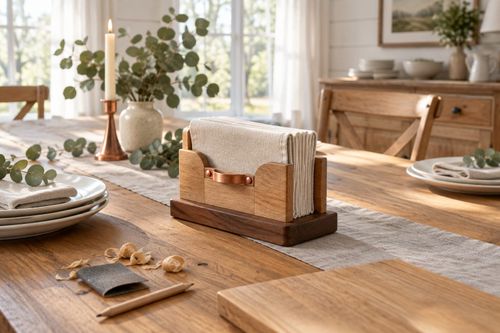
Build a Wooden Napkin Holder in 1 Hour for $15

Stop napkins from flying off the table! Build a weighted wooden napkin holder in an hour for $15 and be ready for holiday hosting. Beginner friendly....

DIY Projects

21 November 2026

Post

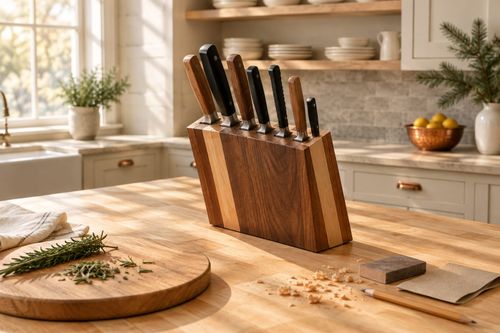
Build a Wooden Knife Block in 2 Hours for $28

Ditch the dull-blade drawer shuffle! Build a slotted hardwood knife block in 2 hours for $28 and get holiday-ready prep space with safer, sharper knives....

DIY Projects

20 November 2026

Post

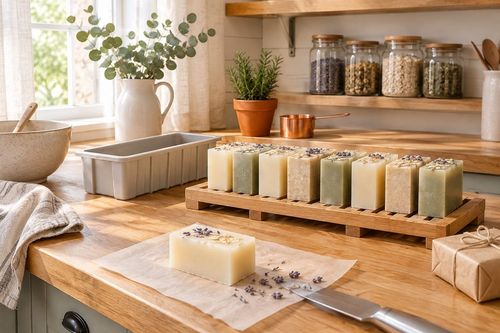
Make Hand-Poured Soap Bars in 1 Hour for $20

Skip the pricey boutique bars! Melt, scent, and pour your own glycerin soap in about an hour for $20. Cure-time secrets included, bubbles guaranteed....

DIY Projects

19 November 2026

Post

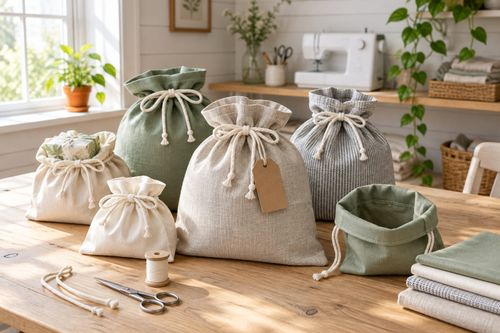
Sew Reusable Fabric Gift Bags in 90 Minutes for $15

Ditch the wrapping paper landfill! Sew drawstring fabric gift bags with French-folded hems in 90 minutes for $15 and reuse them every holiday for years....

DIY Projects

18 November 2026

Post

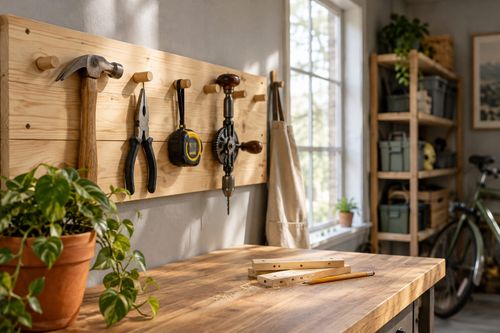
Wooden Tool Wall: The Pilot Hole Depth That Holds

Build a pine wall-mounted tool rack for about $22. Pre-drilling pilot holes to the right depth keeps the wood from splitting and the pegs holding....
Terms and ConditionsDo Not Sell or Share My Personal InformationPrivacy PolicyPrivacy NoticeAccessibility NoticeUnsubscribe
Copyright © 2026 DIY HomeBoost