Interior Design

Recent Content

Wooden Boot Tray: The Slat Gap That Drains Right

Wooden Boot Tray: The Slat Gap That Drains Right

Build a slatted pine boot tray for about $20 in an afternoon. The slat gap is what lets meltwater drain instead of pooling and rotting your entryway floor.

Magnetic Window Sill Herb Garden: Renter-Safe Trick

Magnetic Window Sill Herb Garden: Renter-Safe Trick

Grow fresh herbs on a bare rental window with a no-drill hanging trick. Zero holes, zero residue, deposit safe. Winter greens for your tiny kitchen!

Build a Wooden Gift Wrap Station in 2 Hours for $28

Build a Wooden Gift Wrap Station in 2 Hours for $28

Stop wrestling curling paper on the floor! Build a slim wooden gift wrap station with a paper rod and ribbon pegs in 2 hours for $28, just in time for gifting.

Dollar Store Spice Tiers: The Riser Lip That Holds

Dollar Store Spice Tiers: The Riser Lip That Holds

Turn $1 plastic risers into a tiered cabinet spice organizer for about $8. The lip height is what stops jars from sliding forward.

Under-Bed Rolling Bins: Renter Storage Hack

Under-Bed Rolling Bins: Renter Storage Hack

Tiny space, big stash. Rolling under-bed bins add hidden storage with zero drilling, zero residue, and a safe deposit. Set up in 15 minutes!

logo
  • Home Improvement
  • DIY Projects
  • Interior Design
  • Gardening & Outdoor
  • Real Estate
  • Home Improvement
  • DIY Projects
  • Interior Design
  • Gardening & Outdoor
  • Real Estate
  • ​

Stairway to Heaven: Create Rainbow Ombré Stair Risers

Transform your staircase into a stunning gradient masterpiece that stops traffic

Stunning rainbow ombré stair risers painted in gradient from hot pink to orange creating dramatic colorful staircase transformation
INTERIOR DESIGN

I painted my first rainbow staircase on a whim after seeing a similar design on social media, and it literally transformed my entire home's energy overnight! There's something absolutely magical about walking up a gradient of gorgeous colors every single day – it's like having your own personal rainbow that never fails to make me smile. The best part is watching guests' reactions when they first see it; their faces light up with pure joy and they immediately want to know how I created such a stunning effect. This project takes a bit of patience to get the color blending just right, but the impact is so dramatic that it's worth every minute of careful painting. Now my staircase is the star of my home, and honestly, it's turned what used to be a boring transitional space into the most photographed spot in my house!

Paint & Supplies

  • Base Colors: Two bold colors for gradient endpoints - hot pink to orange or purple to turquoise ($25-40)
  • Blending Colors: White paint for lightening, intermediate shades for smooth transitions ($15-25)
  • Application Tools: High-quality angled brushes, foam rollers for smooth finish ($20-30)
  • Prep Materials: Painter's tape, drop cloths, sandpaper for surface prep ($15-25)
  • Color Mixing: Paper plates or palette for creating custom gradient shades ($5-10)
  • Protective Finish: Clear polyurethane or paint sealer for high-traffic durability ($15-20)
  • Total Investment: $95-150 for materials to create show-stopping staircase transformation

Gradient Painting

  1. Plan color progression by counting risers and mapping out gradient from darkest to lightest
  2. Prepare surfaces by cleaning, sanding lightly, and taping treads to protect from drips
  3. Mix paint colors for each step, creating smooth transitions between adjacent risers
  4. Start with your boldest color at bottom and work upward for dramatic impact
  5. Paint each riser completely before moving to next, maintaining wet edge for blending
  6. Blend edges where colors meet using dry brush technique for seamless transitions
  7. Allow adequate drying time between coats and steps to prevent smudging
  8. Seal finished risers with protective topcoat to maintain vibrant colors despite foot traffic
DESIGNER TIP

Professional color artists know that the secret to stunning ombré effects is creating enough intermediate shades to make the transition feel natural. For a 10-step staircase, you'll need at least 8 different color mixes to achieve smooth gradient flow. Here's my signature technique: create all your color mixes first and line them up in order to check the progression before painting. The magic happens when each step is only slightly different from its neighbors. Interior designers also know to consider your home's lighting – warm LED bulbs enhance reds and oranges, while cool daylight shows off blues and purples. Pro tip: photograph your gradient in different lighting conditions to ensure it looks amazing throughout the day!
Related Content

Interior Design

28 November 2026

Post

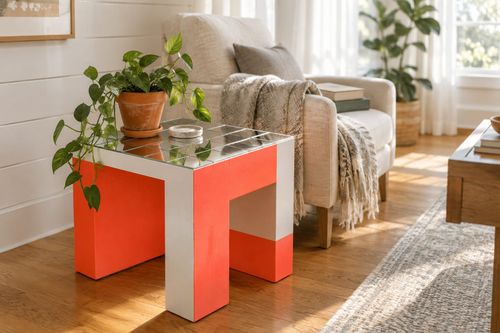
Mirror Tile Table: The Adhesive Bead That Stops Slide

Turn a plain side table into a bold, color-blocked Saturday showstopper for about $30. The primer coat is what keeps the neon from chipping or going streaky....

Interior Design

25 November 2026

Post

Style a Holiday Mantel Garland in 90 Minutes for $30

Your mantel deserves better than one sad stocking. Layer a lush faux-and-fresh greenery garland in 90 minutes for $30 and watch the holidays move in....

Interior Design

21 November 2026

Post

Mosaic Mirror Tray: The Grout Wipe-Off Timing Rule

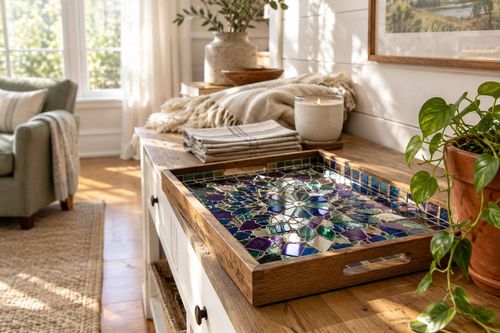
Turn a plain wooden tray into a bold, jewel-toned mosaic showpiece for about $28. Wiping grout at the right moment keeps colors vivid, not hazy....

Interior Design

16 November 2026

Post

Mug Rack from Cutlery Tray: The Hook Spacing Rule

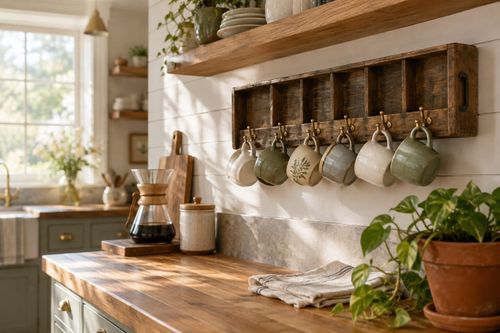
Turn a thrifted silverware tray into a wall mug rack for about $15. Spacing hooks by handle width keeps mugs from clanking and chipping. Done in an hour....

Interior Design

14 November 2026

Post

Painted Bookcase Backs: Why Tape Edges Need Sealing

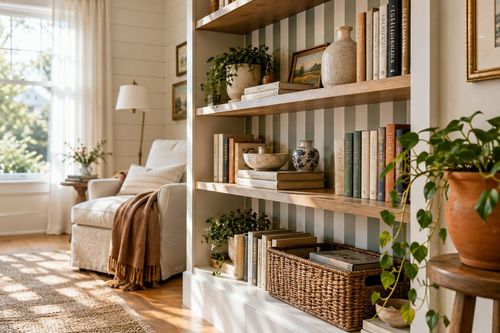
Give a plain bookcase a bold, colorful backdrop for about $25. Sealing your tape edge before the color coat is what keeps the stripes razor-sharp....

Interior Design

07 November 2026

Post

Painted Vase Trio: Why the Gloss Coat Must Go Last

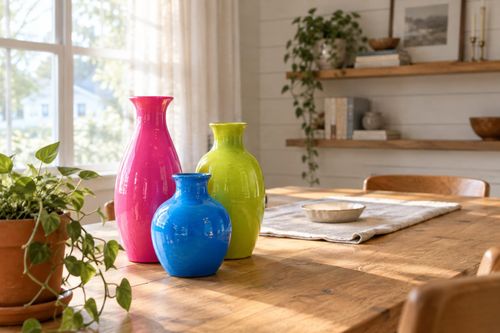
Turn thrifted vases into a bold, color-blocked trio for under $20. The clear gloss coat is what makes the color pop and keeps the paint from chipping....

Interior Design

04 November 2026

Post

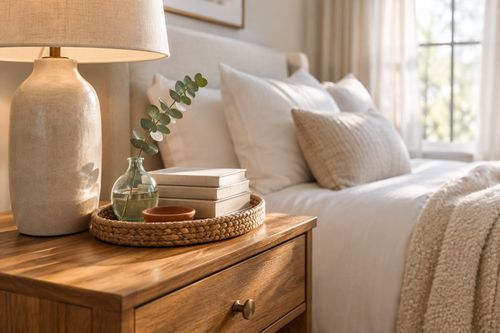
Style a Layered Nightstand Vignette in 1 Hour for $35

Turn a cluttered nightstand into a cozy styled vignette with the height-rule trick—1 hour, $35, instant bedroom upgrade....

Interior Design

02 November 2026

Post

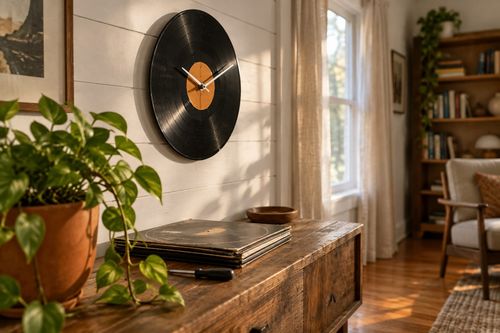
Vinyl Record Clock: The Center Hole Size That Matters

Turn a scratched vinyl record into a working wall clock—the center hole size is what keeps the mechanism snug instead of wobbling off-center. Under $15....

Interior Design

26 October 2026

Post

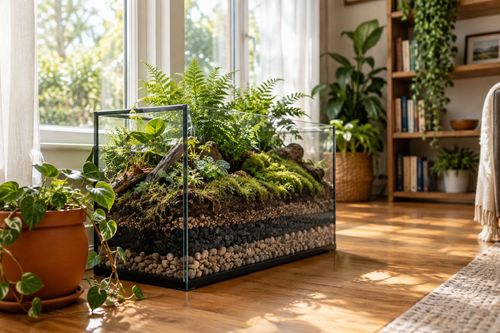
Fish Tank Terrarium: The Drainage Layer That Saves It

Turn a leaky old fish tank into a stunning terrarium—the gravel drainage layer is what stops root rot before your plants ever get a chance....

Interior Design

24 October 2026

Post

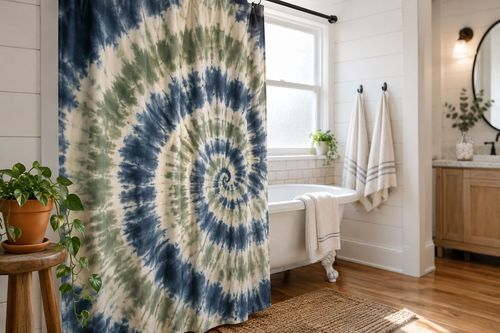
Tie-Dye Shower Curtain: The Fold That Makes Spirals

Turn a plain $8 shower curtain into a wild tie-dye spiral—the fold-and-twist technique is what makes the pattern radiate instead of blotch....

Interior Design

21 October 2026

Post

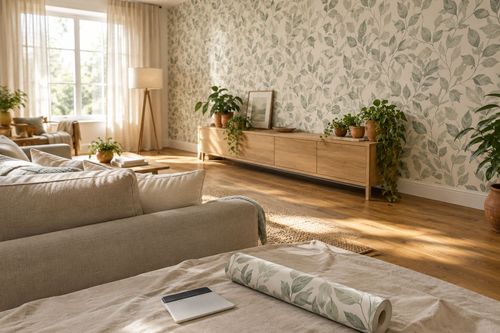
Peel-and-Stick Wallpaper Accent Wall in 3 Hours for $60

Turn one blank wall into a showstopper with peel-and-stick wallpaper—no wet paste, no mess, just a sharp accent wall by dinnertime....

Interior Design

19 October 2026

Post

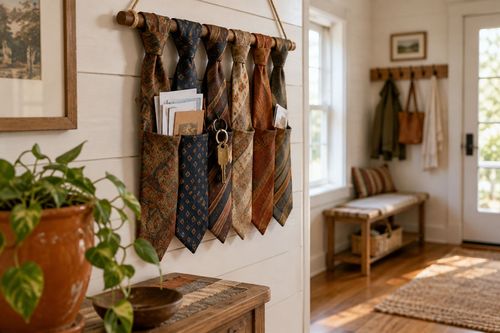
Necktie Wall Organizer: The Knot Spacing That Holds

Turn old neckties into a boho wall organizer for keys and mail—even knot spacing is what keeps the pockets from sagging open. Under $10....

Interior Design

17 October 2026

Post

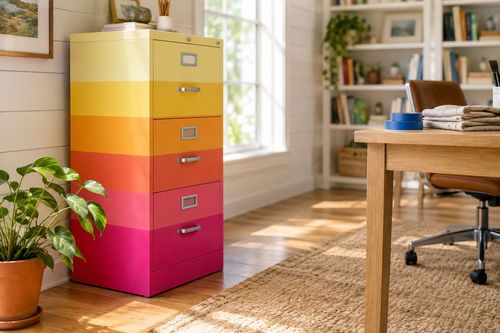
Neon Ombré File Cabinet: The Tape Order That Prevents Bleed

Turn a beige metal file cabinet into a neon ombré showstopper—the tape-layering order is what keeps colors crisp instead of muddy. Under $25....

Interior Design

15 October 2026

Post

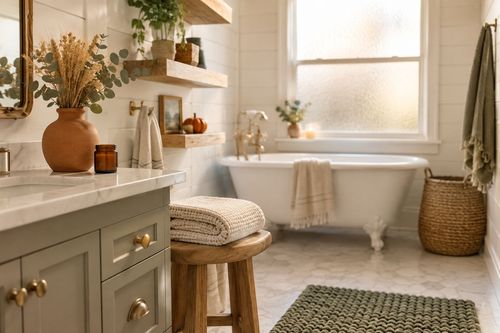
Style a Cozy Fall Guest Bathroom Refresh in 2 Hours for $35

Turn a sterile guest bath into a warm fall retreat with layered textiles and scent—2 hours, $35, zero renovation required....

Interior Design

13 October 2026

Post

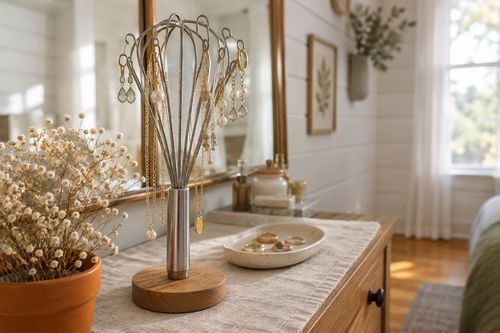
Whisk Jewelry Holder: The Bend That Stops Sagging

Turn a $1 dollar-store whisk into a boutique earring holder—the wire bend angle is what stops it from drooping under real jewelry weight....
Terms and ConditionsDo Not Sell or Share My Personal InformationPrivacy PolicyPrivacy NoticeAccessibility NoticeUnsubscribe
Copyright © 2026 DIY HomeBoost