DIY Projects

Recent Content

Wooden Boot Tray: The Slat Gap That Drains Right

Wooden Boot Tray: The Slat Gap That Drains Right

Build a slatted pine boot tray for about $20 in an afternoon. The slat gap is what lets meltwater drain instead of pooling and rotting your entryway floor.

Magnetic Window Sill Herb Garden: Renter-Safe Trick

Magnetic Window Sill Herb Garden: Renter-Safe Trick

Grow fresh herbs on a bare rental window with a no-drill hanging trick. Zero holes, zero residue, deposit safe. Winter greens for your tiny kitchen!

Build a Wooden Gift Wrap Station in 2 Hours for $28

Build a Wooden Gift Wrap Station in 2 Hours for $28

Stop wrestling curling paper on the floor! Build a slim wooden gift wrap station with a paper rod and ribbon pegs in 2 hours for $28, just in time for gifting.

Dollar Store Spice Tiers: The Riser Lip That Holds

Dollar Store Spice Tiers: The Riser Lip That Holds

Turn $1 plastic risers into a tiered cabinet spice organizer for about $8. The lip height is what stops jars from sliding forward.

Under-Bed Rolling Bins: Renter Storage Hack

Under-Bed Rolling Bins: Renter Storage Hack

Tiny space, big stash. Rolling under-bed bins add hidden storage with zero drilling, zero residue, and a safe deposit. Set up in 15 minutes!

logo
  • Home Improvement
  • DIY Projects
  • Interior Design
  • Gardening & Outdoor
  • Real Estate
  • Home Improvement
  • DIY Projects
  • Interior Design
  • Gardening & Outdoor
  • Real Estate
  • ​

Sparkle Season: Glitter Gradient Pumpkins

Ditch the basic orange and create glamorous gourds that prove fall can be fabulous

Stunning white craft pumpkins transformed with gradient glitter effects from purple to pink, teal to gold, and black to silver arranged on elegant fall display
DIY Projects

Who decided that fall decorating had to be all rust, orange, and burlap anyway? These glitter gradient pumpkins are here to shake up your seasonal style with sophisticated sparkle that's both autumn-appropriate and totally unexpected. The ombré effect creates show-stopping drama that costs about $25 per pumpkin compared to $75+ for similar designer pieces, and the technique is surprisingly simple once you know the secret of working in sections with spray adhesive. The real magic happens when guests walk into your space and do a double-take at your glamorous gourds, suddenly realizing that fall decor can be just as fabulous and eye-catching as any other season. These sparkling beauties prove that seasonal decorating doesn't have to follow anyone else's rules—sometimes the most stunning displays come from breaking away from traditional expectations.

Glamorous Gourd Supplies

Base Materials ($15-20)

  • White foam or plastic craft pumpkins (various sizes)
  • Spray adhesive (repositionable type works best)
  • Fine-mist spray bottle with water
  • Drop cloth or newspaper for workspace

Glitter Collection ($20-25)

  • Fine craft glitter in gradient colors (purple to pink, teal to gold, black to silver)
  • Extra-fine glitter for smooth transitions
  • Holographic glitter for accent sparkle
  • Clear sealant spray (optional for longevity)

Tools

  • Soft-bristle brush for blending
  • Disposable gloves
  • Small containers for glitter mixing
  • Painter's tape for clean sections

Creating Your Gradient Magic

  1. Plan your color gradient by arranging glitters from darkest to lightest or choosing complementary color flows
  2. Start at the bottom with your darkest color, spraying adhesive in a 2-inch band around the pumpkin base
  3. Apply glitter generously while adhesive is tacky, rotating pumpkin to ensure even coverage
  4. Blend upward by overlapping the next color section by about half an inch for smooth transition
  5. Mist lightly with water spray to help glitter settle and prevent fallout during blending
  6. Continue working upward in sections, gradually transitioning through your chosen color palette
  7. Perfect transitions by gently brushing where colors meet while adhesive is still workable
  8. Seal your finished masterpiece with clear spray for durability and reduced glitter shedding
DESIGNER TIP

Create sophisticated color stories by mixing metallic and matte glitters within your gradient—try rose gold to champagne, or deep navy to silver for unexpected elegance. Work in a well-ventilated area and place a large cardboard box on its side behind your pumpkin to catch excess glitter for reuse. For extra drama, add a few strategic spots of holographic glitter that will catch light and create rainbow flashes throughout your gradient. Group odd numbers of different-sized pumpkins for the most visually appealing display.
Related Content

DIY Projects

02 December 2026

Post

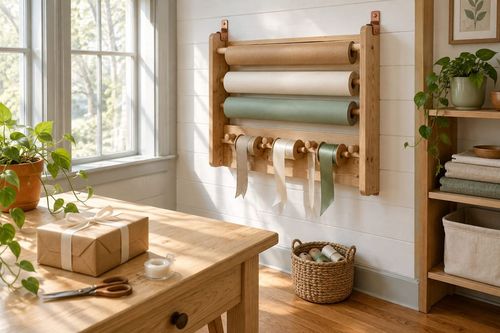
Build a Wooden Gift Wrap Station in 2 Hours for $28

Stop wrestling curling paper on the floor! Build a slim wooden gift wrap station with a paper rod and ribbon pegs in 2 hours for $28, just in time for gifting....

DIY Projects

30 November 2026

Post

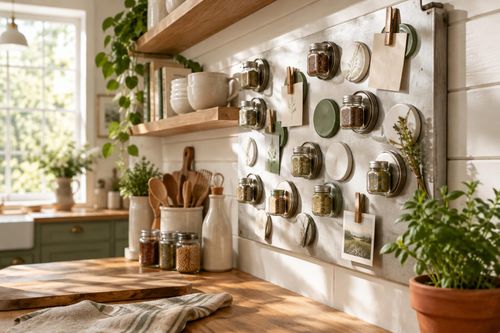
Jar Lid Magnet Board: The Backing That Holds

Turn old jar lids into a magnetic spice and note board for about $12. The right magnet backing is what keeps lids from sliding off. Easy Monday upcycle!...

DIY Projects

30 November 2026

Post

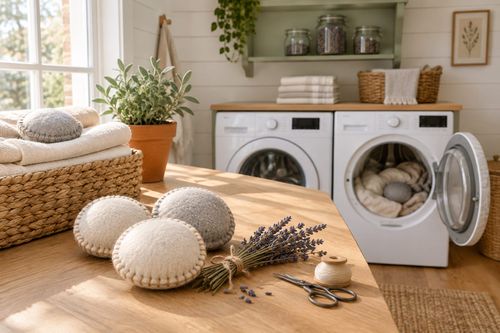
Make Felted Wool Dryer Sachets in 45 Minutes for $12

Skip the pricey scented sheets! Sew wool-and-lavender dryer sachets in 45 minutes for $12 and give every winter laundry load a fresh, cozy upgrade....

DIY Projects

28 November 2026

Post

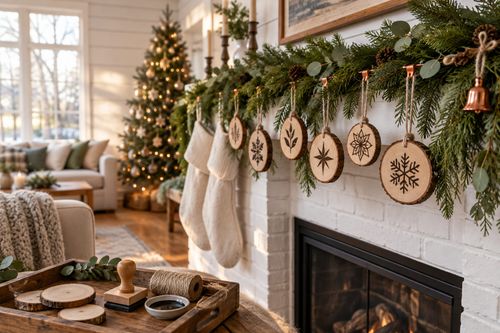
Make Hand-Stamped Wooden Ornaments in 2 Hours for $18

Wood slices, a wood-burning-free stamp trick, and sealant turn into keepsake ornaments that survive decades of holiday boxes. Cute, cheap, and totally doable!...

DIY Projects

27 November 2026

Post

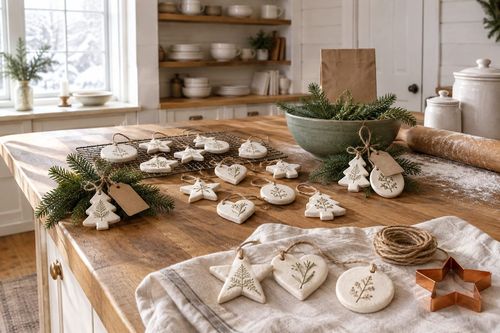
Make Salt Dough Gift Ornaments in 2 Hours for $12

Flour, salt, and a low oven turn into keepsake ornaments that last for decades. Beginner-friendly, kid-approved, and ready to hang in about 2 hours for $12....

DIY Projects

26 November 2026

Post

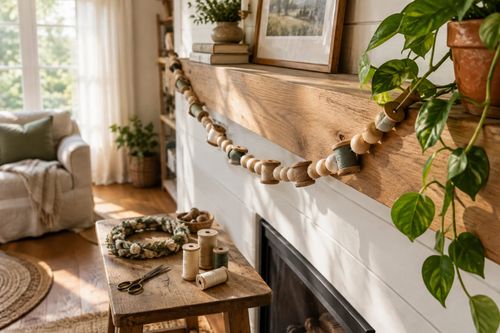
Thread Spool Garland: Why Tension Ties Matter

Turn a hand-stitched wreath into calm: a mindful beaded-thread garland for $9 where even tension is what keeps every bead from sliding into a slump....

DIY Projects

26 November 2026

Post

Build a Wooden Cutting Board Oil Kit in 1 Hour for $20

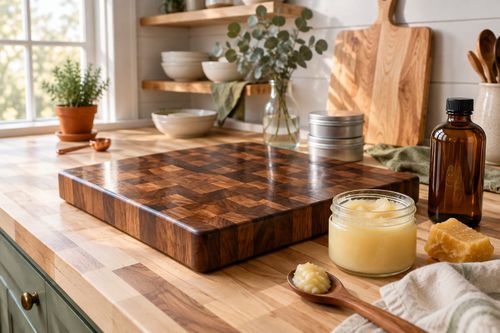
Dry cutting boards crack and harbor bacteria. Whip up a food-safe board butter in an hour for $20 and keep your boards gorgeous for years....

DIY Projects

25 November 2026

Post

Wooden Spice Rack: The Shelf Lip Height That Holds

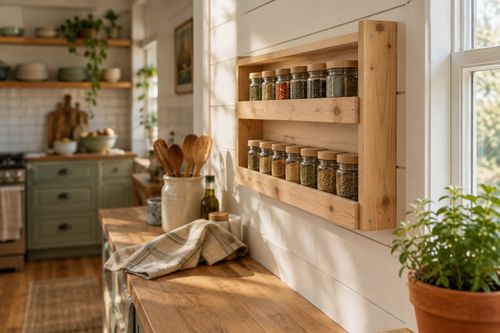
Build a slim pine wall spice rack in an afternoon for about $18. The shelf lip height is what keeps jars from sliding off. Beginner-friendly....

DIY Projects

24 November 2026

Post

Foil Pan Light Reflector: The Tab Fold That Holds

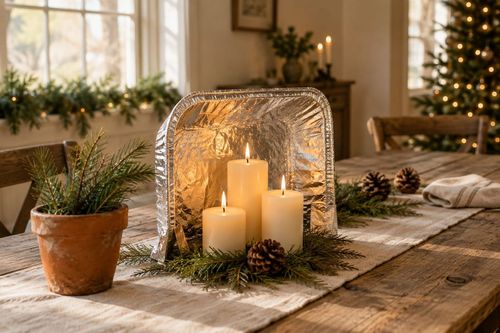
Turn a $1 foil pan into a Christmas-ready tabletop candle reflector for under $5. The tab fold is what keeps it standing, not slumping....

DIY Projects

24 November 2026

Post

Sew a Rice-Weighted Hand Warmer Set in 1 Hour for $14

Cold hands at the bus stop? Sew reusable flannel hand warmers filled with rice and cloves in an hour for $14. Zap, pocket, and enjoy cozy fingers all winter....

DIY Projects

22 November 2026

Post

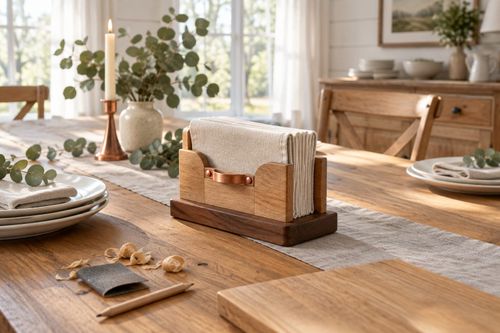
Build a Wooden Napkin Holder in 1 Hour for $15

Stop napkins from flying off the table! Build a weighted wooden napkin holder in an hour for $15 and be ready for holiday hosting. Beginner friendly....

DIY Projects

21 November 2026

Post

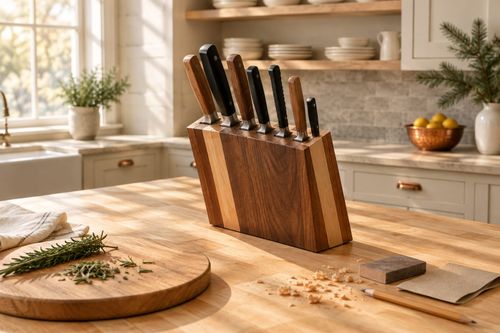
Build a Wooden Knife Block in 2 Hours for $28

Ditch the dull-blade drawer shuffle! Build a slotted hardwood knife block in 2 hours for $28 and get holiday-ready prep space with safer, sharper knives....

DIY Projects

20 November 2026

Post

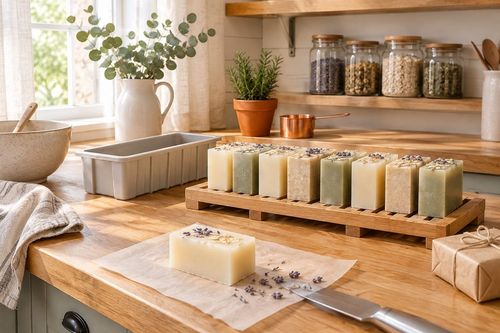
Make Hand-Poured Soap Bars in 1 Hour for $20

Skip the pricey boutique bars! Melt, scent, and pour your own glycerin soap in about an hour for $20. Cure-time secrets included, bubbles guaranteed....

DIY Projects

19 November 2026

Post

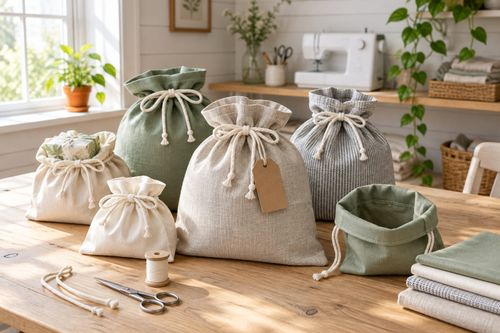
Sew Reusable Fabric Gift Bags in 90 Minutes for $15

Ditch the wrapping paper landfill! Sew drawstring fabric gift bags with French-folded hems in 90 minutes for $15 and reuse them every holiday for years....

DIY Projects

18 November 2026

Post

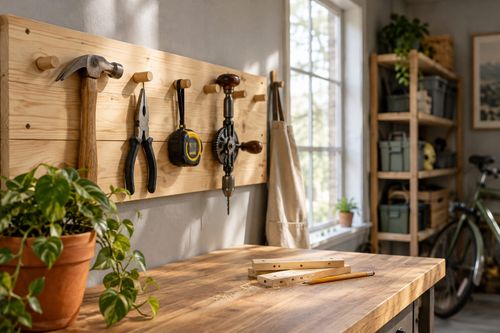
Wooden Tool Wall: The Pilot Hole Depth That Holds

Build a pine wall-mounted tool rack for about $22. Pre-drilling pilot holes to the right depth keeps the wood from splitting and the pegs holding....
Terms and ConditionsDo Not Sell or Share My Personal InformationPrivacy PolicyPrivacy NoticeAccessibility NoticeUnsubscribe
Copyright © 2026 DIY HomeBoost