DIY Projects

Recent Content

Shoe Bench Build: The Cubby Depth That Keeps Pairs Upright

Shoe Bench Build: The Cubby Depth That Keeps Pairs Upright

Build a wooden entryway shoe bench for $35—the cubby depth is what keeps boots standing instead of toppling into a pile every morning.

Style a Layered Nightstand Vignette in 1 Hour for $35

Style a Layered Nightstand Vignette in 1 Hour for $35

Turn a cluttered nightstand into a cozy styled vignette with the height-rule trick—1 hour, $35, instant bedroom upgrade.

The Cafe Rod Trick for a Fake Built-In Vanity

The Cafe Rod Trick for a Fake Built-In Vanity

Fake a built-in bathroom vanity shelf with a tiny cafe rod and basket—zero drilling, zero suction cups, full deposit intact.

Tension Rod Shelf: The Rod Width That Won't Slip

Tension Rod Shelf: The Rod Width That Won't Slip

Build a hidden double-decker shelf under your sink for $6—the rod tension width is what keeps it from crashing down on cleaning day.

Mulch Perennial Beds for Winter in 1 Hour for $25

Mulch Perennial Beds for Winter in 1 Hour for $25

Tuck your perennials in right! A 3-inch mulch blanket now saves roots from winter heave for about $25.

logo
  • Home Improvement
  • DIY Projects
  • Interior Design
  • Gardening & Outdoor
  • Real Estate
  • Home Improvement
  • DIY Projects
  • Interior Design
  • Gardening & Outdoor
  • Real Estate
  • ​

Retro Rest: Turn Thrifted Suitcases Into Stylish Pet Beds

Create elevated pet beds with built-in storage and vintage charm

Adorable vintage suitcase pet bed with elevated legs and cushion in cozy living room with small dog curled up inside
DIY PROJECTS

Generic pet beds from stores cost $40-80 for boring designs that look exactly like what they are—pet furniture that clashes with your décor and offers nothing but a place for your furry friend to sleep. Vintage hard-shell suitcases, abundant at thrift stores for $5-10, transform into quirky elevated pet beds that double as conversation-starting décor while giving pets the cozy nest feeling they instinctively seek. The suitcase's raised sides create security that cats and small dogs love, while added furniture legs elevate it off cold floors and give the whole piece mid-century modern style that actually enhances your space. This isn't just functional pet furniture—it's a design statement that happens to provide your pet with a comfortable spot that's uniquely theirs. The built-in depth keeps cushions perfectly in place without constant readjusting, exterior pockets offer convenient storage for toys and treats, and the vintage patina tells a story that mass-produced pet beds simply cannot. For $15-20 total including legs and cushion materials, you create something substantially more interesting than anything available at pet stores while giving second life to vintage luggage that would otherwise sit unused in thrift store back rooms forever.

What You'll Need

  • Suitcase Foundation ($5-10):
    • Vintage hard-shell suitcase from thrift store
    • Size should accommodate your pet curled up comfortably
    • Look for sturdy construction without broken clasps
    • Colorful vintage patterns add character
  • Elevation Hardware ($8-12):
    • Four furniture legs (4-6 inches tall)
    • Tapered mid-century style or chunky wooden feet
    • Wood screws and large washers for secure attachment
    • Drill with appropriate bits
  • Cushion Materials ($5-8):
    • Foam padding or repurposed pillow cut to fit
    • Washable fabric for cover (fleece, canvas, or cotton)
    • Old towels or blankets for additional padding
    • Velcro strips to secure cushion (optional)
  • Optional Enhancements:
    • Paint or spray paint for refreshing exterior
    • Small baskets for side storage
    • Decorative fabric for interior lining
    • Pet-safe wood stain or sealant

Create the Bed

  1. Select a suitcase large enough for your pet to curl up comfortably with a few inches of clearance—too small creates cramped quarters they'll reject, while appropriately sized becomes a cozy den they seek out.
  2. Decide whether to remove the lid completely for an open bed or keep it attached as a decorative backdrop—attached lids work beautifully for corner placement where they create a sheltered feeling pets love.
  3. Clean the suitcase interior thoroughly with pet-safe cleaner, removing musty smells and decades of accumulated dust that could bother sensitive noses or trigger allergies in both pets and humans.
  4. Mark leg placement at each corner of the suitcase bottom, positioning them slightly inward from edges for stability—legs mounted too close to corners can crack vintage materials under weight.
  5. Drill pilot holes at marked spots, then attach furniture legs using wood screws with large washers on the interior to distribute weight and prevent screws from pulling through older materials over time.
  6. Create a fitted cushion by measuring the suitcase interior and cutting foam to size, then covering with washable fabric that complements your décor while being durable enough for daily pet use and frequent washing.
  7. Layer soft blankets or towels beneath the cushion for extra padding and comfort, taking advantage of the suitcase's depth to create a plush nest that keeps pets off the hard bottom surface.
  8. Paint or refresh the exterior if desired, though many vintage suitcases look better with their original patina and travel stickers intact—authentic wear tells stories that fresh paint cannot replicate.
DESIGNER TIP

Interior designers love suitcase pet beds because they add quirky personality while solving the common challenge of making pet furniture blend with home aesthetics rather than screaming "dog bed." Position the bed in a corner with the lid open as a backdrop, which creates a cozy alcove feeling while displaying the suitcase's vintage interior lining. For cats who prefer completely enclosed spaces, keep the lid mostly closed with just enough opening for entry—the cave-like environment satisfies their den instincts. Use the exterior pockets or attach small woven baskets to the side for storing leashes, toys, and treats, turning the bed into a complete pet station rather than just a sleeping spot. If your pet is a chewer, line interior edges with pet-safe wood trim or heavy fabric to protect vintage materials from destruction. Consider making matching beds from a vintage luggage set if you have multiple pets—the coordinated look creates intentional design while giving each pet their own special space. The key to making these beds feel polished rather than DIY is choosing legs that match your existing furniture style and ensuring the cushion looks tailored rather than thrown-in as an afterthought.
Related Content

DIY Projects

04 November 2026

Post

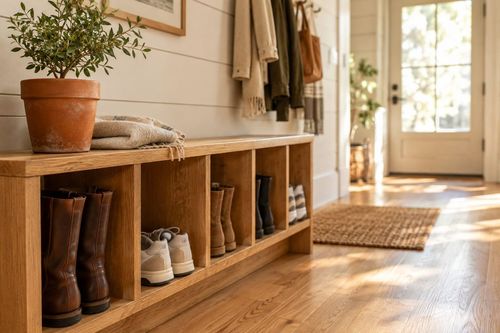
Shoe Bench Build: The Cubby Depth That Keeps Pairs Upright

Build a wooden entryway shoe bench for $35—the cubby depth is what keeps boots standing instead of toppling into a pile every morning....

DIY Projects

03 November 2026

Post

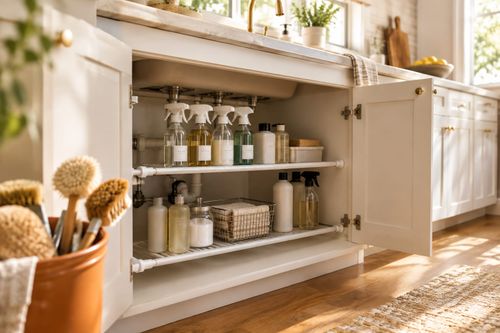
Tension Rod Shelf: The Rod Width That Won't Slip

Build a hidden double-decker shelf under your sink for $6—the rod tension width is what keeps it from crashing down on cleaning day....

DIY Projects

01 November 2026

Post

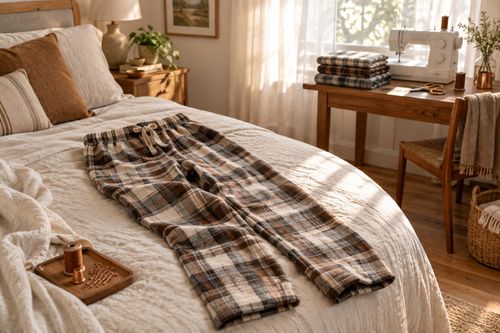
Sew Flannel Pajama Pants in 3 Hours for $25

Ditch store PJs! Sew cozy flannel pajama pants with an elastic waist in 3 hours for about $25 — perfect for chilly November nights....

DIY Projects

31 October 2026

Post

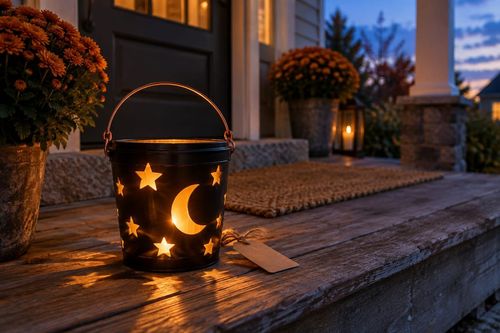
Build a Trick-or-Treat Bucket Lantern in 1 Hour for $15

Light up Halloween night with a glowing trick-or-treat bucket lantern—1 hour, $15, and way safer than a candle in a pumpkin....

DIY Projects

30 October 2026

Post

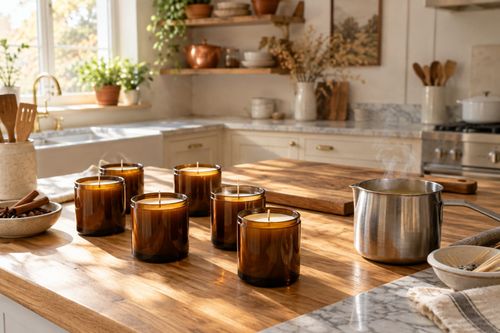
Pour Pumpkin Spice Candles in 1 Hour for $15

Ditch the $28 mall candle—pour your own pumpkin spice soy candles at home for $15 and fill your house with fall in an hour....

DIY Projects

29 October 2026

Post

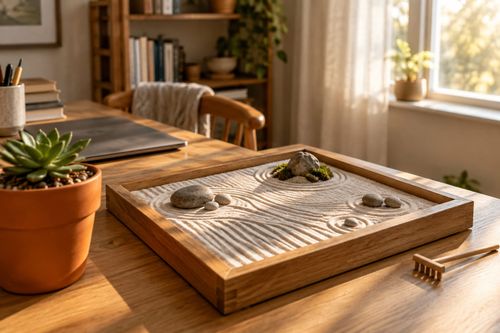
Tabletop Zen Garden: The Sand Depth That Holds Lines

Build a calming tabletop zen garden for $15—the sand depth is the one thing that decides if your rake lines actually hold or vanish....

DIY Projects

28 October 2026

Post

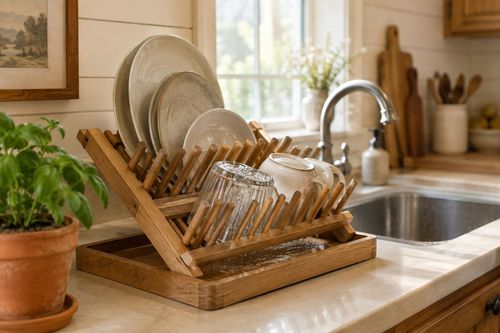
Wooden Dish Rack: The Dowel Angle That Drains Right

Build a slatted wood dish rack for $18—the dowel tilt angle is what actually drains water into the tray instead of pooling on your counter....

DIY Projects

27 October 2026

Post

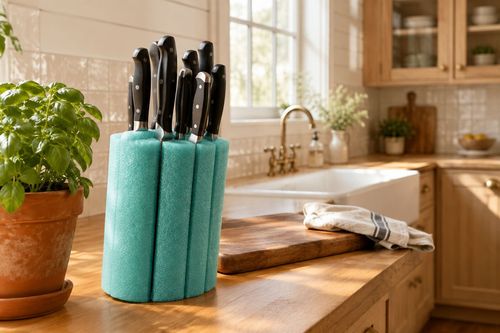
Pool Noodle Knife Block: The Slice Depth That Stops Wobble

Turn a $1 pool noodle into a safe knife block—the slice depth is what keeps blades from wobbling loose or slicing through the foam....

DIY Projects

27 October 2026

Post

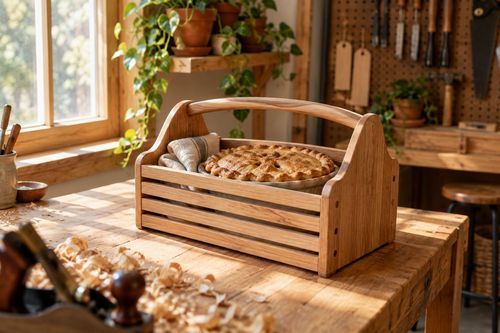
Build a Wooden Pie Carrier in 2 Hours for $25

Never smash a pie in the car again! Build a snug wooden pie carrier in 2 hours for $25—perfect timing for fall potlucks....

DIY Projects

26 October 2026

Post

Make Herb-Infused Honey in 30 Minutes for $12

Turn raw honey into a cold-season secret weapon—infuse it with thyme and ginger in 30 minutes for about $12, no fancy gear needed....

DIY Projects

25 October 2026

Post

Make Homemade Fire Cider in 20 Minutes for $15

Steep this spicy apple cider vinegar tonic now so it's ready to fight off fall colds in 4 weeks—20 minutes, $15, zero cooking skills....

DIY Projects

23 October 2026

Post

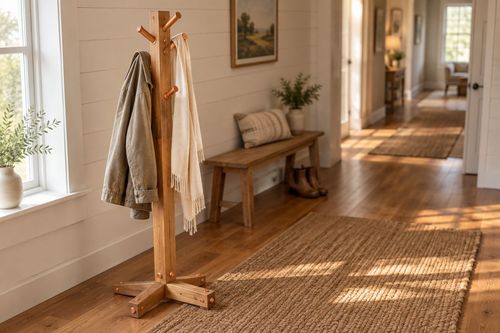
Build a Freestanding Coat Rack in 2 Hours for $35

Sick of coats piled on chairs? Build a sturdy freestanding coat rack in 2 hours for $35 — no wall drilling, just solid joinery....

DIY Projects

22 October 2026

Post

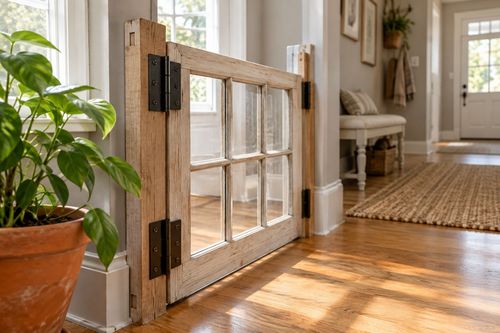
Window Frame to Pet Gate: The Hinge Set That Holds

Turn an old wooden window frame into a swinging pet gate for $22 — the hinge mortise depth is what keeps it from sagging open over time....

DIY Projects

22 October 2026

Post

Make Spiced Homemade Applesauce in 1 Hour for $12

Turn a bag of fall apples into silky spiced applesauce in an hour for $12 — no peeling required if you've got the right tool....

DIY Projects

21 October 2026

Post

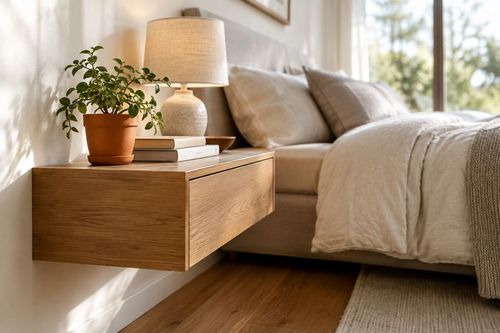
Floating Nightstand: The Bracket Depth That Holds Weight

Build a wall-mounted wooden nightstand for $25 — the bracket depth inside the wood is what stops it from sagging under a lamp and books....
Terms and ConditionsDo Not Sell or Share My Personal InformationPrivacy PolicyPrivacy NoticeAccessibility NoticeUnsubscribe
Copyright © 2026 DIY HomeBoost