Interior Design

Recent Content

Wooden Boot Tray: The Slat Gap That Drains Right

Wooden Boot Tray: The Slat Gap That Drains Right

Build a slatted pine boot tray for about $20 in an afternoon. The slat gap is what lets meltwater drain instead of pooling and rotting your entryway floor.

Magnetic Window Sill Herb Garden: Renter-Safe Trick

Magnetic Window Sill Herb Garden: Renter-Safe Trick

Grow fresh herbs on a bare rental window with a no-drill hanging trick. Zero holes, zero residue, deposit safe. Winter greens for your tiny kitchen!

Build a Wooden Gift Wrap Station in 2 Hours for $28

Build a Wooden Gift Wrap Station in 2 Hours for $28

Stop wrestling curling paper on the floor! Build a slim wooden gift wrap station with a paper rod and ribbon pegs in 2 hours for $28, just in time for gifting.

Dollar Store Spice Tiers: The Riser Lip That Holds

Dollar Store Spice Tiers: The Riser Lip That Holds

Turn $1 plastic risers into a tiered cabinet spice organizer for about $8. The lip height is what stops jars from sliding forward.

Under-Bed Rolling Bins: Renter Storage Hack

Under-Bed Rolling Bins: Renter Storage Hack

Tiny space, big stash. Rolling under-bed bins add hidden storage with zero drilling, zero residue, and a safe deposit. Set up in 15 minutes!

logo
  • Home Improvement
  • DIY Projects
  • Interior Design
  • Gardening & Outdoor
  • Real Estate
  • Home Improvement
  • DIY Projects
  • Interior Design
  • Gardening & Outdoor
  • Real Estate
  • ​

Light Refresh: Transform Lampshades with Fabric Makeover

Turn boring lampshades into custom designer lighting with simple fabric wrapping and trim

Before and after lampshade makeover showing transformation from plain shade to beautiful fabric-wrapped design with decorative trim
INTERIOR DESIGN

I used to walk past my outdated lampshades every day feeling frustrated with how bland they looked, until I discovered the magic of fabric makeovers and completely transformed my lighting in one afternoon! There's something incredibly satisfying about taking a boring, generic lampshade and turning it into a custom piece that perfectly matches your style and décor. The transformation is so dramatic that guests always think I bought expensive new lamps when really I just spent a few dollars on fabric and trim. What I love most about this project is how it allows you to tie your lighting into your room's color scheme or add a pop of pattern that makes everything feel more cohesive and intentional. These fabric-wrapped shades cast beautiful, warm light that feels so much more inviting than their plain predecessors, and the best part is knowing that no one else has exactly the same lighting as you do!

Fabric & Supplies

  • Cover Fabric: Cotton, linen, or lampshade fabric in desired pattern (½ yard per shade, $8-20)
  • Adhesive: Hot glue gun and glue sticks for secure fabric attachment ($10-15)
  • Decorative Trim: Ribbon, rickrack, fringe, or bias tape for finishing edges ($5-15)
  • Measuring Tools: Measuring tape, ruler, fabric marking pen for precision ($8-12)
  • Cutting Tools: Sharp fabric scissors for clean edges ($8-15)
  • Optional Extras: Spray adhesive for smooth application, seam sealant ($5-12)
  • Total Per Shade: $25-60 depending on fabric choice and embellishments

Makeover Process

  1. Measure lampshade circumference and height, adding extra fabric for overlap and finishing
  2. Cut fabric to size, ensuring pattern alignment if using directional designs
  3. Clean lampshade surface and let dry completely before fabric application
  4. Apply fabric starting at back seam, keeping material taut and smooth
  5. Secure with hot glue along top and bottom edges, working in small sections
  6. Trim excess fabric, leaving small allowance to fold under for clean finish
  7. Add decorative trim to cover raw edges and create professional appearance
  8. Allow glue to cool completely before installing shade back on lamp base
DESIGNER TIP

Professional interior stylists know that the secret to expensive-looking lampshade makeovers is choosing the right fabric weight and pattern scale for your shade size. Here's my rule of thumb: use lightweight fabrics like cotton or linen for better light diffusion, and choose patterns that are proportional to the shade – small prints for small shades, larger patterns for bigger fixtures. My favorite finishing technique is adding contrasting trim that picks up an accent color from elsewhere in the room, creating visual cohesion throughout the space. Pro tip: before committing to fabric, hold it up to a lit lampshade to see how the light will affect the colors and patterns. Some fabrics that look great in daylight can appear completely different when backlit. Also, consider making matching sets for multiple lamps in the same room for a custom, coordinated look that feels professionally designed!
Related Content

Interior Design

28 November 2026

Post

Mirror Tile Table: The Adhesive Bead That Stops Slide

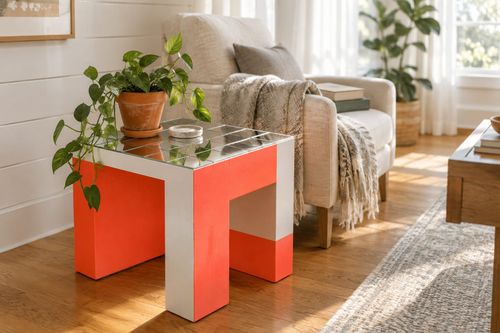
Turn a plain side table into a bold, color-blocked Saturday showstopper for about $30. The primer coat is what keeps the neon from chipping or going streaky....

Interior Design

25 November 2026

Post

Style a Holiday Mantel Garland in 90 Minutes for $30

Your mantel deserves better than one sad stocking. Layer a lush faux-and-fresh greenery garland in 90 minutes for $30 and watch the holidays move in....

Interior Design

21 November 2026

Post

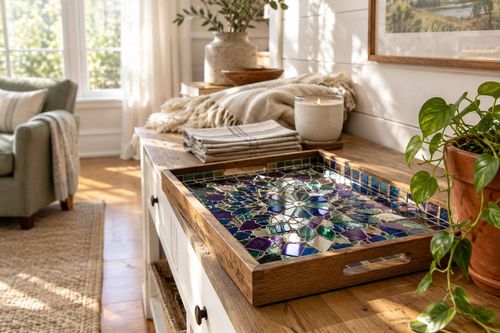
Mosaic Mirror Tray: The Grout Wipe-Off Timing Rule

Turn a plain wooden tray into a bold, jewel-toned mosaic showpiece for about $28. Wiping grout at the right moment keeps colors vivid, not hazy....

Interior Design

16 November 2026

Post

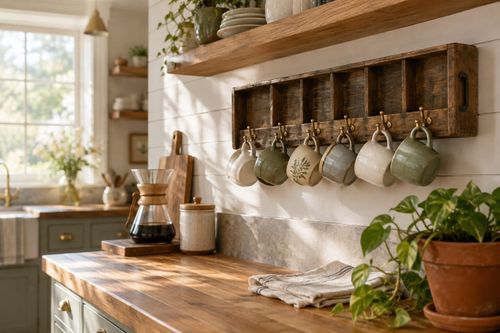
Mug Rack from Cutlery Tray: The Hook Spacing Rule

Turn a thrifted silverware tray into a wall mug rack for about $15. Spacing hooks by handle width keeps mugs from clanking and chipping. Done in an hour....

Interior Design

14 November 2026

Post

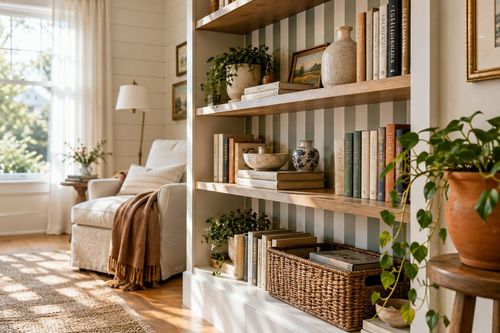
Painted Bookcase Backs: Why Tape Edges Need Sealing

Give a plain bookcase a bold, colorful backdrop for about $25. Sealing your tape edge before the color coat is what keeps the stripes razor-sharp....

Interior Design

07 November 2026

Post

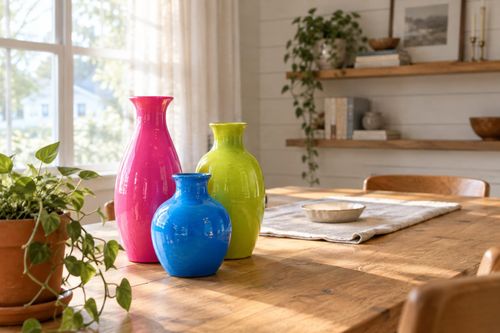
Painted Vase Trio: Why the Gloss Coat Must Go Last

Turn thrifted vases into a bold, color-blocked trio for under $20. The clear gloss coat is what makes the color pop and keeps the paint from chipping....

Interior Design

04 November 2026

Post

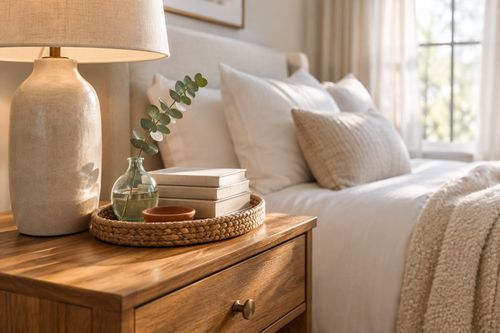
Style a Layered Nightstand Vignette in 1 Hour for $35

Turn a cluttered nightstand into a cozy styled vignette with the height-rule trick—1 hour, $35, instant bedroom upgrade....

Interior Design

02 November 2026

Post

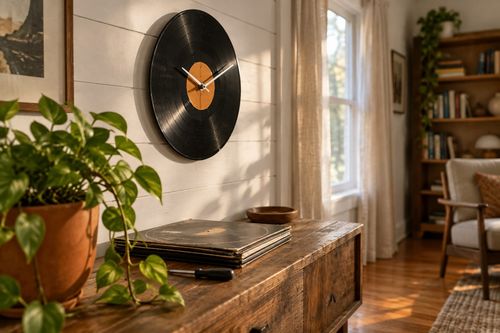
Vinyl Record Clock: The Center Hole Size That Matters

Turn a scratched vinyl record into a working wall clock—the center hole size is what keeps the mechanism snug instead of wobbling off-center. Under $15....

Interior Design

26 October 2026

Post

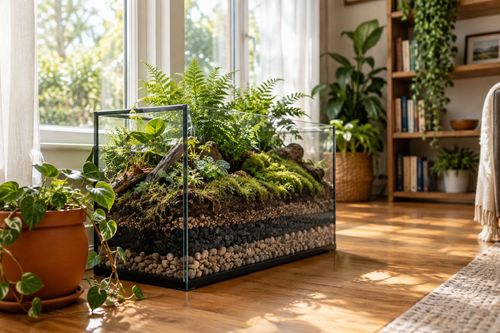
Fish Tank Terrarium: The Drainage Layer That Saves It

Turn a leaky old fish tank into a stunning terrarium—the gravel drainage layer is what stops root rot before your plants ever get a chance....

Interior Design

24 October 2026

Post

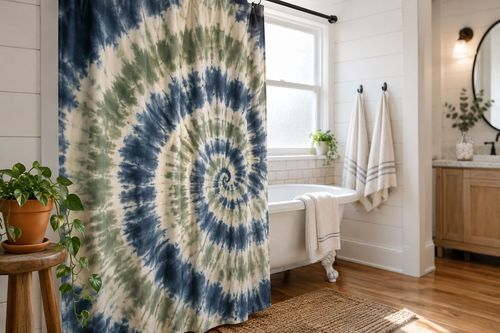
Tie-Dye Shower Curtain: The Fold That Makes Spirals

Turn a plain $8 shower curtain into a wild tie-dye spiral—the fold-and-twist technique is what makes the pattern radiate instead of blotch....

Interior Design

21 October 2026

Post

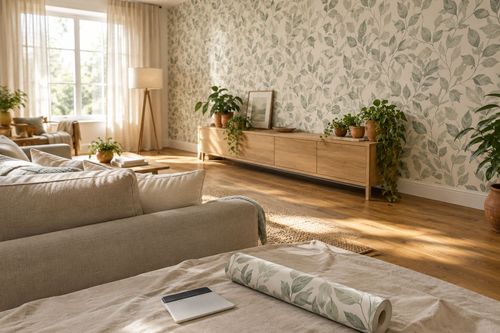
Peel-and-Stick Wallpaper Accent Wall in 3 Hours for $60

Turn one blank wall into a showstopper with peel-and-stick wallpaper—no wet paste, no mess, just a sharp accent wall by dinnertime....

Interior Design

19 October 2026

Post

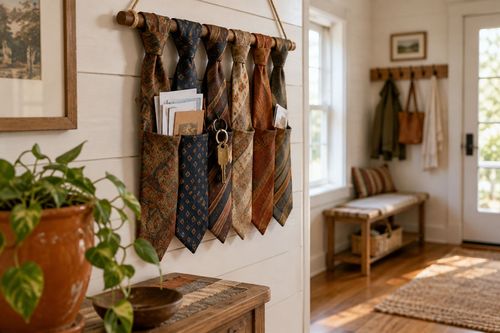
Necktie Wall Organizer: The Knot Spacing That Holds

Turn old neckties into a boho wall organizer for keys and mail—even knot spacing is what keeps the pockets from sagging open. Under $10....

Interior Design

17 October 2026

Post

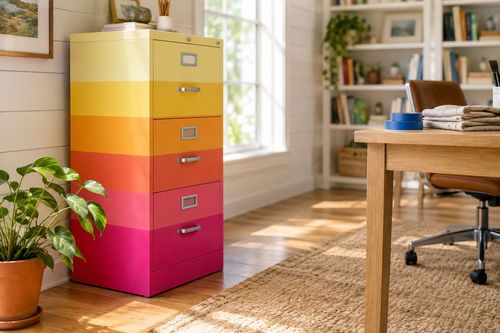
Neon Ombré File Cabinet: The Tape Order That Prevents Bleed

Turn a beige metal file cabinet into a neon ombré showstopper—the tape-layering order is what keeps colors crisp instead of muddy. Under $25....

Interior Design

15 October 2026

Post

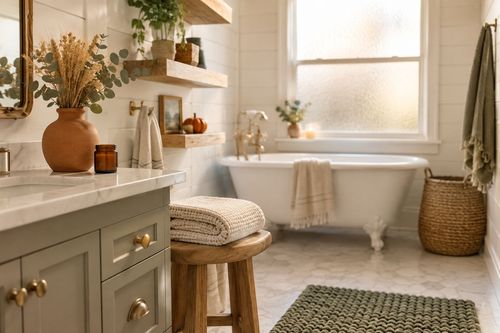
Style a Cozy Fall Guest Bathroom Refresh in 2 Hours for $35

Turn a sterile guest bath into a warm fall retreat with layered textiles and scent—2 hours, $35, zero renovation required....

Interior Design

13 October 2026

Post

Whisk Jewelry Holder: The Bend That Stops Sagging

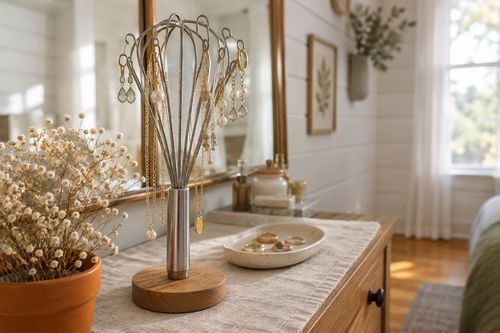
Turn a $1 dollar-store whisk into a boutique earring holder—the wire bend angle is what stops it from drooping under real jewelry weight....
Terms and ConditionsDo Not Sell or Share My Personal InformationPrivacy PolicyPrivacy NoticeAccessibility NoticeUnsubscribe
Copyright © 2026 DIY HomeBoost