Interior Design

Recent Content

Wooden Dish Rack: The Dowel Angle That Drains Right

Wooden Dish Rack: The Dowel Angle That Drains Right

Build a slatted wood dish rack for $18—the dowel tilt angle is what actually drains water into the tray instead of pooling on your counter.

Install a Fireplace Draft Stopper in 20 Minutes for $25

Install a Fireplace Draft Stopper in 20 Minutes for $25

Stop your chimney from sucking heat right out of the house—an inflatable draft stopper seals it in 20 minutes for about $25.

The Shower Rod Trick That Fakes a Walk-In Closet

The Shower Rod Trick That Fakes a Walk-In Closet

Steal spare closet space with a second shower-curtain rod—zero holes, zero fuss, and your full deposit stays safe.

Pool Noodle Knife Block: The Slice Depth That Stops Wobble

Pool Noodle Knife Block: The Slice Depth That Stops Wobble

Turn a $1 pool noodle into a safe knife block—the slice depth is what keeps blades from wobbling loose or slicing through the foam.

Build a Wooden Pie Carrier in 2 Hours for $25

Build a Wooden Pie Carrier in 2 Hours for $25

Never smash a pie in the car again! Build a snug wooden pie carrier in 2 hours for $25—perfect timing for fall potlucks.

logo
  • Home Improvement
  • DIY Projects
  • Interior Design
  • Gardening & Outdoor
  • Real Estate
  • Home Improvement
  • DIY Projects
  • Interior Design
  • Gardening & Outdoor
  • Real Estate
  • ​

Glitter Grout Bathroom Tiles: Sparkle That Makes Guests Gasp

Transform ordinary grout lines into dazzling details that catch light and steal the show
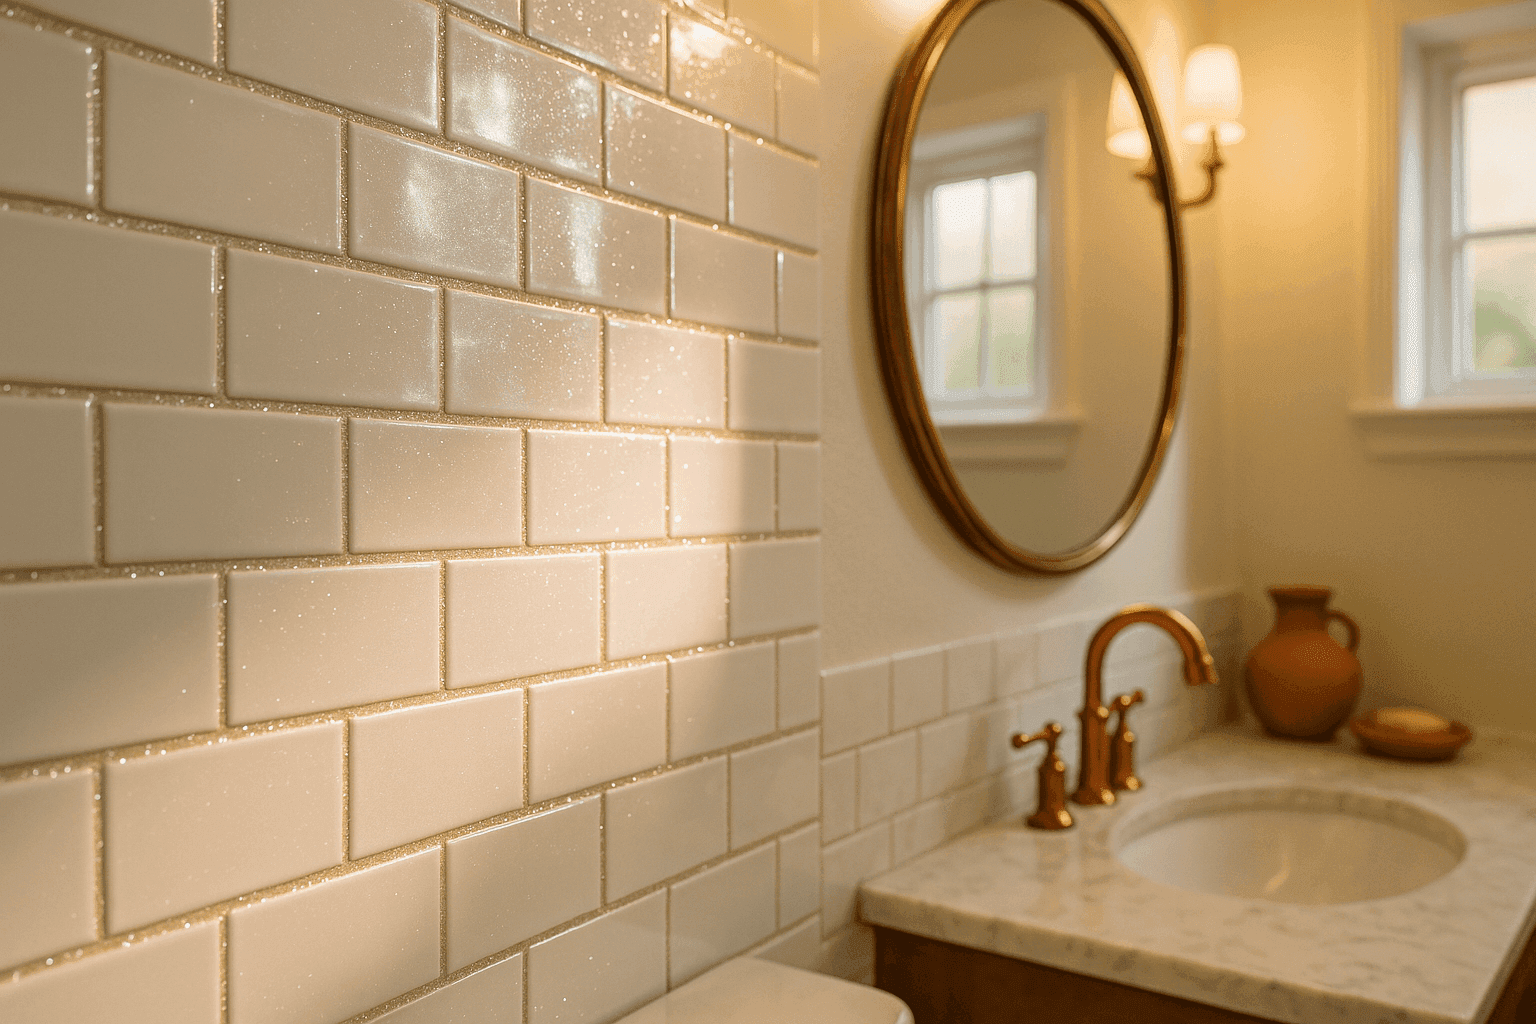
Elegant powder room with white subway tiles featuring sparkling glitter grout lines that catch bathroom lighting beautifully
INTERIOR DESIGN

Some design choices whisper elegantly in the background, and others make guests stop mid-conversation to ask "Wait, is your grout actually sparkling?" Glitter grout is decidedly in the second category – a bold, glamorous statement that transforms ordinary bathroom tiles into show-stopping surfaces that catch and reflect light with every movement. This isn't your grandmother's bathroom renovation; it's a confident design choice that says you're not afraid to have a little fun with your space while still maintaining sophistication. The key is choosing the right glitter size and color to complement rather than overwhelm your tiles, creating that perfect balance between luxurious sparkle and tasteful restraint that makes powder rooms truly unforgettable.

Sparkly Grout Supplies

  • Base Materials: High-quality grout sealer, fine cosmetic glitter in coordinating colors (silver, gold, or iridescent)
  • Application Tools: Small mixing containers, disposable brushes, grout sponges, clean microfiber cloths
  • Prep Essentials: Grout cleaner, scrub brush, vacuum for debris removal, painter's tape for tile protection
  • Safety Gear: Rubber gloves, dust mask, safety glasses to protect from glitter particles
  • Finishing Supplies: Additional clear sealer for topcoat, soft cloths for buffing, gentle cleaning products

Glitter Application Process

  1. Clean grout lines thoroughly with specialized cleaner, removing all soap scum, mildew, and debris for optimal adhesion
  2. Test your glitter-sealer mixture on a hidden area first to ensure the sparkle level and color meet your expectations
  3. Mix fine glitter into grout sealer gradually, aiming for subtle sparkle rather than over-the-top disco ball effect
  4. Protect tiles with painter's tape if desired, though careful application usually eliminates this step
  5. Apply glitter sealer mixture to grout lines using small brush, working in sections for even coverage
  6. Smooth application with damp sponge, removing excess from tile surfaces while sealer is still workable
  7. Allow complete drying according to sealer instructions before applying optional protective topcoat
  8. Buff tiles clean with microfiber cloth, revealing sparkling grout lines that catch and reflect light beautifully
DESIGNER TIP

High-end interior designers know that successful glitter grout requires restraint – use cosmetic-grade fine glitter rather than craft glitter, which can look cheap and shed over time. The goal is subtle sparkle that catches light beautifully rather than overwhelming glitter that screams "DIY gone wrong." For the most sophisticated look, choose glitter that complements your existing fixtures – warm gold tones with brass hardware, cool silver with chrome finishes, or iridescent white for a versatile shimmer that works with any color scheme. Less is definitely more when creating glamorous grout that guests will admire rather than question.


Related Content

Interior Design

26 October 2026

Post

Fish Tank Terrarium: The Drainage Layer That Saves It

Turn a leaky old fish tank into a stunning terrarium—the gravel drainage layer is what stops root rot before your plants ever get a chance....

Interior Design

24 October 2026

Post

Tie-Dye Shower Curtain: The Fold That Makes Spirals

Turn a plain $8 shower curtain into a wild tie-dye spiral—the fold-and-twist technique is what makes the pattern radiate instead of blotch....

Interior Design

21 October 2026

Post

Peel-and-Stick Wallpaper Accent Wall in 3 Hours for $60

Turn one blank wall into a showstopper with peel-and-stick wallpaper—no wet paste, no mess, just a sharp accent wall by dinnertime....

Interior Design

19 October 2026

Post

Necktie Wall Organizer: The Knot Spacing That Holds

Turn old neckties into a boho wall organizer for keys and mail—even knot spacing is what keeps the pockets from sagging open. Under $10....

Interior Design

17 October 2026

Post

Neon Ombré File Cabinet: The Tape Order That Prevents Bleed

Turn a beige metal file cabinet into a neon ombré showstopper—the tape-layering order is what keeps colors crisp instead of muddy. Under $25....

Interior Design

15 October 2026

Post

Style a Cozy Fall Guest Bathroom Refresh in 2 Hours for $35

Turn a sterile guest bath into a warm fall retreat with layered textiles and scent—2 hours, $35, zero renovation required....

Interior Design

13 October 2026

Post

Whisk Jewelry Holder: The Bend That Stops Sagging

Turn a $1 dollar-store whisk into a boutique earring holder—the wire bend angle is what stops it from drooping under real jewelry weight....

Interior Design

12 October 2026

Post

Shutter Towel Rack: The Anchor Screw That Won't Rip Out

Turn a salvaged wood shutter into a bathroom towel rack—the stud anchor is what stops it ripping out under soaked towels....

Interior Design

11 October 2026

Post

Style a Cozy Window Seat Nook in 2 Hours for $45

Turn a bare window seat into a cozy fall reading nook with the right cushion layering trick—2 hours, $45, instant curl-up energy....

Interior Design

10 October 2026

Post

Sunburst Mirror: The Ray Overlap That Hides Gaps

Paint a bold rainbow sunburst mirror for $25—overlapping each ray's base is the trick that hides gaps and makes it look store-bought....

Interior Design

07 October 2026

Post

Style a Cozy Fall Bedroom Refresh in 2 Hours for $50

Layer flannel, wool, and warm light the right way and your bedroom finally feels like fall — 2 hours, $50, zero renovation....

Interior Design

03 October 2026

Post

Style a Fall Bookshelf Refresh in 2 Hours for $40

Turn a cluttered bookshelf into a magazine-worthy fall vignette using the triangle rule and warm accents—2 hours, $40, zero carpentry....

Interior Design

03 October 2026

Post

Gold Leaf Frame: The Size Overlap That Prevents Cracks

Turn a plain thrift mirror into a bold gold-leaf statement piece—overlapping each sheet correctly is what stops the finish from cracking and flaking later....

Interior Design

29 September 2026

Post

Style a Fall Coffee Table Tray Vignette for $30

Turn a plain coffee table into a cozy fall focal point with a layered tray vignette—45 minutes, $30, zero design degree required....

Interior Design

28 September 2026

Post

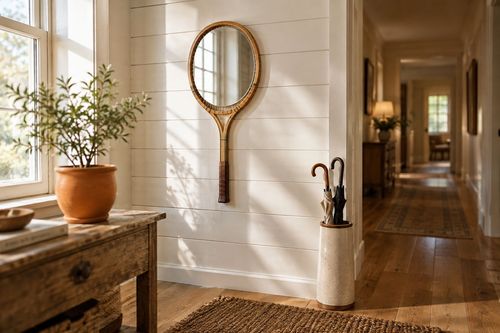
Tennis Racket Mirror: The Backing Trick That Locks It Flat

Turn a thrifted tennis racket into a quirky wall mirror—the plywood backing is what keeps the round mirror from popping loose over time....
Terms and ConditionsDo Not Sell or Share My Personal InformationPrivacy PolicyPrivacy NoticeAccessibility NoticeUnsubscribe
Copyright © 2026 DIY HomeBoost