
For the Birds: Make Homemade Suet Cakes for $10
Melted lard, peanut butter, and a muffin tin — a batch of twelve homemade suet cakes that cost less than two store-bought ones and bring birds flocking to your yard
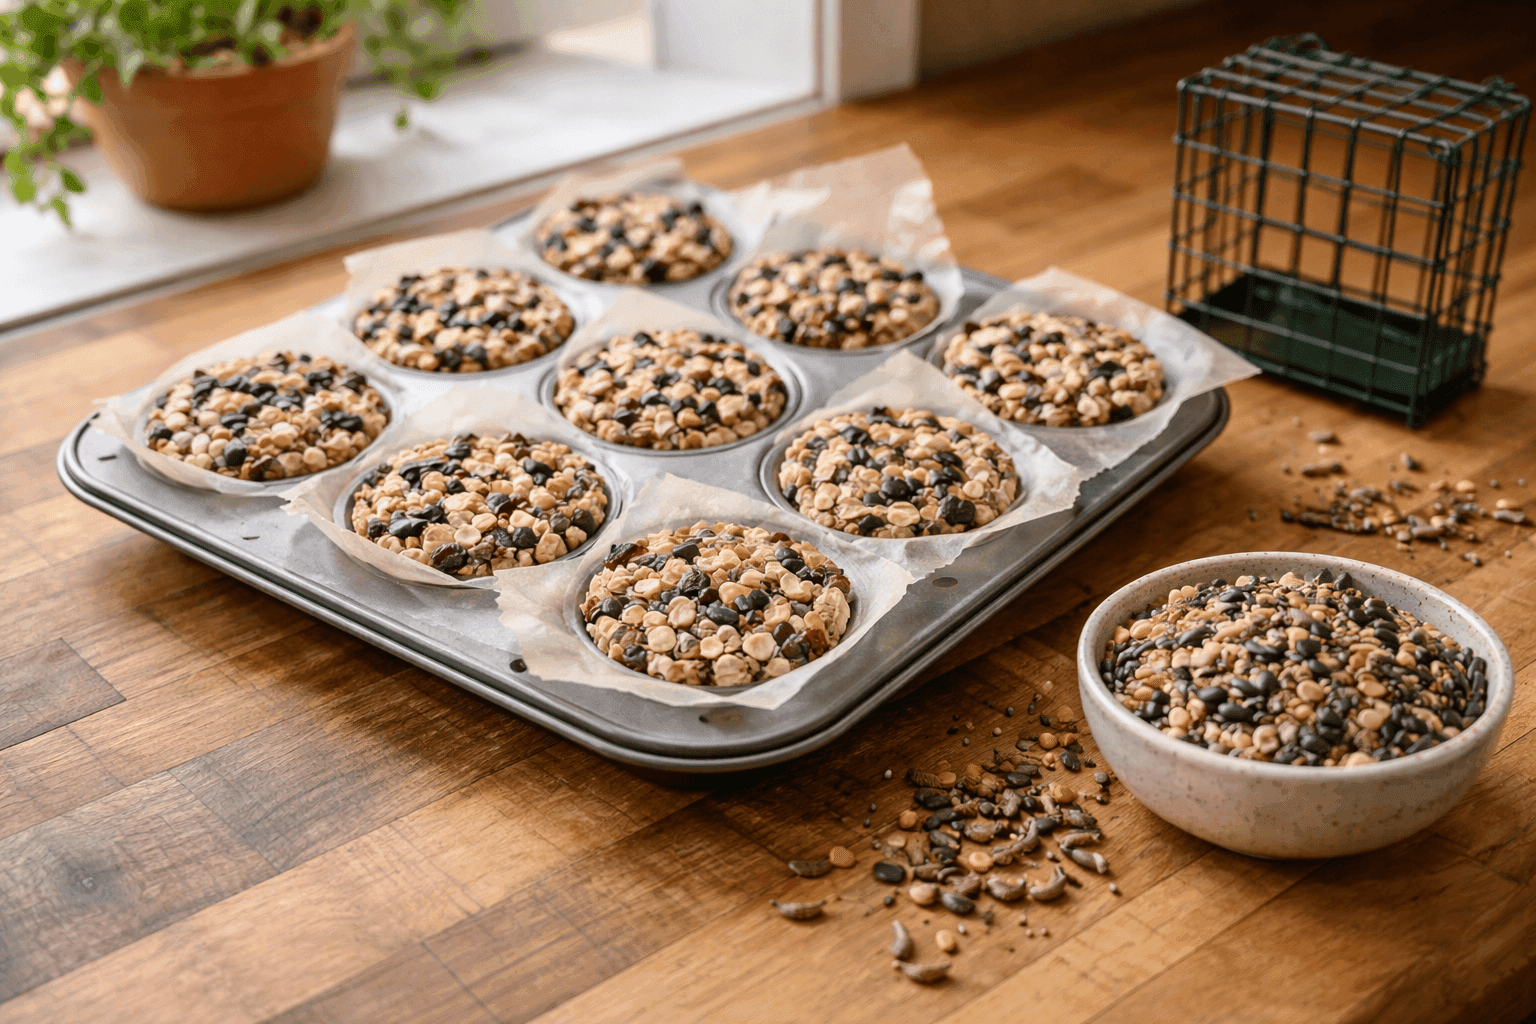
If you've ever paid $4 or $5 for a single commercial suet cake and watched a woodpecker demolish it in four days, the math of making your own becomes immediately compelling: a batch of twelve homemade suet cakes costs about $10 in total ingredients and takes twenty minutes of active work before the freezer does the rest. The base recipe is nothing more than melted lard combined with peanut butter — a high-fat, high-calorie foundation that gives birds exactly the energy they need during migration and cold weather — and from there you stir in whatever combination of seeds, oats, dried fruit, and nuts suits the species in your yard. The results are spectacular, and not just financially. Homemade suet with quality ingredients attracts a significantly wider variety of species than commercial cakes, and during spring migration the feeder activity near a well-stocked suet cage becomes the kind of birdwatching that makes you late for things. This is the late winter and early spring ritual that costs almost nothing, takes twenty minutes, and pays off in something genuinely wonderful outside your kitchen window every single morning.
What You'll Need
- The Fat Base
- Plain lard — the primary fat base for suet cakes, available in the baking aisle of most grocery stores for ~$3–$4 per one-pound block. One pound of lard makes a full batch of twelve standard muffin-tin cakes
- Rendered beef suet — the traditional, technically correct ingredient that gives these their name — available from butchers and some grocery meat counters, often free or very cheap as a byproduct trim. Harder and slower to melt than lard but produces a firmer cake that holds up better in warm weather
- Coconut oil can substitute up to half the fat in a pinch but produces a softer cake that melts quickly in temperatures above 60°F — fine for winter feeding, problematic for spring
- Never use bacon grease, cooking oil, or vegetable shortening as the primary fat — these are too soft, go rancid quickly, and can coat bird feathers in a way that compromises waterproofing
- The Binder
- Natural peanut butter — ½ cup per pound of lard — acts as both a binder that holds the mix together and a massive caloric addition that birds go absolutely frantic for. Use natural peanut butter with no added salt, sugar, or xylitol — xylitol specifically is toxic to birds and appears in many reduced-sugar peanut butter varieties — ~$3–$5 per jar
- Almond butter or sunflower seed butter as alternatives for anyone concerned about peanut allergen cross-contamination near homes where that's a concern
- The Mix-Ins — Choose Your Combination
- Black oil sunflower seeds — the single highest-value seed addition for attracting the widest variety of species, from chickadees to woodpeckers to nuthatches — ~$4–$6 per small bag
- Rolled oats — add bulk and texture that birds enjoy and help the cake hold its shape — ~$2–$3 for a container that makes many batches
- Dried cranberries, raisins, or dried cherries — attract bluebirds, thrushes, and waxwings that won't touch seed-only cakes — ~$2–$3 per small bag. Chop raisins in half before adding as whole raisins can be a choking hazard for smaller species
- Cornmeal — adds texture and calories, helps firm up the finished cake — ¼ cup per batch
- Unsalted chopped peanuts, chopped walnuts, or shelled sunflower seeds for woodpecker-specific mixes
- Dried mealworms — the most effective single addition for attracting bluebirds, wrens, and warblers during spring migration — ~$5–$8 per small bag but a little goes a long way
- Equipment
- A standard 12-cup muffin tin lined with paper muffin cups — the cups make unmolding effortless and allow individual cakes to be stored and handled without breaking
- A medium saucepan for melting the fat base on low heat
- A large mixing bowl and sturdy spoon for combining the melted fat with mix-ins
- A mesh suet feeder or suet cage — ~$6–$12 at any bird supply or garden center — for hanging the finished cakes near a window or in a garden tree
How to Make Them
- Line your muffin tin with paper cups before melting anything — having the molds ready means you can pour the mix while it's still fluid and warm rather than scrambling to prep the tin while the fat starts to solidify in the bowl. Standard cupcake liners fit perfectly and produce a round cake that fits most commercial suet feeders, though you can also use silicone molds, small loaf pans, or any freezer-safe container in the shape your feeder requires.
- Melt the lard gently in a medium saucepan over low heat, stirring occasionally until completely liquid — low heat is important because you're not cooking anything, just melting, and high heat causes the fat to smoke and develop off-flavors that birds can detect and may avoid. Once fully melted and removed from heat, stir in the peanut butter until completely incorporated and smooth before adding any dry ingredients.
- Let the fat mixture cool slightly for five minutes before adding your mix-ins — pouring hot fat directly over dried fruit and seeds can scorch delicate ingredients and cook the dried mealworms if using them, changing their texture and potentially reducing their attractiveness to birds. The mix should still be fully liquid and pourable but no longer steaming before you add the seeds, oats, and fruit.
- Stir in your mix-ins until every seed and oat is evenly coated in the fat mixture — the ratio that produces the best-holding cake is roughly equal parts fat mixture to dry mix-ins by volume, so for a pound of lard you want about two cups of combined seeds, oats, and other dry additions. Too many mix-ins relative to fat produces a crumbly cake that falls apart in the feeder; too few and the cake is mostly fat with seeds floating in it, which birds find less appealing than a well-packed mix.
- Pour into the prepared muffin cups immediately while the mixture is still liquid, filling each cup to just below the rim and tapping the tin gently on the counter to settle the mix and eliminate air pockets. Work quickly as the fat begins to firm as it cools — a mix that starts to set before you've finished filling the tin produces cakes with an uneven surface that may not fit the feeder properly, so pour all twelve cups in a single continuous session.
- Refrigerate or freeze until fully set — the freezer takes about two hours to produce a completely firm cake, the refrigerator takes four to six hours. The cake is ready when it holds its shape cleanly when the paper liner is peeled away and doesn't leave significant fat residue on your hands when handled — a cake that's still slightly soft will melt and go rancid faster once hung outside, especially during the warmer days of spring migration season.
- Store finished cakes correctly to preserve freshness — keep cakes you'll use within two weeks in a sealed container in the refrigerator, and freeze any remainder in a zip-lock freezer bag for up to three months. Label the bag with the batch date and mix-in combination so you can track which recipes attract the most species at your specific feeder location and refine the recipe with each batch you make.
- Hang the feeder thoughtfully for maximum bird activity and safety — position the suet cage within 10–15 feet of a tree or shrub that gives birds a nearby landing spot to survey the feeder before committing to it, but at least 10 feet from dense cover that would allow a cat to approach undetected. A feeder hung near a kitchen window at eye level while seated creates the kind of daily birdwatching experience that makes the whole project — from melting the first batch of lard to spotting a new warbler species during migration — feel genuinely worth doing every single season.
Wildlife rehabilitators and serious backyard birders who feed year-round adjust their suet recipes seasonally in a way that dramatically increases both the variety and number of species visiting their feeders — and the adjustments are simpler than most people expect. For late winter and early spring migration, add dried mealworms and chopped dried cherries to the base recipe — these protein and sugar additions specifically attract the insect and fruit-eating species like bluebirds, warblers, and thrushes that pass through during migration but won't visit a seed-only feeder. For summer, switch to a no-melt formula by replacing half the lard with rendered beef suet and reducing the peanut butter to ¼ cup per batch — standard lard-based suet goes rancid quickly in summer heat and can make birds sick if left in the feeder beyond two to three days in temperatures above 70°F. For fall, add extra black oil sunflower seeds and unsalted chopped peanuts to support the calorie loading that resident species like chickadees, nuthatches, and woodpeckers do before winter — these species are caching food in bark crevices and will visit a well-stocked suet feeder dozens of times per day during the weeks before the first hard freeze.














