DIY Projects

Recent Content

Shoe Bench Build: The Cubby Depth That Keeps Pairs Upright

Shoe Bench Build: The Cubby Depth That Keeps Pairs Upright

Build a wooden entryway shoe bench for $35—the cubby depth is what keeps boots standing instead of toppling into a pile every morning.

Style a Layered Nightstand Vignette in 1 Hour for $35

Style a Layered Nightstand Vignette in 1 Hour for $35

Turn a cluttered nightstand into a cozy styled vignette with the height-rule trick—1 hour, $35, instant bedroom upgrade.

The Cafe Rod Trick for a Fake Built-In Vanity

The Cafe Rod Trick for a Fake Built-In Vanity

Fake a built-in bathroom vanity shelf with a tiny cafe rod and basket—zero drilling, zero suction cups, full deposit intact.

Tension Rod Shelf: The Rod Width That Won't Slip

Tension Rod Shelf: The Rod Width That Won't Slip

Build a hidden double-decker shelf under your sink for $6—the rod tension width is what keeps it from crashing down on cleaning day.

Mulch Perennial Beds for Winter in 1 Hour for $25

Mulch Perennial Beds for Winter in 1 Hour for $25

Tuck your perennials in right! A 3-inch mulch blanket now saves roots from winter heave for about $25.

logo
  • Home Improvement
  • DIY Projects
  • Interior Design
  • Gardening & Outdoor
  • Real Estate
  • Home Improvement
  • DIY Projects
  • Interior Design
  • Gardening & Outdoor
  • Real Estate
  • ​

Fix Broken Zippers in 2 Minutes for Under $1

Save your favorite jacket or bag from the donation pile with one tiny trick

Close-up of a small silver key ring threaded through a zipper slider on a navy jacket, displayed on a wooden surface with paperclips and key rings nearby
DIY Projects

You know that sinking feeling when you grab for a zipper pull and your fingers just… slip? The little tab has snapped off, and suddenly a perfectly good jacket, bag, or pair of boots feels unwearable. Before you toss it in the donation pile or fork out for a tailor, stop — because this is genuinely a two-minute fix that costs less than a dollar. A small key ring or a large paperclip threaded through the zipper slider gives you a new pull that works just as well as the original, and in some cases looks even better. This is one of those repairs that feels almost too simple to be real, right up until the moment you try it and wonder why you waited so long.

What You'll Need

  • The Replacement Pull (pick one)
  • Small split key rings – 1-inch size is ideal for most jacket and bag zippers (pack of 10 runs about $1–2)
  • Large jumbo paperclips – free if you already own any, and they work surprisingly well on large bag zippers
  • Lobster claw clasps – a more polished option available at any craft store for under $2 for a pack
  • Decorative charms or zipper pull kits – optional upgrade for bags you want to personalize (~$3–5)
  • Tools
  • Needle-nose pliers – helpful for opening tight key rings but not always necessary
  • A toothpick or thin skewer – useful for guiding the ring through a very small slider hole
  • Good lighting – a broken slider hole can be tiny and easy to miss
  • Total Cost
  • Under $1 per repair (often completely free if you raid your junk drawer first)

How to Fix It

  1. Locate the small hole or loop at the top of the zipper slider — this is where the original pull was attached. On most zippers it's a small rectangular or oval opening. If it's clogged with debris, use a toothpick to clear it.
  2. Select your replacement pull. Use a small key ring for most jacket and pants zippers, a jumbo paperclip for large bag or luggage zippers, or a lobster clasp for anything where you want a more finished look.
  3. Open the key ring by gripping it with your thumbnail and index finger and rotating one end up — or use needle-nose pliers for rings that are stiff. Don't bend it too far or it'll lose its spring.
  4. Thread the open end of the key ring through the slider hole, working it through completely until the ring is fully seated inside the opening. If the hole is very small, a toothpick can guide the ring tip through.
  5. Close the key ring by pressing the ends back together until they click or sit flush. Give it a firm tug to confirm it's secure before you trust it with a full zipper pull.
  6. Test the zipper by pulling the new ring up and down the full length of the teeth — it should glide smoothly with a natural, comfortable grip. If using a paperclip, bend one end slightly upward to create an ergonomic pull angle.
DESIGNER TIP

Tailors and leather repair pros almost never replace a zipper slider if only the pull is broken — they do exactly this fix, just with a nicer-looking component. If you want a more intentional, styled result on a bag or jacket you love, swap the plain key ring for a small leather cord loop or a decorative charm on a lobster clasp. Thread it the same way, but now you've got something that looks deliberate rather than improvised. This also makes a great opportunity to coordinate pulls across a bag's multiple zippers using matching charms — something boutique bag brands actually charge a premium for.
Related Content

DIY Projects

04 November 2026

Post

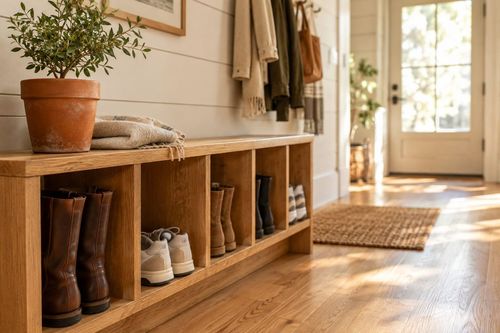
Shoe Bench Build: The Cubby Depth That Keeps Pairs Upright

Build a wooden entryway shoe bench for $35—the cubby depth is what keeps boots standing instead of toppling into a pile every morning....

DIY Projects

03 November 2026

Post

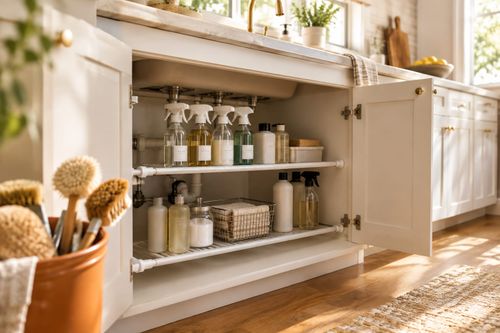
Tension Rod Shelf: The Rod Width That Won't Slip

Build a hidden double-decker shelf under your sink for $6—the rod tension width is what keeps it from crashing down on cleaning day....

DIY Projects

01 November 2026

Post

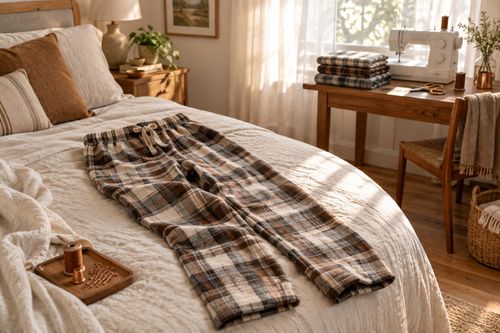
Sew Flannel Pajama Pants in 3 Hours for $25

Ditch store PJs! Sew cozy flannel pajama pants with an elastic waist in 3 hours for about $25 — perfect for chilly November nights....

DIY Projects

31 October 2026

Post

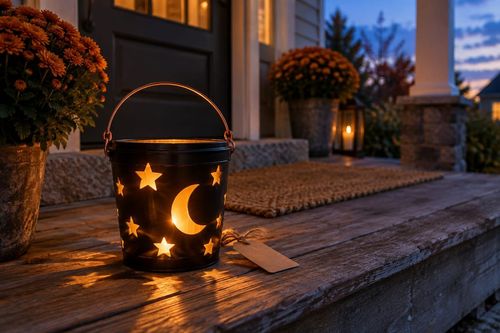
Build a Trick-or-Treat Bucket Lantern in 1 Hour for $15

Light up Halloween night with a glowing trick-or-treat bucket lantern—1 hour, $15, and way safer than a candle in a pumpkin....

DIY Projects

30 October 2026

Post

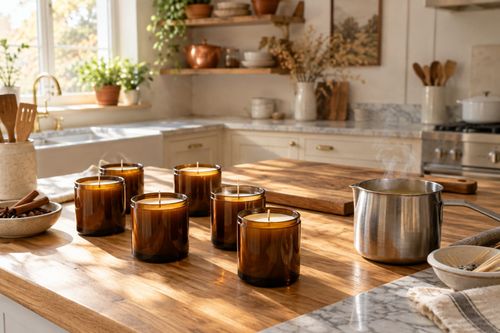
Pour Pumpkin Spice Candles in 1 Hour for $15

Ditch the $28 mall candle—pour your own pumpkin spice soy candles at home for $15 and fill your house with fall in an hour....

DIY Projects

29 October 2026

Post

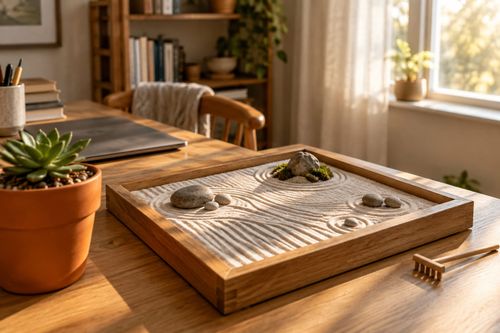
Tabletop Zen Garden: The Sand Depth That Holds Lines

Build a calming tabletop zen garden for $15—the sand depth is the one thing that decides if your rake lines actually hold or vanish....

DIY Projects

28 October 2026

Post

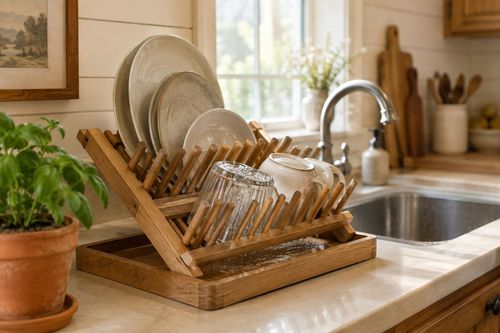
Wooden Dish Rack: The Dowel Angle That Drains Right

Build a slatted wood dish rack for $18—the dowel tilt angle is what actually drains water into the tray instead of pooling on your counter....

DIY Projects

27 October 2026

Post

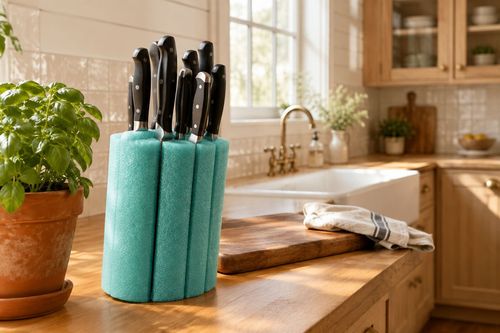
Pool Noodle Knife Block: The Slice Depth That Stops Wobble

Turn a $1 pool noodle into a safe knife block—the slice depth is what keeps blades from wobbling loose or slicing through the foam....

DIY Projects

27 October 2026

Post

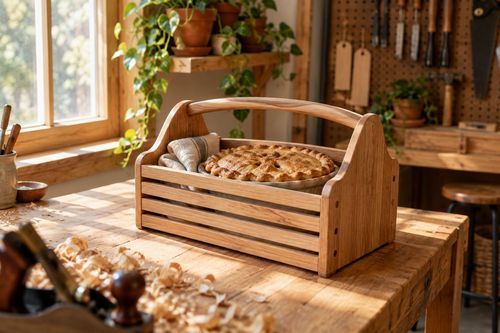
Build a Wooden Pie Carrier in 2 Hours for $25

Never smash a pie in the car again! Build a snug wooden pie carrier in 2 hours for $25—perfect timing for fall potlucks....

DIY Projects

26 October 2026

Post

Make Herb-Infused Honey in 30 Minutes for $12

Turn raw honey into a cold-season secret weapon—infuse it with thyme and ginger in 30 minutes for about $12, no fancy gear needed....

DIY Projects

25 October 2026

Post

Make Homemade Fire Cider in 20 Minutes for $15

Steep this spicy apple cider vinegar tonic now so it's ready to fight off fall colds in 4 weeks—20 minutes, $15, zero cooking skills....

DIY Projects

23 October 2026

Post

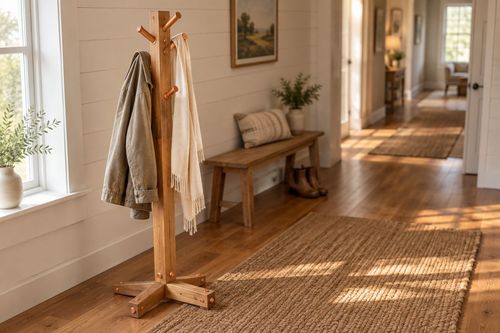
Build a Freestanding Coat Rack in 2 Hours for $35

Sick of coats piled on chairs? Build a sturdy freestanding coat rack in 2 hours for $35 — no wall drilling, just solid joinery....

DIY Projects

22 October 2026

Post

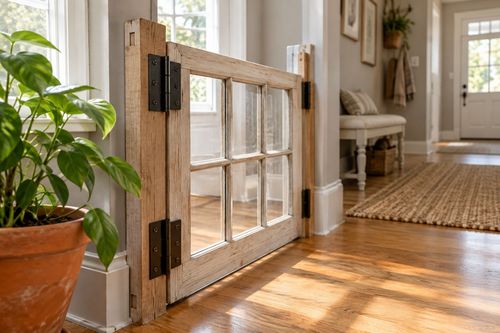
Window Frame to Pet Gate: The Hinge Set That Holds

Turn an old wooden window frame into a swinging pet gate for $22 — the hinge mortise depth is what keeps it from sagging open over time....

DIY Projects

22 October 2026

Post

Make Spiced Homemade Applesauce in 1 Hour for $12

Turn a bag of fall apples into silky spiced applesauce in an hour for $12 — no peeling required if you've got the right tool....

DIY Projects

21 October 2026

Post

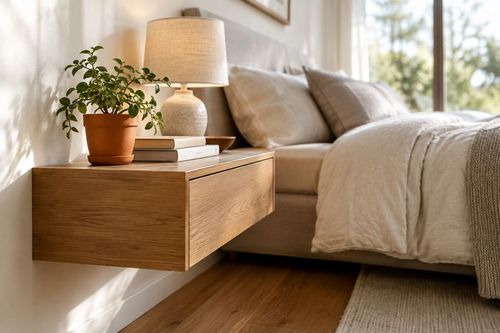
Floating Nightstand: The Bracket Depth That Holds Weight

Build a wall-mounted wooden nightstand for $25 — the bracket depth inside the wood is what stops it from sagging under a lamp and books....
Terms and ConditionsDo Not Sell or Share My Personal InformationPrivacy PolicyPrivacy NoticeAccessibility NoticeUnsubscribe
Copyright © 2026 DIY HomeBoost