
Interior Design

Recent Content

Shoe Bench Build: The Cubby Depth That Keeps Pairs Upright

Shoe Bench Build: The Cubby Depth That Keeps Pairs Upright

Build a wooden entryway shoe bench for $35—the cubby depth is what keeps boots standing instead of toppling into a pile every morning.

Style a Layered Nightstand Vignette in 1 Hour for $35

Style a Layered Nightstand Vignette in 1 Hour for $35

Turn a cluttered nightstand into a cozy styled vignette with the height-rule trick—1 hour, $35, instant bedroom upgrade.

The Cafe Rod Trick for a Fake Built-In Vanity

The Cafe Rod Trick for a Fake Built-In Vanity

Fake a built-in bathroom vanity shelf with a tiny cafe rod and basket—zero drilling, zero suction cups, full deposit intact.

Tension Rod Shelf: The Rod Width That Won't Slip

Tension Rod Shelf: The Rod Width That Won't Slip

Build a hidden double-decker shelf under your sink for $6—the rod tension width is what keeps it from crashing down on cleaning day.

Mulch Perennial Beds for Winter in 1 Hour for $25

Mulch Perennial Beds for Winter in 1 Hour for $25

Tuck your perennials in right! A 3-inch mulch blanket now saves roots from winter heave for about $25.

logo
  • Home Improvement
  • DIY Projects
  • Interior Design
  • Gardening & Outdoor
  • Real Estate
  • Home Improvement
  • DIY Projects
  • Interior Design
  • Gardening & Outdoor
  • Real Estate
  • ​

First Impressions: Craft the Perfect Summer Welcome

Create an entryway that captures summer's spirit and makes every arrival feel like coming home to vacation
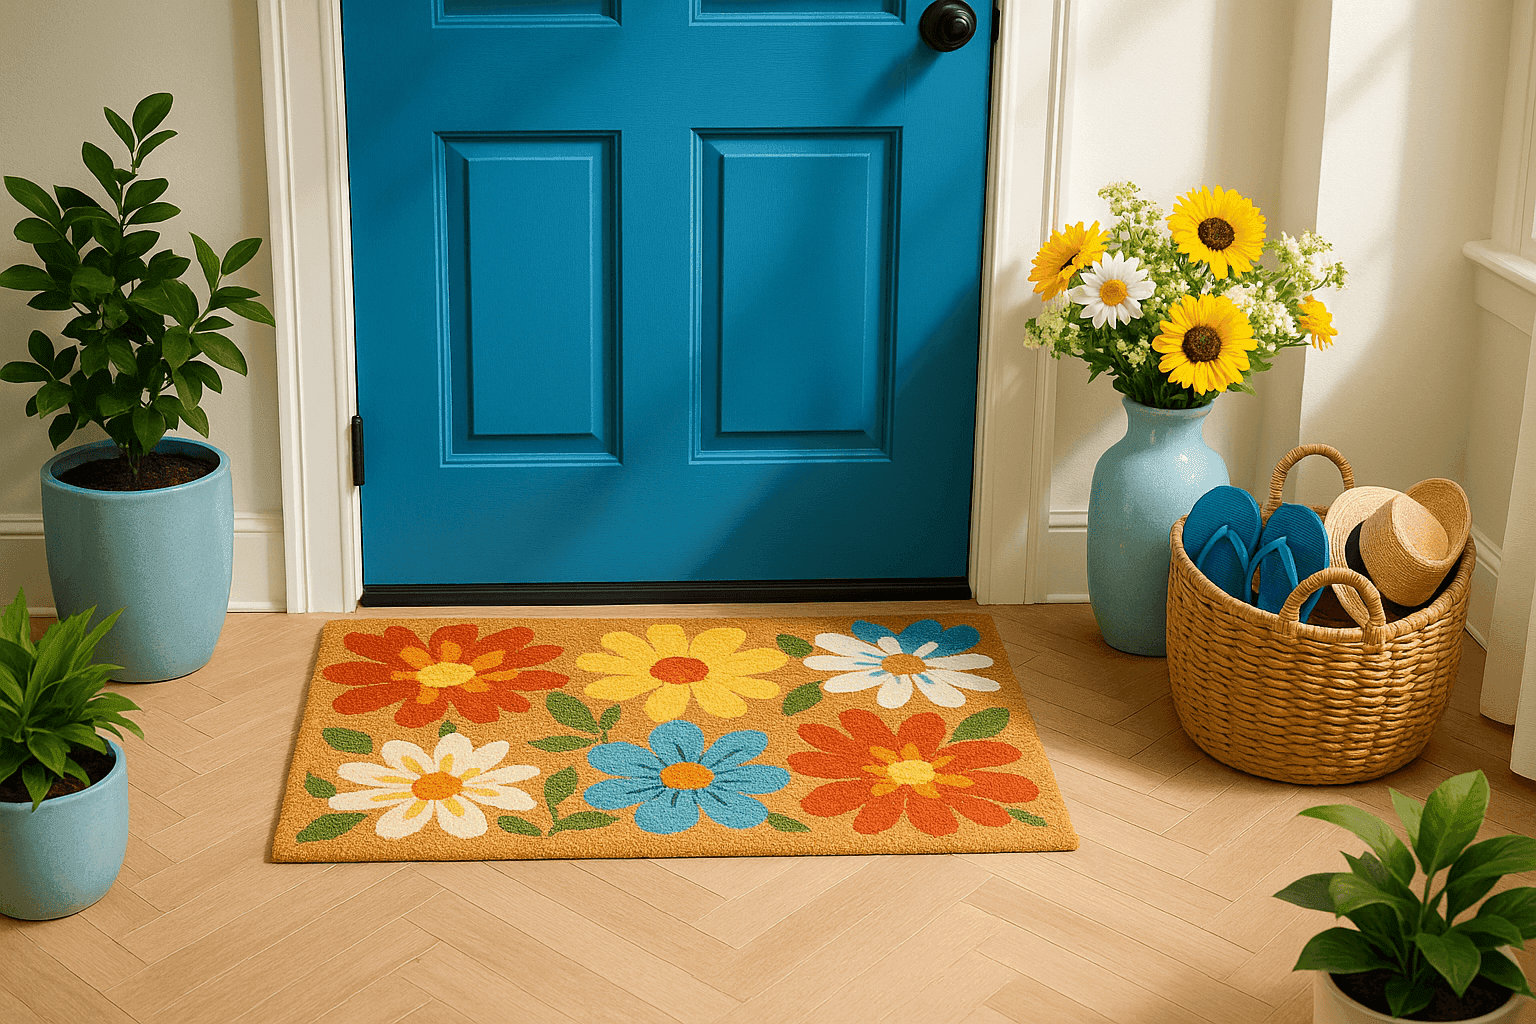
Bright summer entryway with colorful doormat, fresh flowers by the door, and woven basket for flip-flops and sun hats
Interior Design

Your entryway is like the opening line of a great book – it sets the tone for everything that follows and creates that crucial first impression that lingers long after someone steps inside. I transformed my front entrance three summers ago after realizing that guests were getting their first glimpse of my home's personality from a tired doormat and forgotten winter decorations that had somehow survived into July. The magic of a summer entryway redesign lies in how such a small space can completely shift the energy of your entire home; it's the difference between walking into a house and stepping into a welcoming sanctuary that immediately puts everyone at ease. Whether you're working with a grand front porch or a modest apartment doorway, the right combination of cheerful colors, fresh elements, and thoughtful organization can make every homecoming feel like a mini-celebration. Once you experience how much joy a well-designed entryway brings to your daily routine – and how it makes guests feel genuinely welcomed before they even ring the doorbell – you'll understand why this small space deserves the same attention as any other room in your home.

Welcome Elements

  • Bright Doormat: Weather-resistant mat with cheerful colors or summer message ($15-45)
  • Fresh Flowers: Seasonal blooms in weatherproof vase or planter ($10-30)
  • Storage Basket: Woven basket for flip-flops, sandals, and sun hats ($20-60)
  • Welcome Sign: Seasonal greeting or house number display ($15-50)
  • Potted Plants: Container garden with summer flowers or greenery ($25-80)
  • Seating Option: Small bench or stool for changing shoes ($30-100)
  • Lighting Elements: Solar lanterns or pathway lights for evening ambiance ($20-70)
  • Organizational Tools: Hooks for keys, small shelf for mail ($10-40)

Design Process

  1. Clear the entryway completely and clean all surfaces thoroughly
  2. Position your bright doormat as the foundation element at the entrance
  3. Place fresh flowers in a prominent spot that's visible from the street
  4. Add storage basket in a convenient location for easy access
  5. Create visual interest with different heights using plants and decorative elements
  6. Install any lighting or signage that enhances the welcoming atmosphere
  7. Organize functional elements like hooks and small storage solutions
  8. Step back and adjust arrangement for both beauty and practical flow
DESIGNER TIP

Professional designers create entryway "vignettes" using the "rule of odds" – arrange elements in groups of three or five for the most pleasing visual impact. Position your tallest element (like a large planter) as the anchor, add a medium-height piece (like your flower vase), and ground it with a low element (like your storage basket). The key is creating layers that guide the eye naturally while maintaining clear pathways for foot traffic. Also, choose a cohesive color story that complements your front door – if you have a blue door, echo that blue in your doormat or flower choices. This creates intentional design cohesion that makes your entryway look professionally styled rather than accidentally assembled.
Related Content

Interior Design

04 November 2026

Post

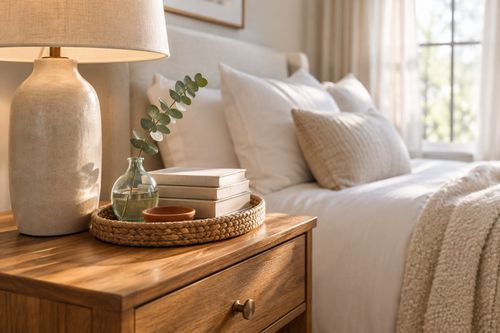
Style a Layered Nightstand Vignette in 1 Hour for $35

Turn a cluttered nightstand into a cozy styled vignette with the height-rule trick—1 hour, $35, instant bedroom upgrade....

Interior Design

02 November 2026

Post

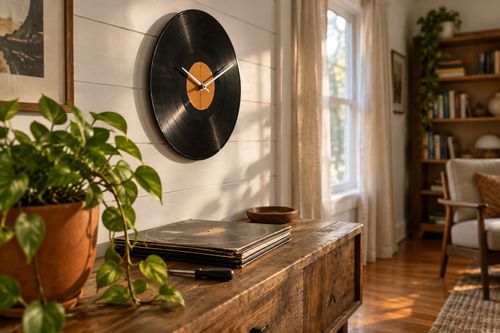
Vinyl Record Clock: The Center Hole Size That Matters

Turn a scratched vinyl record into a working wall clock—the center hole size is what keeps the mechanism snug instead of wobbling off-center. Under $15....

Interior Design

26 October 2026

Post

Fish Tank Terrarium: The Drainage Layer That Saves It

Turn a leaky old fish tank into a stunning terrarium—the gravel drainage layer is what stops root rot before your plants ever get a chance....

Interior Design

24 October 2026

Post

Tie-Dye Shower Curtain: The Fold That Makes Spirals

Turn a plain $8 shower curtain into a wild tie-dye spiral—the fold-and-twist technique is what makes the pattern radiate instead of blotch....

Interior Design

21 October 2026

Post

Peel-and-Stick Wallpaper Accent Wall in 3 Hours for $60

Turn one blank wall into a showstopper with peel-and-stick wallpaper—no wet paste, no mess, just a sharp accent wall by dinnertime....

Interior Design

19 October 2026

Post

Necktie Wall Organizer: The Knot Spacing That Holds

Turn old neckties into a boho wall organizer for keys and mail—even knot spacing is what keeps the pockets from sagging open. Under $10....

Interior Design

17 October 2026

Post

Neon Ombré File Cabinet: The Tape Order That Prevents Bleed

Turn a beige metal file cabinet into a neon ombré showstopper—the tape-layering order is what keeps colors crisp instead of muddy. Under $25....

Interior Design

15 October 2026

Post

Style a Cozy Fall Guest Bathroom Refresh in 2 Hours for $35

Turn a sterile guest bath into a warm fall retreat with layered textiles and scent—2 hours, $35, zero renovation required....

Interior Design

13 October 2026

Post

Whisk Jewelry Holder: The Bend That Stops Sagging

Turn a $1 dollar-store whisk into a boutique earring holder—the wire bend angle is what stops it from drooping under real jewelry weight....

Interior Design

12 October 2026

Post

Shutter Towel Rack: The Anchor Screw That Won't Rip Out

Turn a salvaged wood shutter into a bathroom towel rack—the stud anchor is what stops it ripping out under soaked towels....

Interior Design

11 October 2026

Post

Style a Cozy Window Seat Nook in 2 Hours for $45

Turn a bare window seat into a cozy fall reading nook with the right cushion layering trick—2 hours, $45, instant curl-up energy....

Interior Design

10 October 2026

Post

Sunburst Mirror: The Ray Overlap That Hides Gaps

Paint a bold rainbow sunburst mirror for $25—overlapping each ray's base is the trick that hides gaps and makes it look store-bought....

Interior Design

07 October 2026

Post

Style a Cozy Fall Bedroom Refresh in 2 Hours for $50

Layer flannel, wool, and warm light the right way and your bedroom finally feels like fall — 2 hours, $50, zero renovation....

Interior Design

03 October 2026

Post

Style a Fall Bookshelf Refresh in 2 Hours for $40

Turn a cluttered bookshelf into a magazine-worthy fall vignette using the triangle rule and warm accents—2 hours, $40, zero carpentry....

Interior Design

03 October 2026

Post

Gold Leaf Frame: The Size Overlap That Prevents Cracks

Turn a plain thrift mirror into a bold gold-leaf statement piece—overlapping each sheet correctly is what stops the finish from cracking and flaking later....
Terms and ConditionsDo Not Sell or Share My Personal InformationPrivacy PolicyPrivacy NoticeAccessibility NoticeUnsubscribe
Copyright © 2026 DIY HomeBoost












