
Interior Design

Recent Content

Shoe Bench Build: The Cubby Depth That Keeps Pairs Upright

Shoe Bench Build: The Cubby Depth That Keeps Pairs Upright

Build a wooden entryway shoe bench for $35—the cubby depth is what keeps boots standing instead of toppling into a pile every morning.

Style a Layered Nightstand Vignette in 1 Hour for $35

Style a Layered Nightstand Vignette in 1 Hour for $35

Turn a cluttered nightstand into a cozy styled vignette with the height-rule trick—1 hour, $35, instant bedroom upgrade.

The Cafe Rod Trick for a Fake Built-In Vanity

The Cafe Rod Trick for a Fake Built-In Vanity

Fake a built-in bathroom vanity shelf with a tiny cafe rod and basket—zero drilling, zero suction cups, full deposit intact.

Tension Rod Shelf: The Rod Width That Won't Slip

Tension Rod Shelf: The Rod Width That Won't Slip

Build a hidden double-decker shelf under your sink for $6—the rod tension width is what keeps it from crashing down on cleaning day.

Mulch Perennial Beds for Winter in 1 Hour for $25

Mulch Perennial Beds for Winter in 1 Hour for $25

Tuck your perennials in right! A 3-inch mulch blanket now saves roots from winter heave for about $25.

logo
  • Home Improvement
  • DIY Projects
  • Interior Design
  • Gardening & Outdoor
  • Real Estate
  • Home Improvement
  • DIY Projects
  • Interior Design
  • Gardening & Outdoor
  • Real Estate
  • ​

Elegant Autumn: Style a Sophisticated Fall Mantel

Create grown-up seasonal beauty with copper, wheat, and natural elements that celebrate harvest elegance
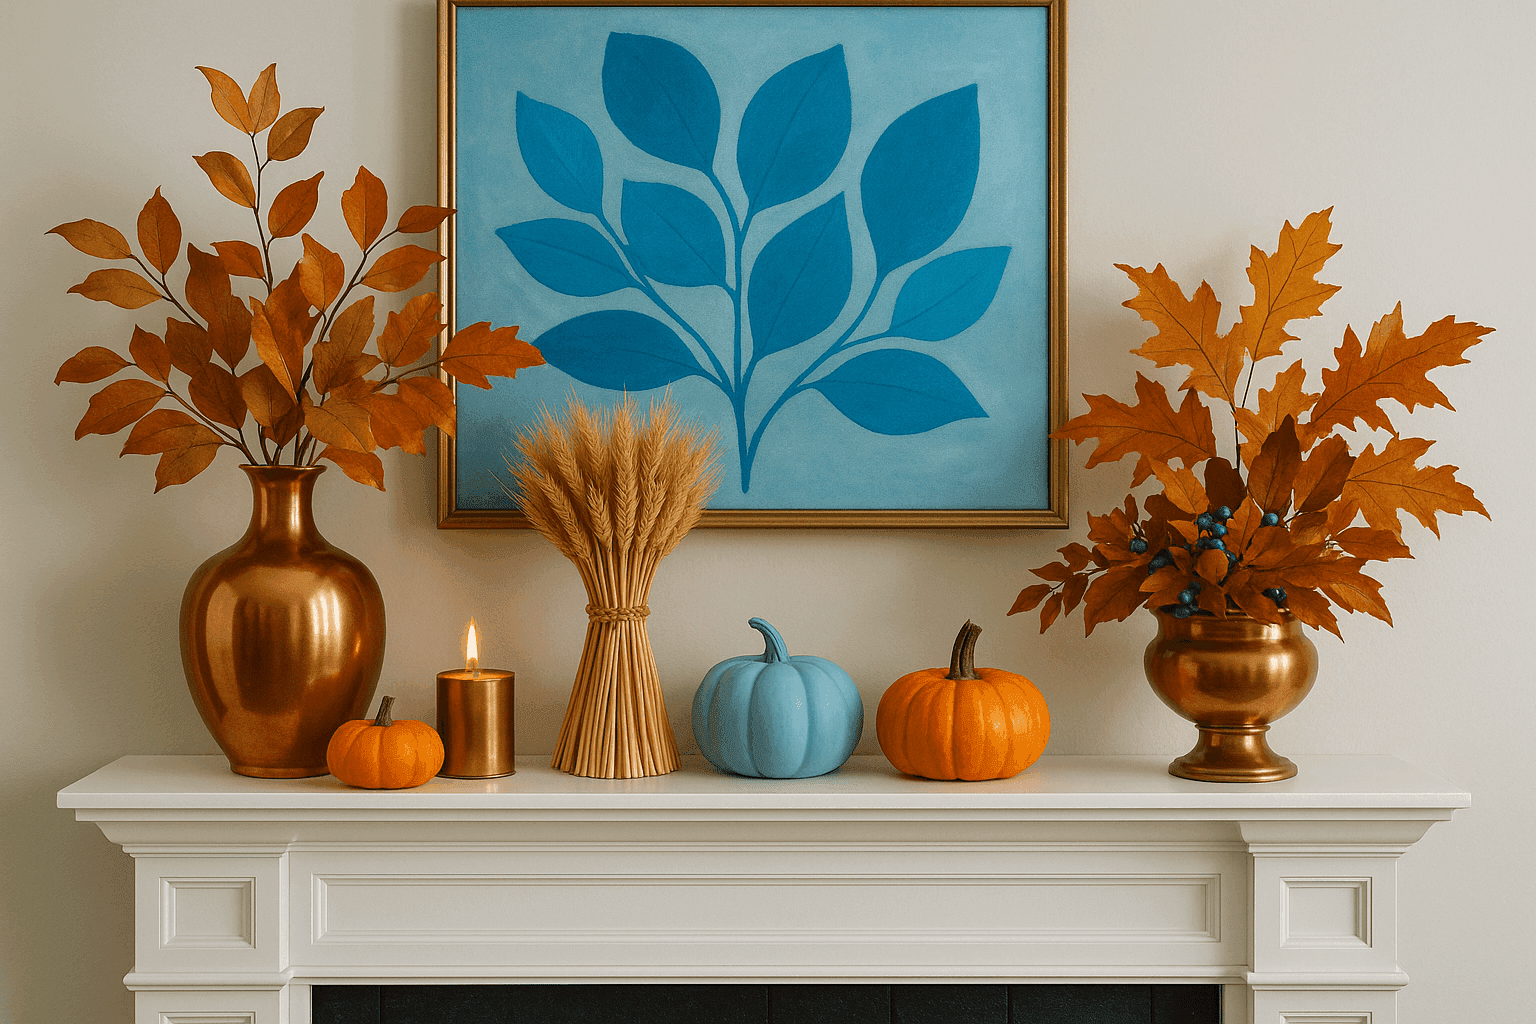
Sophisticated autumn mantel display featuring copper vessels, mini pumpkins, wheat bundles, and elegant fall decorations in refined arrangement
INTERIOR DESIGN

I used to think fall decorating meant choosing between cute cartoon pumpkins or nothing at all, until I discovered the incredible sophistication of natural autumn elements styled with intention! Creating an elegant fall mantel has become one of my favorite seasonal rituals because it brings all the warmth and richness of autumn indoors without any of the childish cuteness that can feel out of place in a grown-up home. There's something deeply satisfying about working with copper's warm glow, the organic textures of wheat and natural pumpkins, and the subtle color variations that nature provides. The beauty of this approach is how these natural elements complement rather than compete with your existing decor, creating a seasonal layer that feels both festive and timeless. Every time I walk past my autumn mantel, I feel this sense of cozy sophistication that perfectly captures what I love most about the season!

Elegant Elements

  • Copper Vessels: Vases, pitchers, or decorative bowls in various sizes ($25-60)
  • Mini Pumpkins: Natural white, cream, and pale orange varieties ($15-25)
  • Wheat Bundles: Dried wheat stalks tied with natural twine ($12-20)
  • Seasonal Foliage: Preserved eucalyptus, oak leaves, or autumn branches ($15-30)
  • Candles: Pillar candles in warm cream or amber tones ($20-35)
  • Natural Textures: Wooden pedestals, woven baskets, or ceramic accents ($20-45)
  • Total Investment: $100-215 for mantel styling that works for years

Styling Technique

  1. Start with largest elements first, positioning copper vessels at varying heights for visual interest
  2. Create triangular groupings using the rule of odds – groups of 3 or 5 items look most natural
  3. Layer textures by combining smooth copper with rough wheat and organic pumpkin shapes
  4. Add height variation using books, small pedestals, or risers hidden beneath elements
  5. Fill copper vessels with wheat bundles or autumn branches for vertical movement
  6. Scatter mini pumpkins throughout display, varying sizes and colors for natural abundance
  7. Include candlelight for warmth and ambiance during evening hours
  8. Step back frequently to check balance and adjust spacing for sophisticated, uncluttered look
DESIGNER TIP

Professional interior stylists know that sophisticated seasonal displays rely on a cohesive color palette rather than using every fall color available. Here's my signature approach: stick to 3-4 colors maximum – warm copper, cream, soft orange, and natural wood tones create elegant harmony. My secret for expensive-looking arrangements is the "high-low" mix: invest in one beautiful copper piece as your anchor, then surround it with natural elements like real pumpkins and dried wheat. Pro tip: create depth by overlapping elements rather than lining them up in a row. Place some items in front of others, and let wheat stalks or branches extend beyond your vessels. This creates that effortlessly layered look that makes mantels appear professionally styled rather than simply decorated!
Related Content

Interior Design

04 November 2026

Post

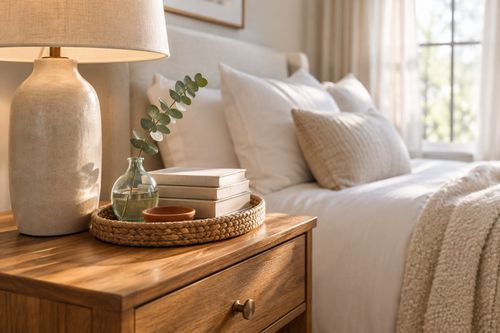
Style a Layered Nightstand Vignette in 1 Hour for $35

Turn a cluttered nightstand into a cozy styled vignette with the height-rule trick—1 hour, $35, instant bedroom upgrade....

Interior Design

02 November 2026

Post

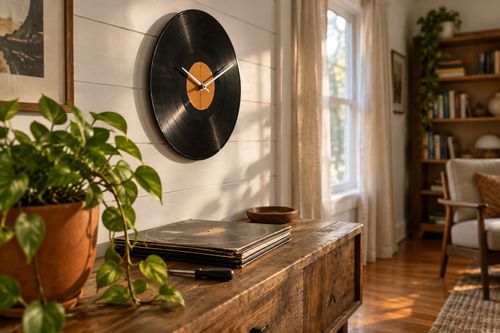
Vinyl Record Clock: The Center Hole Size That Matters

Turn a scratched vinyl record into a working wall clock—the center hole size is what keeps the mechanism snug instead of wobbling off-center. Under $15....

Interior Design

26 October 2026

Post

Fish Tank Terrarium: The Drainage Layer That Saves It

Turn a leaky old fish tank into a stunning terrarium—the gravel drainage layer is what stops root rot before your plants ever get a chance....

Interior Design

24 October 2026

Post

Tie-Dye Shower Curtain: The Fold That Makes Spirals

Turn a plain $8 shower curtain into a wild tie-dye spiral—the fold-and-twist technique is what makes the pattern radiate instead of blotch....

Interior Design

21 October 2026

Post

Peel-and-Stick Wallpaper Accent Wall in 3 Hours for $60

Turn one blank wall into a showstopper with peel-and-stick wallpaper—no wet paste, no mess, just a sharp accent wall by dinnertime....

Interior Design

19 October 2026

Post

Necktie Wall Organizer: The Knot Spacing That Holds

Turn old neckties into a boho wall organizer for keys and mail—even knot spacing is what keeps the pockets from sagging open. Under $10....

Interior Design

17 October 2026

Post

Neon Ombré File Cabinet: The Tape Order That Prevents Bleed

Turn a beige metal file cabinet into a neon ombré showstopper—the tape-layering order is what keeps colors crisp instead of muddy. Under $25....

Interior Design

15 October 2026

Post

Style a Cozy Fall Guest Bathroom Refresh in 2 Hours for $35

Turn a sterile guest bath into a warm fall retreat with layered textiles and scent—2 hours, $35, zero renovation required....

Interior Design

13 October 2026

Post

Whisk Jewelry Holder: The Bend That Stops Sagging

Turn a $1 dollar-store whisk into a boutique earring holder—the wire bend angle is what stops it from drooping under real jewelry weight....

Interior Design

12 October 2026

Post

Shutter Towel Rack: The Anchor Screw That Won't Rip Out

Turn a salvaged wood shutter into a bathroom towel rack—the stud anchor is what stops it ripping out under soaked towels....

Interior Design

11 October 2026

Post

Style a Cozy Window Seat Nook in 2 Hours for $45

Turn a bare window seat into a cozy fall reading nook with the right cushion layering trick—2 hours, $45, instant curl-up energy....

Interior Design

10 October 2026

Post

Sunburst Mirror: The Ray Overlap That Hides Gaps

Paint a bold rainbow sunburst mirror for $25—overlapping each ray's base is the trick that hides gaps and makes it look store-bought....

Interior Design

07 October 2026

Post

Style a Cozy Fall Bedroom Refresh in 2 Hours for $50

Layer flannel, wool, and warm light the right way and your bedroom finally feels like fall — 2 hours, $50, zero renovation....

Interior Design

03 October 2026

Post

Style a Fall Bookshelf Refresh in 2 Hours for $40

Turn a cluttered bookshelf into a magazine-worthy fall vignette using the triangle rule and warm accents—2 hours, $40, zero carpentry....

Interior Design

03 October 2026

Post

Gold Leaf Frame: The Size Overlap That Prevents Cracks

Turn a plain thrift mirror into a bold gold-leaf statement piece—overlapping each sheet correctly is what stops the finish from cracking and flaking later....
Terms and ConditionsDo Not Sell or Share My Personal InformationPrivacy PolicyPrivacy NoticeAccessibility NoticeUnsubscribe
Copyright © 2026 DIY HomeBoost












