
Interior Design

Recent Content

Shoe Bench Build: The Cubby Depth That Keeps Pairs Upright

Shoe Bench Build: The Cubby Depth That Keeps Pairs Upright

Build a wooden entryway shoe bench for $35—the cubby depth is what keeps boots standing instead of toppling into a pile every morning.

Style a Layered Nightstand Vignette in 1 Hour for $35

Style a Layered Nightstand Vignette in 1 Hour for $35

Turn a cluttered nightstand into a cozy styled vignette with the height-rule trick—1 hour, $35, instant bedroom upgrade.

The Cafe Rod Trick for a Fake Built-In Vanity

The Cafe Rod Trick for a Fake Built-In Vanity

Fake a built-in bathroom vanity shelf with a tiny cafe rod and basket—zero drilling, zero suction cups, full deposit intact.

Tension Rod Shelf: The Rod Width That Won't Slip

Tension Rod Shelf: The Rod Width That Won't Slip

Build a hidden double-decker shelf under your sink for $6—the rod tension width is what keeps it from crashing down on cleaning day.

Mulch Perennial Beds for Winter in 1 Hour for $25

Mulch Perennial Beds for Winter in 1 Hour for $25

Tuck your perennials in right! A 3-inch mulch blanket now saves roots from winter heave for about $25.

logo
  • Home Improvement
  • DIY Projects
  • Interior Design
  • Gardening & Outdoor
  • Real Estate
  • Home Improvement
  • DIY Projects
  • Interior Design
  • Gardening & Outdoor
  • Real Estate
  • ​

Dimension and Depth: The Art of Textured Wallpaper Design

Transform flat walls into tactile, visually dynamic surfaces with texture
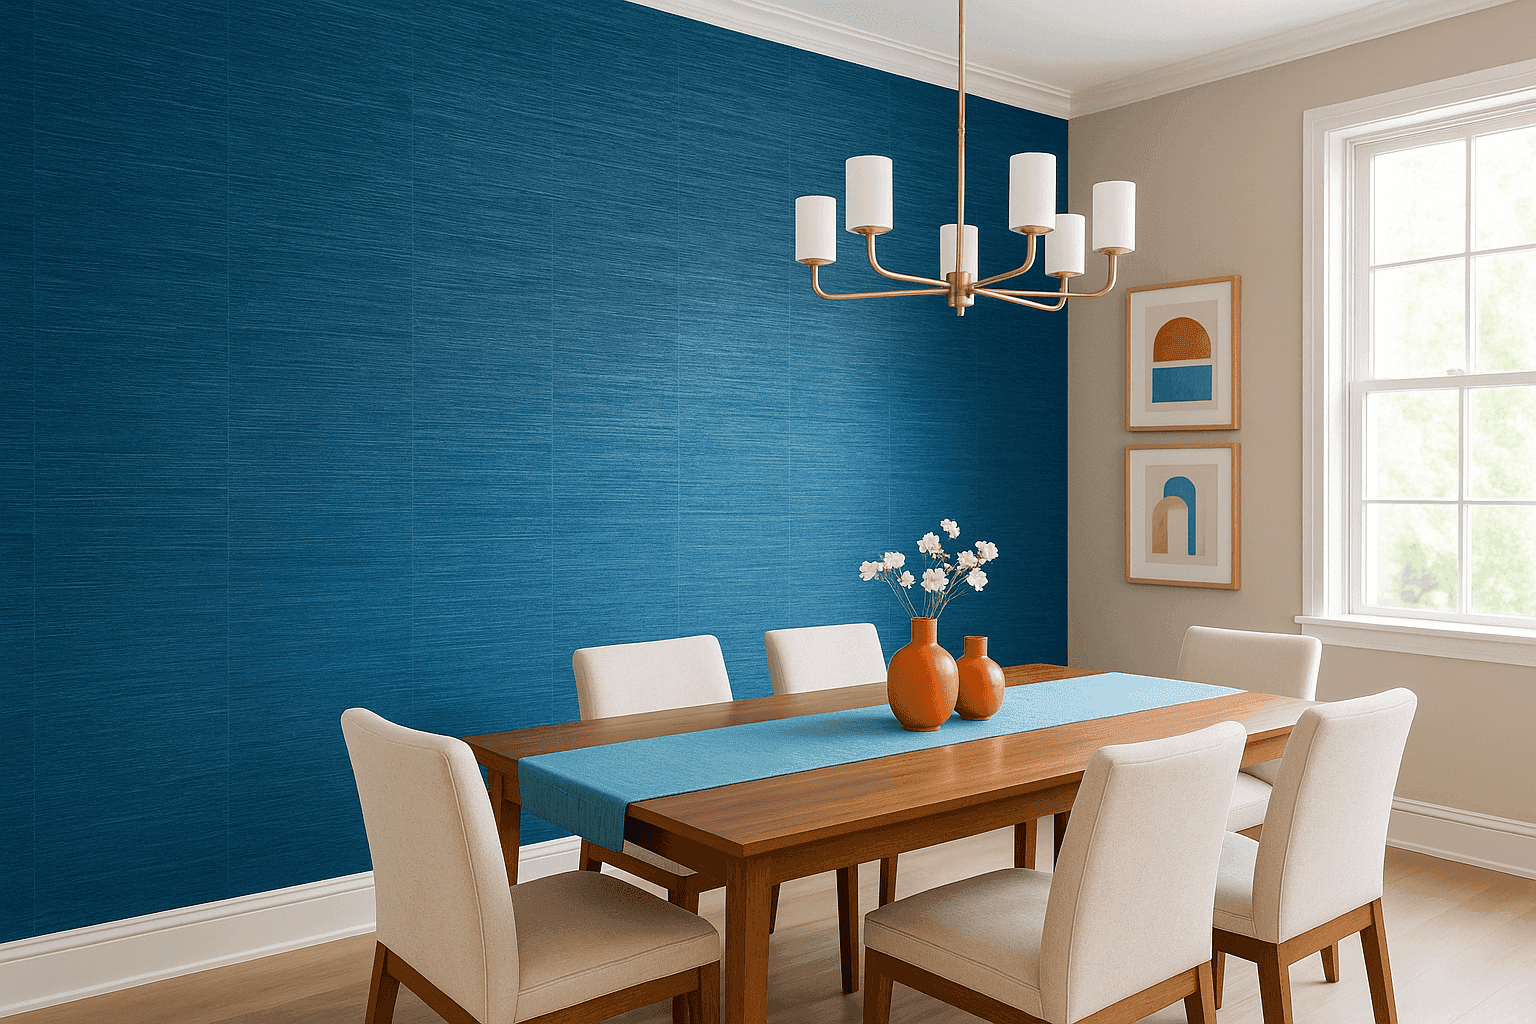
Elegant dining room with textured grasscloth wallpaper in a blue hue
INTERIOR DESIGN

Textured wallpaper adds a sophisticated dimension to your home that flat paint simply cannot achieve. Whether you choose natural grasscloth, embossed vinyl, or dimensional woven patterns, these tactile wall coverings create depth, absorb sound, and hide minor wall imperfections. Once considered outdated, today's textured wallpapers offer contemporary patterns and techniques that elevate your space with visual interest and designer flair.

What You'll Need

Textured wallpaper of choice
Wallpaper adhesive (pre-pasted or separate)
Wallpaper smoothing tool or plastic smoother
Utility knife with fresh blades
Straight edge or metal ruler
Measuring tape
Level
Pencil
Sponge and clean water
Drop cloth
Stepladder
Primer (if needed for wall preparation)

How To Install It

  1. Choose your textured paper - Consider different textures like grasscloth (natural, organic feel), embossed vinyl (durable, washable), or woven fibers (sophisticated, tactile).
  2. Prepare the wall - Clean the surface thoroughly and repair any imperfections. Prime if necessary, especially for dark or uneven walls.
  3. Measure and cut - Measure wall height and add 4 inches for trimming. Cut strips according to measurements, making sure to match patterns if applicable.
  4. Create a straight guide - Use a level to draw a vertical line on the wall as a guide for your first strip, ensuring it's perfectly straight.
  5. Apply adhesive - For pre-pasted paper, soak according to manufacturer instructions. For unpasted papers, apply paste to the wall or paper as directed.
  6. Hang first strip - Align the first strip with your vertical guide, leaving extra paper at top and bottom for trimming. Work from top to bottom, smoothing as you go.
  7. Smooth out bubbles - Use a plastic smoothing tool, working from the center outward to eliminate air bubbles. Be gentle with textured papers to avoid damaging the surface.
  8. Trim excess - Use a straight edge and utility knife to trim excess paper at the ceiling and baseboard for clean edges.
  9. Continue the pattern - Hang subsequent strips, carefully matching patterns and avoiding overlaps. Butt edges together for a seamless look.
  10. Clean as you go - Gently wipe away excess adhesive with a damp sponge before it dries. Be especially careful with grasscloth and other natural fibers.
DESIGNER TIP

For maximum impact, consider using textured wallpaper strategically rather than throughout an entire room. An accent wall behind a bed or sofa, the back of built-in shelving, or the ceiling of a dining room creates a sophisticated focal point without overwhelming the space. Natural grasscloth often has color variations that create a slight paneling effect—embrace this as part of its organic charm rather than trying to match seams perfectly. In small rooms like powder rooms, consider metallic or light-reflecting textured papers that add depth while making the space feel larger. Finally, layer artwork over textured wallpaper for a gallery-worthy display with rich visual dimension.
Related Content

Interior Design

04 November 2026

Post

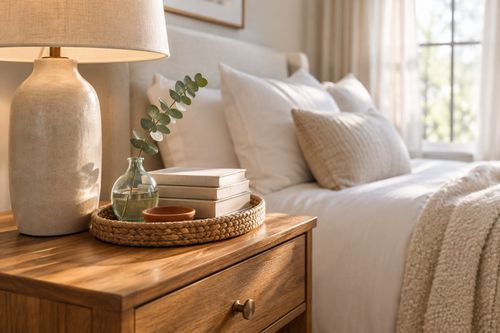
Style a Layered Nightstand Vignette in 1 Hour for $35

Turn a cluttered nightstand into a cozy styled vignette with the height-rule trick—1 hour, $35, instant bedroom upgrade....

Interior Design

02 November 2026

Post

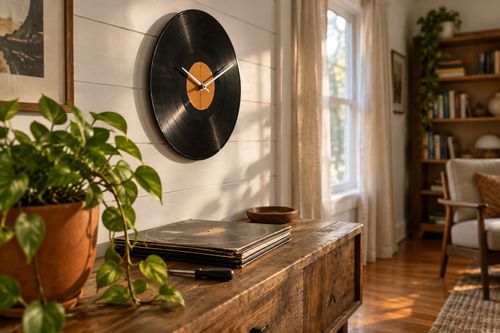
Vinyl Record Clock: The Center Hole Size That Matters

Turn a scratched vinyl record into a working wall clock—the center hole size is what keeps the mechanism snug instead of wobbling off-center. Under $15....

Interior Design

26 October 2026

Post

Fish Tank Terrarium: The Drainage Layer That Saves It

Turn a leaky old fish tank into a stunning terrarium—the gravel drainage layer is what stops root rot before your plants ever get a chance....

Interior Design

24 October 2026

Post

Tie-Dye Shower Curtain: The Fold That Makes Spirals

Turn a plain $8 shower curtain into a wild tie-dye spiral—the fold-and-twist technique is what makes the pattern radiate instead of blotch....

Interior Design

21 October 2026

Post

Peel-and-Stick Wallpaper Accent Wall in 3 Hours for $60

Turn one blank wall into a showstopper with peel-and-stick wallpaper—no wet paste, no mess, just a sharp accent wall by dinnertime....

Interior Design

19 October 2026

Post

Necktie Wall Organizer: The Knot Spacing That Holds

Turn old neckties into a boho wall organizer for keys and mail—even knot spacing is what keeps the pockets from sagging open. Under $10....

Interior Design

17 October 2026

Post

Neon Ombré File Cabinet: The Tape Order That Prevents Bleed

Turn a beige metal file cabinet into a neon ombré showstopper—the tape-layering order is what keeps colors crisp instead of muddy. Under $25....

Interior Design

15 October 2026

Post

Style a Cozy Fall Guest Bathroom Refresh in 2 Hours for $35

Turn a sterile guest bath into a warm fall retreat with layered textiles and scent—2 hours, $35, zero renovation required....

Interior Design

13 October 2026

Post

Whisk Jewelry Holder: The Bend That Stops Sagging

Turn a $1 dollar-store whisk into a boutique earring holder—the wire bend angle is what stops it from drooping under real jewelry weight....

Interior Design

12 October 2026

Post

Shutter Towel Rack: The Anchor Screw That Won't Rip Out

Turn a salvaged wood shutter into a bathroom towel rack—the stud anchor is what stops it ripping out under soaked towels....

Interior Design

11 October 2026

Post

Style a Cozy Window Seat Nook in 2 Hours for $45

Turn a bare window seat into a cozy fall reading nook with the right cushion layering trick—2 hours, $45, instant curl-up energy....

Interior Design

10 October 2026

Post

Sunburst Mirror: The Ray Overlap That Hides Gaps

Paint a bold rainbow sunburst mirror for $25—overlapping each ray's base is the trick that hides gaps and makes it look store-bought....

Interior Design

07 October 2026

Post

Style a Cozy Fall Bedroom Refresh in 2 Hours for $50

Layer flannel, wool, and warm light the right way and your bedroom finally feels like fall — 2 hours, $50, zero renovation....

Interior Design

03 October 2026

Post

Style a Fall Bookshelf Refresh in 2 Hours for $40

Turn a cluttered bookshelf into a magazine-worthy fall vignette using the triangle rule and warm accents—2 hours, $40, zero carpentry....

Interior Design

03 October 2026

Post

Gold Leaf Frame: The Size Overlap That Prevents Cracks

Turn a plain thrift mirror into a bold gold-leaf statement piece—overlapping each sheet correctly is what stops the finish from cracking and flaking later....
Terms and ConditionsDo Not Sell or Share My Personal InformationPrivacy PolicyPrivacy NoticeAccessibility NoticeUnsubscribe
Copyright © 2026 DIY HomeBoost












