Interior Design

Recent Content

Wooden Boot Tray: The Slat Gap That Drains Right

Wooden Boot Tray: The Slat Gap That Drains Right

Build a slatted pine boot tray for about $20 in an afternoon. The slat gap is what lets meltwater drain instead of pooling and rotting your entryway floor.

Magnetic Window Sill Herb Garden: Renter-Safe Trick

Magnetic Window Sill Herb Garden: Renter-Safe Trick

Grow fresh herbs on a bare rental window with a no-drill hanging trick. Zero holes, zero residue, deposit safe. Winter greens for your tiny kitchen!

Build a Wooden Gift Wrap Station in 2 Hours for $28

Build a Wooden Gift Wrap Station in 2 Hours for $28

Stop wrestling curling paper on the floor! Build a slim wooden gift wrap station with a paper rod and ribbon pegs in 2 hours for $28, just in time for gifting.

Dollar Store Spice Tiers: The Riser Lip That Holds

Dollar Store Spice Tiers: The Riser Lip That Holds

Turn $1 plastic risers into a tiered cabinet spice organizer for about $8. The lip height is what stops jars from sliding forward.

Under-Bed Rolling Bins: Renter Storage Hack

Under-Bed Rolling Bins: Renter Storage Hack

Tiny space, big stash. Rolling under-bed bins add hidden storage with zero drilling, zero residue, and a safe deposit. Set up in 15 minutes!

logo
  • Home Improvement
  • DIY Projects
  • Interior Design
  • Gardening & Outdoor
  • Real Estate
  • Home Improvement
  • DIY Projects
  • Interior Design
  • Gardening & Outdoor
  • Real Estate
  • ​

Designer Mix: How to Master Multiple Metal Finishes

Create sophisticated, layered spaces with a strategic blend of metal elements

Elegant kitchen with artfully mixed brass, matte black, and chrome metal finishes
INTERIOR DESIGN

Gone are the days when all metal finishes in a room needed to match. Today's most sophisticated interiors artfully blend different metals to create depth, interest, and a collected-over-time look. Mixing metal finishes—like brass, chrome, matte black, and copper—transforms basic spaces into designer showcases and allows you to update your style without replacing everything at once.

What You'll Need

Dominant metal finish (60% of metal elements)
Secondary metal finish (30% of metal elements)
Accent metal finish (10% of metal elements)
Metal hardware (cabinet pulls, knobs)
Light fixtures in complementary metals
Metal décor pieces (frames, trays, objects)
Plumbing fixtures (faucets, shower heads)
Furniture with metal elements
Metallic paint (optional for DIY accents)

How To Create the Look

  1. Select a dominant metal - Choose one metal to be your primary finish (about 60% of the metal in your space). This creates a cohesive foundation.
  2. Add a secondary metal - Introduce a second metal for approximately 30% of your metal elements. This creates balance and interest.
  3. Include an accent metal - Use a third metal sparingly (about 10%) for special accent pieces that draw the eye.
  4. Consider temperature - Balance warm metals (brass, gold, copper) with cool metals (chrome, nickel, silver) for a harmonious look.
  5. Create distribution - Spread each metal finish throughout the space rather than clustering all of one type in a single area.
  6. Repeat each finish - Use each metal at least twice in the room to create intentionality rather than looking like a mistake.
  7. Use connecting pieces - Look for items that actually combine multiple metals to help bridge your different finishes.
  8. Focus on consistency - Keep all fixtures of the same type (like all cabinet hardware) in the same finish for a purposeful look.
DESIGNER TIP

The secret to successful metal mixing is to connect your finishes with a consistent undertone. For example, pair warm brushed brass, copper, and bronze together, or cool chrome, nickel, and stainless steel. Matte black works as a universal connector that pairs beautifully with any metal finish. For a foolproof combination that's trending in designer spaces, try brass fixtures with matte black hardware and stainless steel appliances in kitchens, or brass lighting with polished nickel plumbing fixtures and matte black accents in bathrooms.
Related Content

Interior Design

28 November 2026

Post

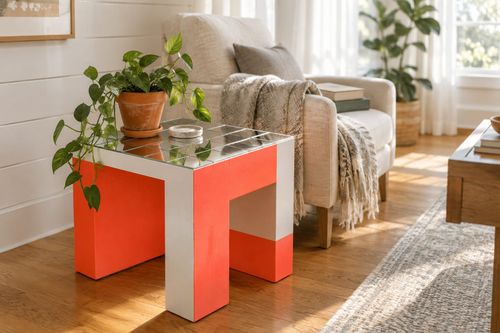
Mirror Tile Table: The Adhesive Bead That Stops Slide

Turn a plain side table into a bold, color-blocked Saturday showstopper for about $30. The primer coat is what keeps the neon from chipping or going streaky....

Interior Design

25 November 2026

Post

Style a Holiday Mantel Garland in 90 Minutes for $30

Your mantel deserves better than one sad stocking. Layer a lush faux-and-fresh greenery garland in 90 minutes for $30 and watch the holidays move in....

Interior Design

21 November 2026

Post

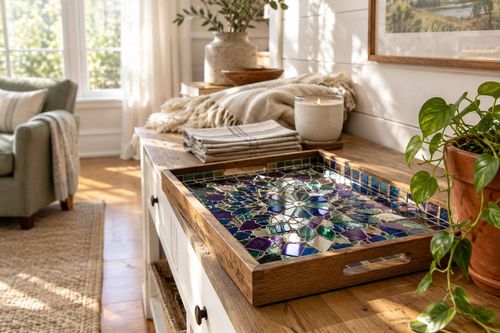
Mosaic Mirror Tray: The Grout Wipe-Off Timing Rule

Turn a plain wooden tray into a bold, jewel-toned mosaic showpiece for about $28. Wiping grout at the right moment keeps colors vivid, not hazy....

Interior Design

16 November 2026

Post

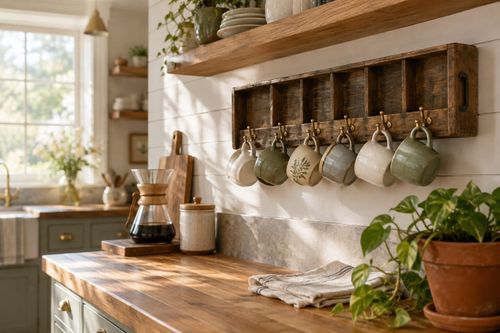
Mug Rack from Cutlery Tray: The Hook Spacing Rule

Turn a thrifted silverware tray into a wall mug rack for about $15. Spacing hooks by handle width keeps mugs from clanking and chipping. Done in an hour....

Interior Design

14 November 2026

Post

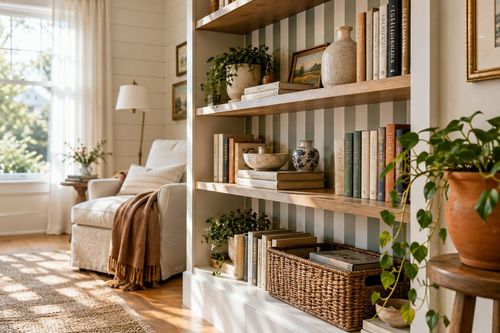
Painted Bookcase Backs: Why Tape Edges Need Sealing

Give a plain bookcase a bold, colorful backdrop for about $25. Sealing your tape edge before the color coat is what keeps the stripes razor-sharp....

Interior Design

07 November 2026

Post

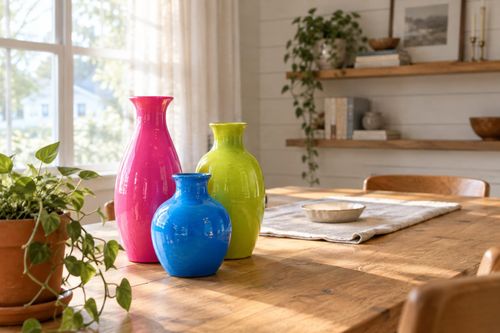
Painted Vase Trio: Why the Gloss Coat Must Go Last

Turn thrifted vases into a bold, color-blocked trio for under $20. The clear gloss coat is what makes the color pop and keeps the paint from chipping....

Interior Design

04 November 2026

Post

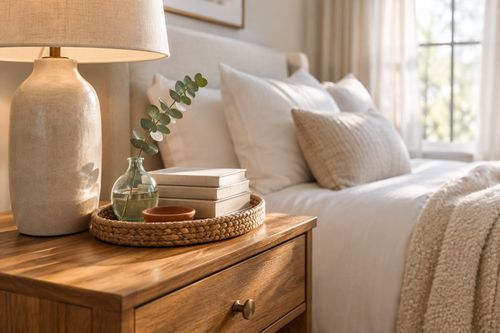
Style a Layered Nightstand Vignette in 1 Hour for $35

Turn a cluttered nightstand into a cozy styled vignette with the height-rule trick—1 hour, $35, instant bedroom upgrade....

Interior Design

02 November 2026

Post

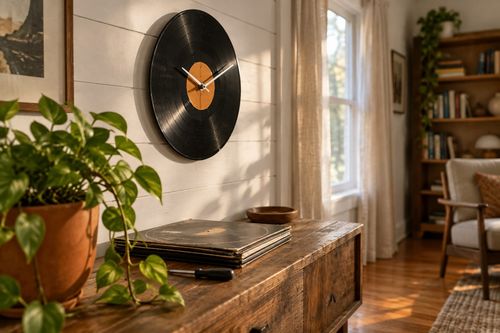
Vinyl Record Clock: The Center Hole Size That Matters

Turn a scratched vinyl record into a working wall clock—the center hole size is what keeps the mechanism snug instead of wobbling off-center. Under $15....

Interior Design

26 October 2026

Post

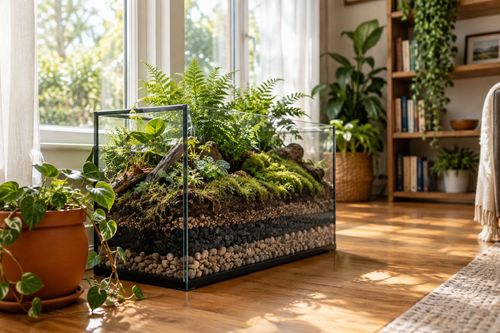
Fish Tank Terrarium: The Drainage Layer That Saves It

Turn a leaky old fish tank into a stunning terrarium—the gravel drainage layer is what stops root rot before your plants ever get a chance....

Interior Design

24 October 2026

Post

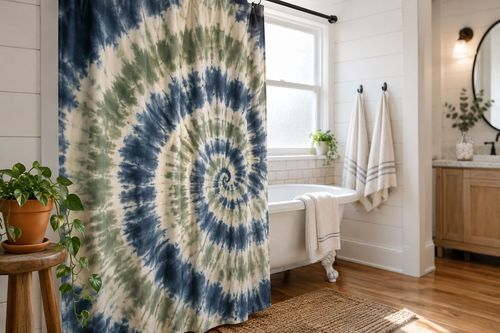
Tie-Dye Shower Curtain: The Fold That Makes Spirals

Turn a plain $8 shower curtain into a wild tie-dye spiral—the fold-and-twist technique is what makes the pattern radiate instead of blotch....

Interior Design

21 October 2026

Post

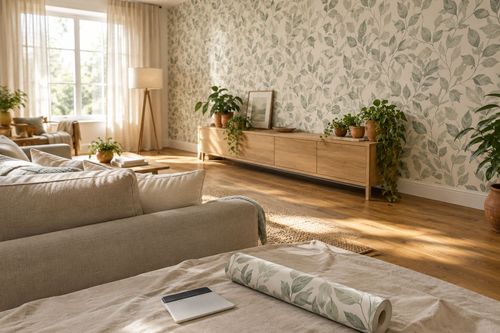
Peel-and-Stick Wallpaper Accent Wall in 3 Hours for $60

Turn one blank wall into a showstopper with peel-and-stick wallpaper—no wet paste, no mess, just a sharp accent wall by dinnertime....

Interior Design

19 October 2026

Post

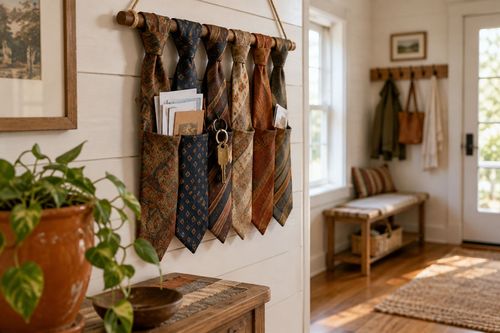
Necktie Wall Organizer: The Knot Spacing That Holds

Turn old neckties into a boho wall organizer for keys and mail—even knot spacing is what keeps the pockets from sagging open. Under $10....

Interior Design

17 October 2026

Post

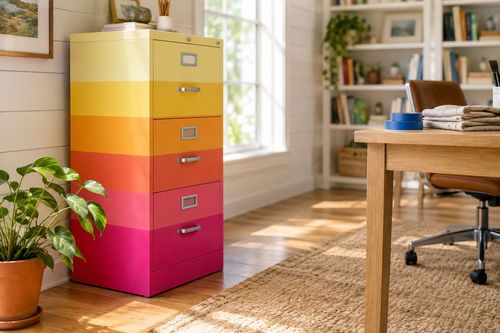
Neon Ombré File Cabinet: The Tape Order That Prevents Bleed

Turn a beige metal file cabinet into a neon ombré showstopper—the tape-layering order is what keeps colors crisp instead of muddy. Under $25....

Interior Design

15 October 2026

Post

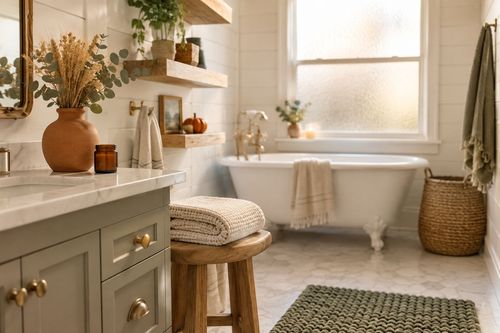
Style a Cozy Fall Guest Bathroom Refresh in 2 Hours for $35

Turn a sterile guest bath into a warm fall retreat with layered textiles and scent—2 hours, $35, zero renovation required....

Interior Design

13 October 2026

Post

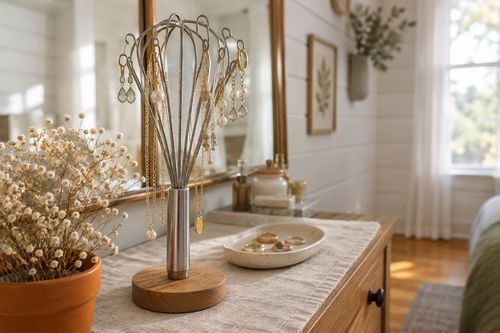
Whisk Jewelry Holder: The Bend That Stops Sagging

Turn a $1 dollar-store whisk into a boutique earring holder—the wire bend angle is what stops it from drooping under real jewelry weight....
Terms and ConditionsDo Not Sell or Share My Personal InformationPrivacy PolicyPrivacy NoticeAccessibility NoticeUnsubscribe
Copyright © 2026 DIY HomeBoost