Command Center: End the Daily Key Hunt With One Simple Board
Install a labeled hook system that eliminates frantic morning searches for misplaced essentials
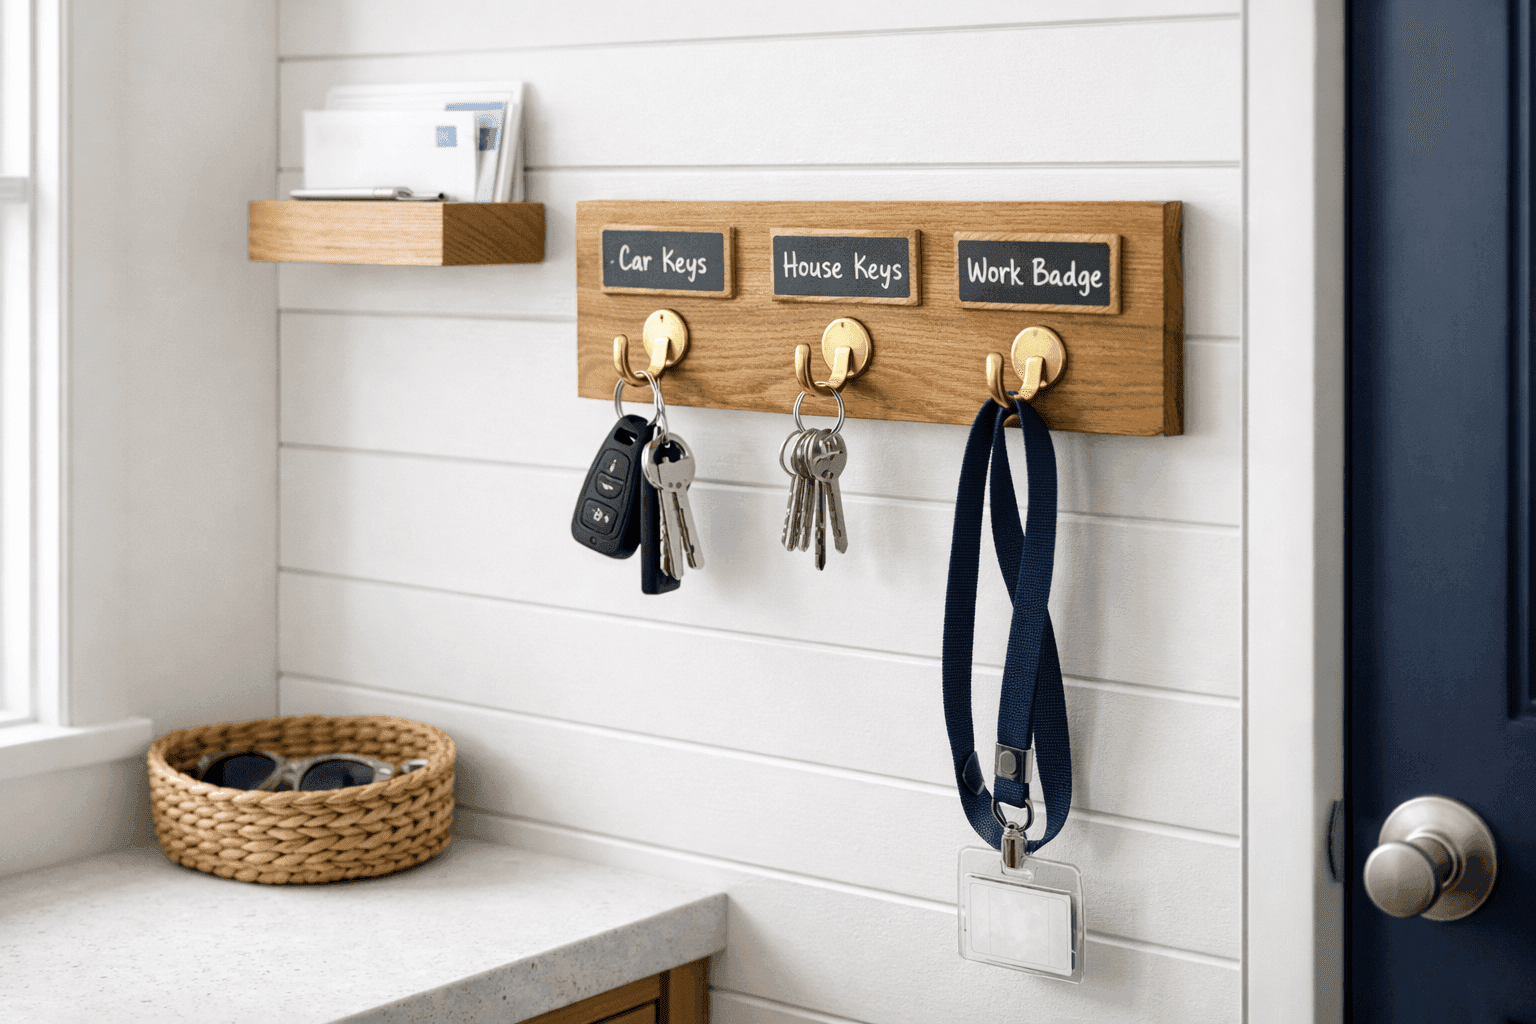
Few household frustrations match the specific panic of running late while frantically searching for car keys that could literally be anywhere in the house because nobody has a consistent place to put them when they walk in the door. I've watched this scene play out countless times—the increasingly desperate pocket-patting, the couch cushion excavation, the accusations about who moved whose keys, the inevitable "we're leaving in five minutes whether you find them or not" ultimatum that somehow never actually happens. The solution is almost embarrassingly simple: install a dedicated key hook board right by your entrance where everyone can see it immediately upon coming home, making it genuinely easier to hang keys up than to toss them randomly on the counter or stuff them in a jacket pocket. This isn't revolutionary organizing advice, but the difference between knowing you should have a key spot and actually installing a visible, labeled, attractive system that your entire household will consistently use is the difference between perpetual chaos and effortless order. A well-designed key board takes maybe 30 minutes to install, costs $20-40 depending on style and finish, and pays for itself immediately in reduced stress and eliminated late arrivals caused by missing keys—not to mention preventing that expensive locksmith call when keys go missing completely.
What You'll Need
- Key Hook Board: Pre-made decorative board with multiple hooks ($15-40 at home stores), or DIY version using wood board and individual hooks mounted yourself for custom sizing
- Mounting Hardware: Wall anchors and screws appropriate for your wall type—drywall anchors for hollow walls, direct screws into studs for maximum support
- Level: Small torpedo level or smartphone level app to ensure board hangs straight and professional-looking
- Drill and Bits: For creating pilot holes and installing anchors if not mounting directly into studs
- Stud Finder: To locate wall studs for the strongest possible mounting, especially important for boards that will hold multiple heavy key rings
- Pencil: For marking mounting hole locations accurately before drilling
- Labels or Label Maker: To designate specific hooks for each family member or key type—"Car Keys," "House Keys," "Dad," "Mom," "Teen Driver," etc.
- Optional Additions: Small shelf above hooks for mail sorting, basket below for sunglasses and small items, charging station for phones
Step-by-Step Instructions
- Choose optimal location at eye level (60-65 inches from floor) within arm's reach of your main entrance—the board must be immediately visible and convenient or people won't use it consistently.
- Locate wall studs if possible for the most secure mounting, especially if your key board has a shelf or will hold work badges and lanyards in addition to keys that add significant weight.
- Mark mounting holes using a pencil after holding the board in position and using your level to ensure it's perfectly straight—crooked key boards are one of those things that silently irritate you forever.
- Drill pilot holes at your marked spots, using appropriate bit size for your mounting hardware—pilot holes prevent wood splitting and make screw insertion easier and more accurate.
- Install wall anchors if not mounting into studs, tapping them flush with the wall surface so screws have maximum holding power when you attach the board.
- Mount the board securely by aligning mounting holes with your installed anchors or pilot holes, driving screws firmly but not overtightening which can crack wood or strip anchors.
- Add clear labels to each hook designating its purpose—"Car Keys," "Work Badge," each family member's name—because assigned spots prevent the "whose hook is this?" confusion that undermines the system.
- Establish the habit by leading by example and gently reminding family members during the first week until hanging keys becomes automatic muscle memory rather than conscious decision.
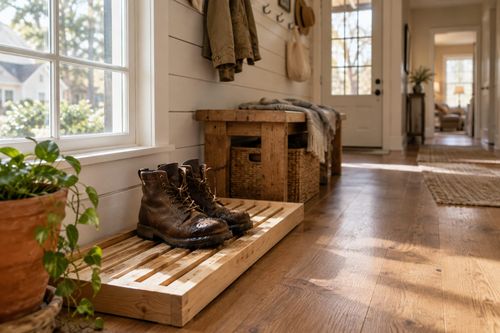
Here's the game-changing upgrade that transforms a basic key hook board into a complete entryway command center that manages all your "leaving the house" essentials: add a small floating shelf 6-8 inches above your key board and a narrow basket or tray mounted below it. The top shelf becomes your designated spot for outgoing mail, library books that need returning, items that need to go back to stores, and your wallet or purse—everything that needs to leave with you goes here so you see it immediately when grabbing keys. The basket below holds everyday carry items like sunglasses, dog leashes, reusable shopping bags, and hand sanitizer that you want accessible but not cluttering your key hooks. Professional organizers call this the "launch pad" concept—creating one centralized location that contains everything you need to successfully leave your home, eliminating that final frantic scramble checking multiple rooms for scattered essentials. Take this even further by adding a small charging station on the shelf with a multi-device USB charger, so phones, smartwatches, and earbuds charge overnight in the same spot where keys hang, meaning everything you need is in one visible, organized location every single morning. This three-tier system—shelf for outgoing items, hooks for keys and badges, basket for everyday carry—creates a functional entryway that genuinely changes how smoothly your household operates.