Interior Design

Recent Content

Shoe Bench Build: The Cubby Depth That Keeps Pairs Upright

Shoe Bench Build: The Cubby Depth That Keeps Pairs Upright

Build a wooden entryway shoe bench for $35—the cubby depth is what keeps boots standing instead of toppling into a pile every morning.

Style a Layered Nightstand Vignette in 1 Hour for $35

Style a Layered Nightstand Vignette in 1 Hour for $35

Turn a cluttered nightstand into a cozy styled vignette with the height-rule trick—1 hour, $35, instant bedroom upgrade.

The Cafe Rod Trick for a Fake Built-In Vanity

The Cafe Rod Trick for a Fake Built-In Vanity

Fake a built-in bathroom vanity shelf with a tiny cafe rod and basket—zero drilling, zero suction cups, full deposit intact.

Tension Rod Shelf: The Rod Width That Won't Slip

Tension Rod Shelf: The Rod Width That Won't Slip

Build a hidden double-decker shelf under your sink for $6—the rod tension width is what keeps it from crashing down on cleaning day.

Mulch Perennial Beds for Winter in 1 Hour for $25

Mulch Perennial Beds for Winter in 1 Hour for $25

Tuck your perennials in right! A 3-inch mulch blanket now saves roots from winter heave for about $25.

logo
  • Home Improvement
  • DIY Projects
  • Interior Design
  • Gardening & Outdoor
  • Real Estate
  • Home Improvement
  • DIY Projects
  • Interior Design
  • Gardening & Outdoor
  • Real Estate
  • ​

Cabinet Rescue: Transform Under-Sink Chaos in 45 Minutes

Turn that messy cabinet into an organized cleaning station with simple storage solutions

Perfectly organized under-sink cabinet with tension rod holding spray bottles and small bins organizing cleaning supplies and sponges
INTERIOR DESIGN

I used to absolutely dread opening my under-sink cabinet because it was this dark, chaotic jumble where nothing could ever be found when I needed it most! That all changed when I discovered the magic of tension rods and small bins – suddenly, my most problematic storage space became the most organized and functional area in my kitchen. There's something incredibly satisfying about watching spray bottles hang neatly in a row and having every sponge and scrub brush in its own designated spot. What amazes me most is how this transformation took less than an hour but delivers daily convenience that makes cleaning tasks so much more pleasant. Now when I open that cabinet door, instead of frustration, I get this little burst of pride seeing everything perfectly organized and easily accessible – it's like having a tiny, efficient cleaning headquarters right where I need it most!

Organization Arsenal

  • Tension Rod: Adjustable rod for hanging spray bottles across cabinet width ($5-12)
  • Small Bins: Clear plastic organizers for sponges, brushes, and small items ($8-20)
  • Under-Shelf Baskets: Wire baskets that hang from shelves for extra storage ($10-18)
  • Drawer Dividers: Adjustable dividers for organizing different cleaning supplies ($6-15)
  • Lazy Susan: Rotating tray for easy access to items in back corners ($8-25)
  • Labels: Clear labels for bins and sections to maintain organization ($3-8)
  • Total Investment: $40-100 for supplies that transform your messiest cabinet

45-Minute Makeover

  1. Empty cabinet completely and give interior a thorough cleaning
  2. Sort items into categories: sprays, sponges, brushes, bulk supplies
  3. Purge expired products and duplicates to make room for organization
  4. Install tension rod across front of cabinet for hanging spray bottles
  5. Place small bins strategically for different categories of supplies
  6. Add lazy susan or rotating tray for items used less frequently
  7. Label everything clearly so family members know where things belong
  8. Test system by using it for a week, then adjust placement as needed
DESIGNER TIP

Professional organizers know that the secret to under-sink success is maximizing vertical space and creating zones based on frequency of use. Here's my golden rule: items you use daily go in front and at eye level, weekly items go to the sides, and monthly supplies go in back or on bottom. My favorite hack is adding a small LED strip light inside the cabinet – it makes everything visible and eliminates that frustrating search in the dark depths. Pro tip: measure your cabinet space before buying organizers, and choose clear containers so you can see contents at a glance. Also, keep a small step stool nearby if your sink cabinet requires reaching – accessibility is key to maintaining any organizational system long-term!
Related Content

Interior Design

04 November 2026

Post

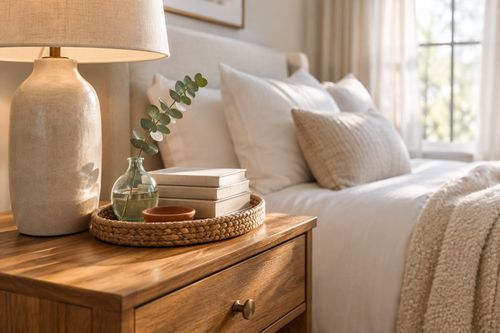
Style a Layered Nightstand Vignette in 1 Hour for $35

Turn a cluttered nightstand into a cozy styled vignette with the height-rule trick—1 hour, $35, instant bedroom upgrade....

Interior Design

02 November 2026

Post

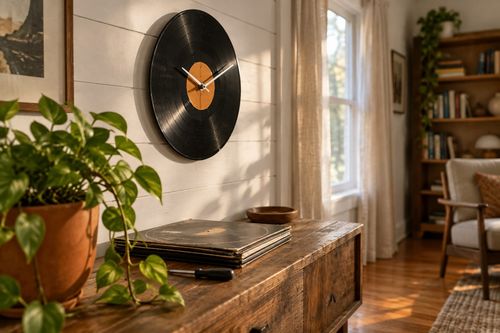
Vinyl Record Clock: The Center Hole Size That Matters

Turn a scratched vinyl record into a working wall clock—the center hole size is what keeps the mechanism snug instead of wobbling off-center. Under $15....

Interior Design

26 October 2026

Post

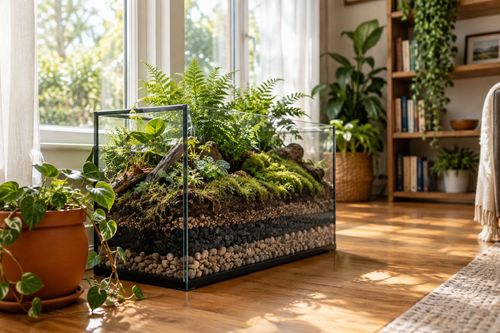
Fish Tank Terrarium: The Drainage Layer That Saves It

Turn a leaky old fish tank into a stunning terrarium—the gravel drainage layer is what stops root rot before your plants ever get a chance....

Interior Design

24 October 2026

Post

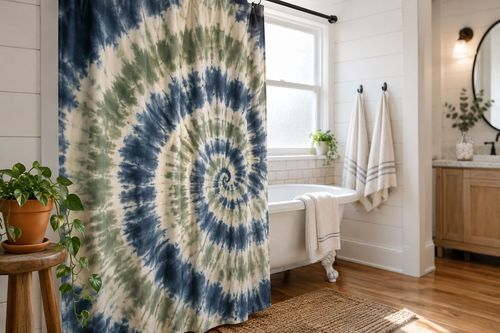
Tie-Dye Shower Curtain: The Fold That Makes Spirals

Turn a plain $8 shower curtain into a wild tie-dye spiral—the fold-and-twist technique is what makes the pattern radiate instead of blotch....

Interior Design

21 October 2026

Post

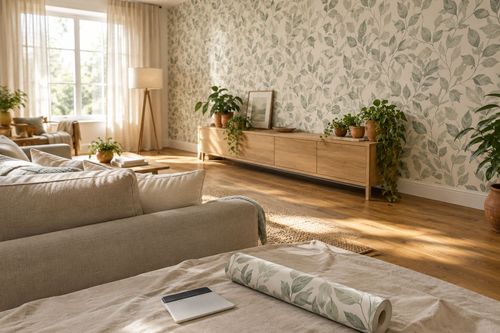
Peel-and-Stick Wallpaper Accent Wall in 3 Hours for $60

Turn one blank wall into a showstopper with peel-and-stick wallpaper—no wet paste, no mess, just a sharp accent wall by dinnertime....

Interior Design

19 October 2026

Post

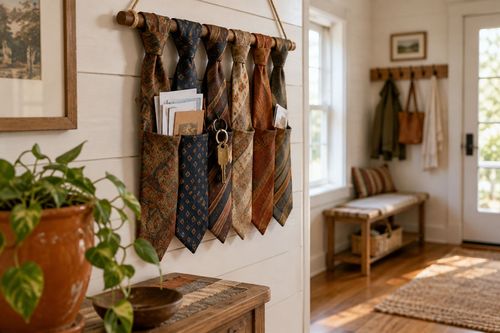
Necktie Wall Organizer: The Knot Spacing That Holds

Turn old neckties into a boho wall organizer for keys and mail—even knot spacing is what keeps the pockets from sagging open. Under $10....

Interior Design

17 October 2026

Post

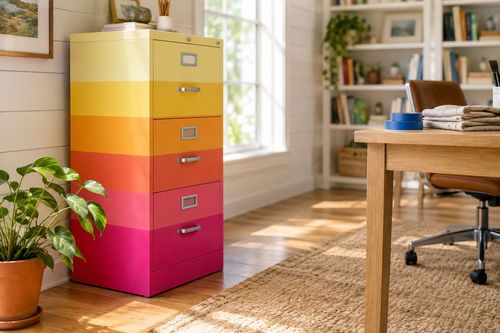
Neon Ombré File Cabinet: The Tape Order That Prevents Bleed

Turn a beige metal file cabinet into a neon ombré showstopper—the tape-layering order is what keeps colors crisp instead of muddy. Under $25....

Interior Design

15 October 2026

Post

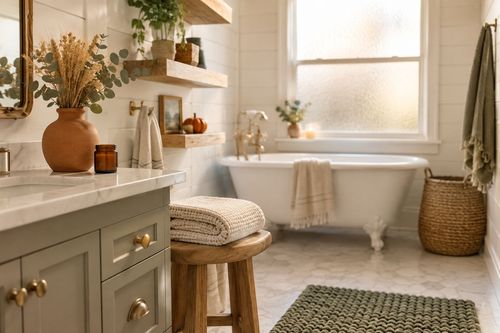
Style a Cozy Fall Guest Bathroom Refresh in 2 Hours for $35

Turn a sterile guest bath into a warm fall retreat with layered textiles and scent—2 hours, $35, zero renovation required....

Interior Design

13 October 2026

Post

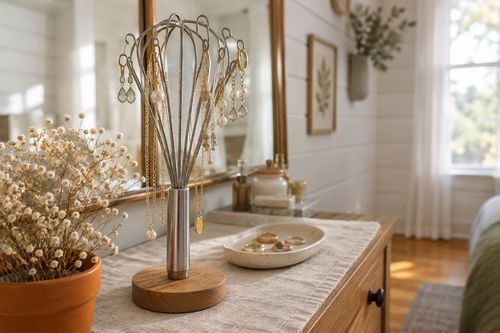
Whisk Jewelry Holder: The Bend That Stops Sagging

Turn a $1 dollar-store whisk into a boutique earring holder—the wire bend angle is what stops it from drooping under real jewelry weight....

Interior Design

12 October 2026

Post

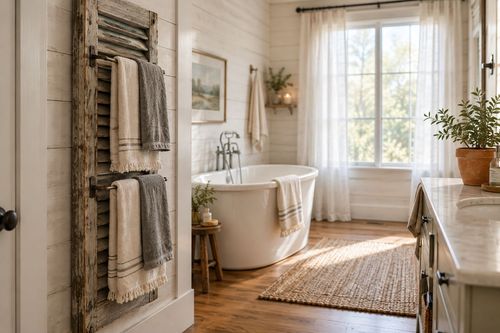
Shutter Towel Rack: The Anchor Screw That Won't Rip Out

Turn a salvaged wood shutter into a bathroom towel rack—the stud anchor is what stops it ripping out under soaked towels....

Interior Design

11 October 2026

Post

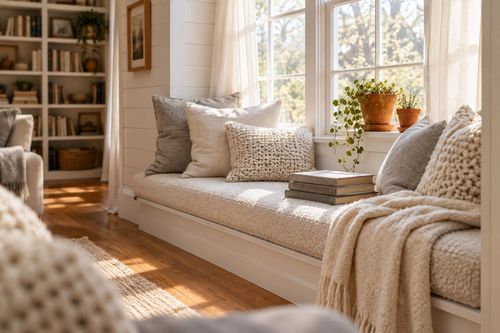
Style a Cozy Window Seat Nook in 2 Hours for $45

Turn a bare window seat into a cozy fall reading nook with the right cushion layering trick—2 hours, $45, instant curl-up energy....

Interior Design

10 October 2026

Post

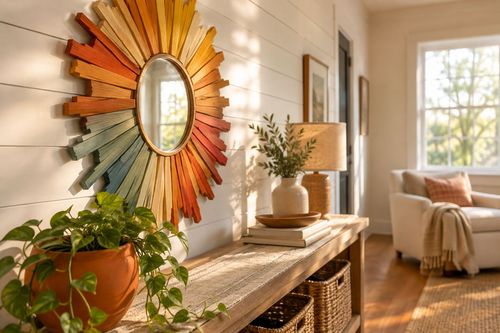
Sunburst Mirror: The Ray Overlap That Hides Gaps

Paint a bold rainbow sunburst mirror for $25—overlapping each ray's base is the trick that hides gaps and makes it look store-bought....

Interior Design

07 October 2026

Post

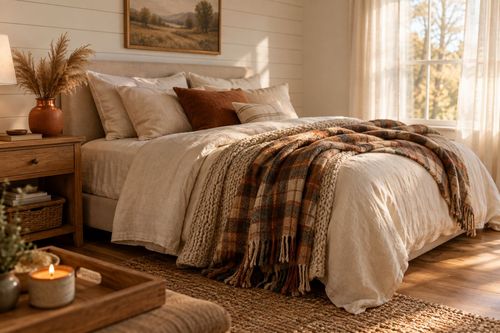
Style a Cozy Fall Bedroom Refresh in 2 Hours for $50

Layer flannel, wool, and warm light the right way and your bedroom finally feels like fall — 2 hours, $50, zero renovation....

Interior Design

03 October 2026

Post

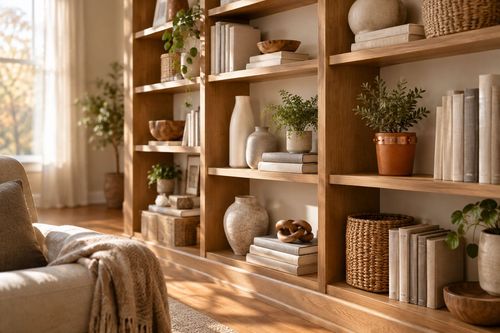
Style a Fall Bookshelf Refresh in 2 Hours for $40

Turn a cluttered bookshelf into a magazine-worthy fall vignette using the triangle rule and warm accents—2 hours, $40, zero carpentry....

Interior Design

03 October 2026

Post

Gold Leaf Frame: The Size Overlap That Prevents Cracks

Turn a plain thrift mirror into a bold gold-leaf statement piece—overlapping each sheet correctly is what stops the finish from cracking and flaking later....
Terms and ConditionsDo Not Sell or Share My Personal InformationPrivacy PolicyPrivacy NoticeAccessibility NoticeUnsubscribe
Copyright © 2026 DIY HomeBoost