
Interior Design

Recent Content

Shoe Bench Build: The Cubby Depth That Keeps Pairs Upright

Shoe Bench Build: The Cubby Depth That Keeps Pairs Upright

Build a wooden entryway shoe bench for $35—the cubby depth is what keeps boots standing instead of toppling into a pile every morning.

Style a Layered Nightstand Vignette in 1 Hour for $35

Style a Layered Nightstand Vignette in 1 Hour for $35

Turn a cluttered nightstand into a cozy styled vignette with the height-rule trick—1 hour, $35, instant bedroom upgrade.

The Cafe Rod Trick for a Fake Built-In Vanity

The Cafe Rod Trick for a Fake Built-In Vanity

Fake a built-in bathroom vanity shelf with a tiny cafe rod and basket—zero drilling, zero suction cups, full deposit intact.

Tension Rod Shelf: The Rod Width That Won't Slip

Tension Rod Shelf: The Rod Width That Won't Slip

Build a hidden double-decker shelf under your sink for $6—the rod tension width is what keeps it from crashing down on cleaning day.

Mulch Perennial Beds for Winter in 1 Hour for $25

Mulch Perennial Beds for Winter in 1 Hour for $25

Tuck your perennials in right! A 3-inch mulch blanket now saves roots from winter heave for about $25.

logo
  • Home Improvement
  • DIY Projects
  • Interior Design
  • Gardening & Outdoor
  • Real Estate
  • Home Improvement
  • DIY Projects
  • Interior Design
  • Gardening & Outdoor
  • Real Estate
  • ​

Bold & Unapologetic: Paint Your Stairs Into a Rainbow Cascade

Turn boring steps into an Instagram-worthy statement that proves you don't play it safe
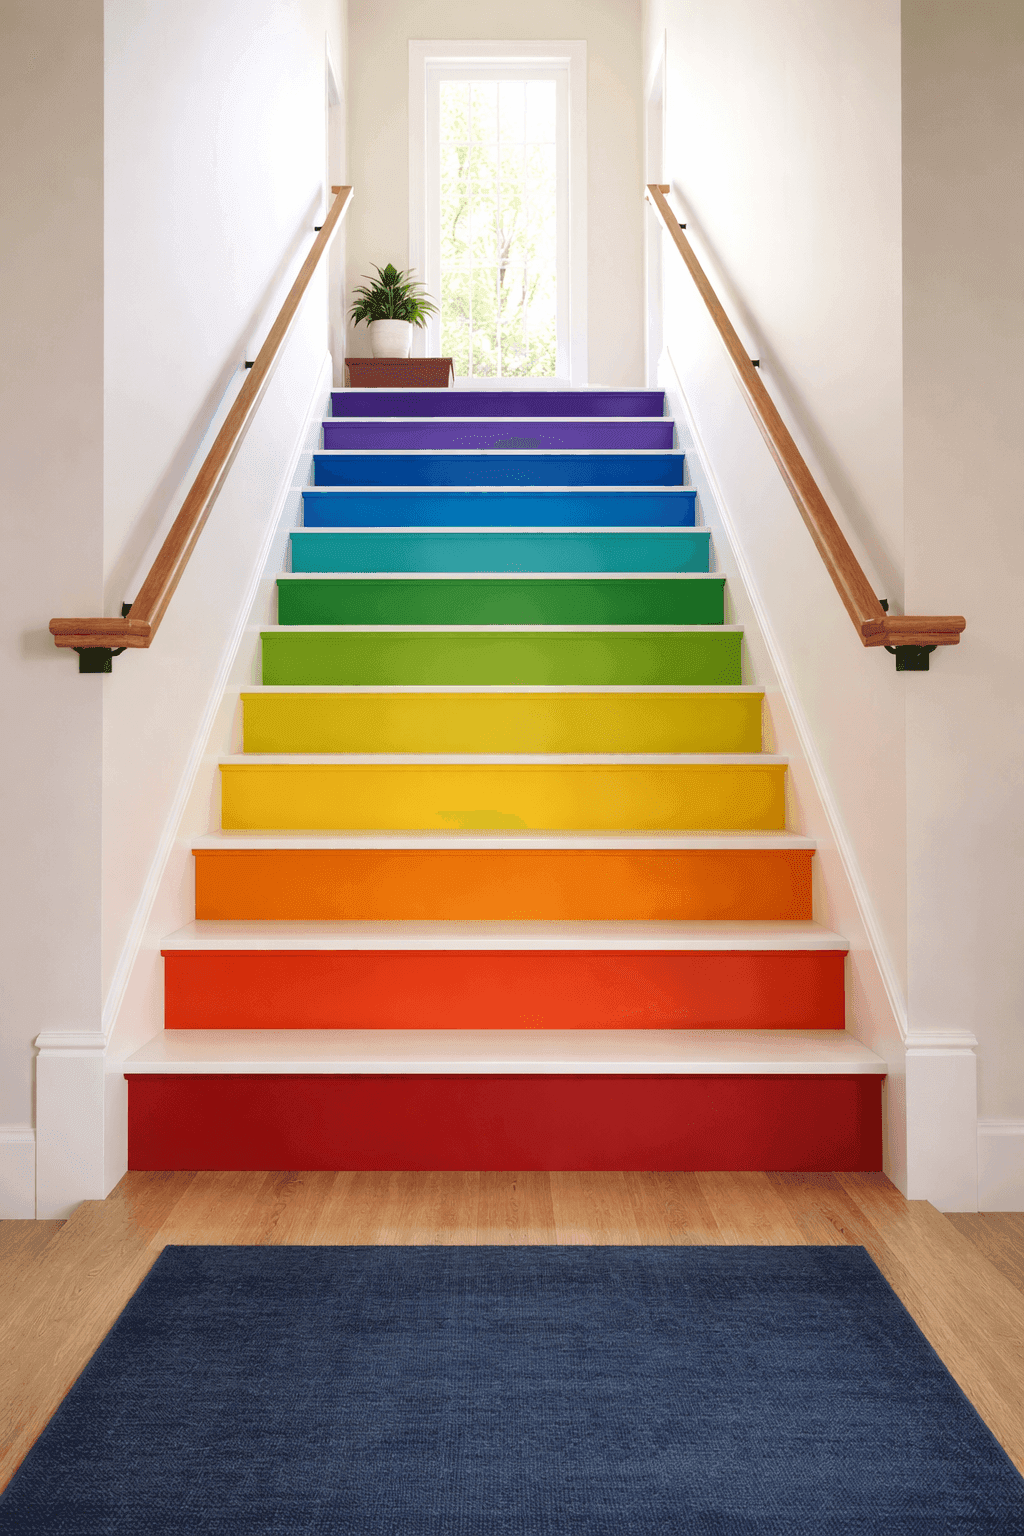
Bold rainbow painted staircase with vibrant colored risers from red to purple creating dramatic gradient effect in modern home
INTERIOR DESIGN

Let's be honest—most staircases are tragically boring, especially those basement or back stairs that nobody pays attention to beyond making sure they don't trip on the way to the laundry room. But here's the thing: stairs are vertical real estate just begging for a personality injection, and painting them in a bold rainbow gradient is the kind of unapologetic design move that announces "yes, I'm interesting and no, I don't care if that makes you uncomfortable." This project costs maybe $30-50 in paint but delivers the kind of jaw-dropping impact that interior designers charge thousands to create, transforming utilitarian stairs into a legitimate art installation that stops guests mid-climb to pull out their phones. The best part? It's actually easier than it looks because you're painting flat surfaces with clean lines, not wrestling with intricate patterns or precise measurements. Fair warning: once you unleash this kind of color confidence in your home, you might find yourself emboldened to paint other things in shockingly bold hues, and honestly, the world needs more people willing to take those kinds of decorating risks.

What You'll Need

  • Floor Paint: High-quality porch and floor paint in rainbow colors—red, orange, yellow, green, blue, purple (one quart per 2-3 risers, approximately $30-50 total)
  • Neutral Tread Paint: Black, white, or clear polyurethane for natural wood treads to keep the color focus on risers and ensure safe, non-slip walking surfaces
  • Cleaning Supplies: TSP cleaner or heavy-duty degreaser, scrub brush, vacuum, clean rags for removing dirt, oil, and old finish residue
  • Prep Materials: Primer suitable for your stair surface, painter's tape (2-inch width works best), drop cloths to protect surrounding areas
  • Painting Tools: 2-inch angled brush for precise edges, small foam roller for smooth coverage on flat riser surfaces, paint tray
  • Optional Upgrades: Small artist brushes for geometric patterns, sponges for ombré effects, stencils for added details

Step-by-Step Instructions

  1. Clean thoroughly using TSP or degreaser because paint adhesion depends entirely on a grease-free, dirt-free surface—this unglamorous step makes the difference between paint that lasts years versus paint that chips in months.
  2. Map your color scheme by deciding whether you want classic rainbow order (red at bottom, purple at top) or a custom gradient, then tape off your plan using sticky notes on each riser so you don't lose track mid-project.
  3. Prime all surfaces if your stairs are previously painted, bare wood, or laminate—yes, it's an extra step, but primer is what allows those vibrant colors to pop instead of looking muddy and sad.
  4. Tape off risers carefully using painter's tape along the top and bottom edges where risers meet treads, pressing firmly to prevent paint bleed that ruins those crisp, professional-looking lines.
  5. Paint risers boldly starting from the top and working down so you're not stepping on wet paint, applying two coats of your chosen rainbow colors and letting each fully dry before adding the second coat for maximum vibrancy.
  6. Keep treads neutral by painting them in black or white, or applying clear polyurethane over natural wood—this contrast makes the colored risers absolutely sing while keeping the stairs safe and functional for actual walking.
  7. Add optional details like ombré fading within each riser using a damp sponge to blend two shades, geometric triangles or stripes for extra visual interest, or even hand-painted patterns if you're feeling particularly ambitious.
  8. Seal everything with a durable polyurethane topcoat once all paint is completely dry (wait 24-48 hours), because stairs take a beating and this final protection layer ensures your bold statement stays bold for years.
DESIGNER TIP

Here's the insider move that separates amateur rainbow stairs from designer-level rainbow stairs: instead of using straight-from-the-can primary colors that can look a bit juvenile or arts-and-crafts, choose sophisticated, slightly muted versions of each hue that read as intentional and curated. Think burnt orange instead of traffic cone orange, deep teal instead of bright turquoise, wine red instead of fire engine red. Professional color consultants know that adjusting the saturation and depth of rainbow colors makes them feel expensive and deliberate rather than like you just grabbed whatever was on the craft store shelf. Visit a paint store and ask for their "heritage" or "historical" collections—these pre-mixed palettes often include gorgeous, complex versions of basic rainbow colors that have enough depth and character to work in sophisticated adult spaces while still delivering that joyful color impact that makes the whole project worthwhile.
Related Content

Interior Design

04 November 2026

Post

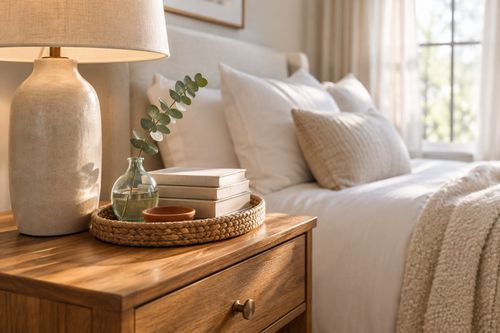
Style a Layered Nightstand Vignette in 1 Hour for $35

Turn a cluttered nightstand into a cozy styled vignette with the height-rule trick—1 hour, $35, instant bedroom upgrade....

Interior Design

02 November 2026

Post

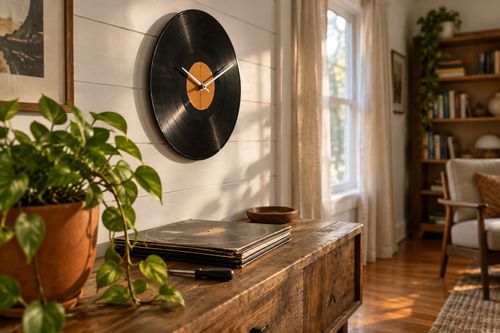
Vinyl Record Clock: The Center Hole Size That Matters

Turn a scratched vinyl record into a working wall clock—the center hole size is what keeps the mechanism snug instead of wobbling off-center. Under $15....

Interior Design

26 October 2026

Post

Fish Tank Terrarium: The Drainage Layer That Saves It

Turn a leaky old fish tank into a stunning terrarium—the gravel drainage layer is what stops root rot before your plants ever get a chance....

Interior Design

24 October 2026

Post

Tie-Dye Shower Curtain: The Fold That Makes Spirals

Turn a plain $8 shower curtain into a wild tie-dye spiral—the fold-and-twist technique is what makes the pattern radiate instead of blotch....

Interior Design

21 October 2026

Post

Peel-and-Stick Wallpaper Accent Wall in 3 Hours for $60

Turn one blank wall into a showstopper with peel-and-stick wallpaper—no wet paste, no mess, just a sharp accent wall by dinnertime....

Interior Design

19 October 2026

Post

Necktie Wall Organizer: The Knot Spacing That Holds

Turn old neckties into a boho wall organizer for keys and mail—even knot spacing is what keeps the pockets from sagging open. Under $10....

Interior Design

17 October 2026

Post

Neon Ombré File Cabinet: The Tape Order That Prevents Bleed

Turn a beige metal file cabinet into a neon ombré showstopper—the tape-layering order is what keeps colors crisp instead of muddy. Under $25....

Interior Design

15 October 2026

Post

Style a Cozy Fall Guest Bathroom Refresh in 2 Hours for $35

Turn a sterile guest bath into a warm fall retreat with layered textiles and scent—2 hours, $35, zero renovation required....

Interior Design

13 October 2026

Post

Whisk Jewelry Holder: The Bend That Stops Sagging

Turn a $1 dollar-store whisk into a boutique earring holder—the wire bend angle is what stops it from drooping under real jewelry weight....

Interior Design

12 October 2026

Post

Shutter Towel Rack: The Anchor Screw That Won't Rip Out

Turn a salvaged wood shutter into a bathroom towel rack—the stud anchor is what stops it ripping out under soaked towels....

Interior Design

11 October 2026

Post

Style a Cozy Window Seat Nook in 2 Hours for $45

Turn a bare window seat into a cozy fall reading nook with the right cushion layering trick—2 hours, $45, instant curl-up energy....

Interior Design

10 October 2026

Post

Sunburst Mirror: The Ray Overlap That Hides Gaps

Paint a bold rainbow sunburst mirror for $25—overlapping each ray's base is the trick that hides gaps and makes it look store-bought....

Interior Design

07 October 2026

Post

Style a Cozy Fall Bedroom Refresh in 2 Hours for $50

Layer flannel, wool, and warm light the right way and your bedroom finally feels like fall — 2 hours, $50, zero renovation....

Interior Design

03 October 2026

Post

Style a Fall Bookshelf Refresh in 2 Hours for $40

Turn a cluttered bookshelf into a magazine-worthy fall vignette using the triangle rule and warm accents—2 hours, $40, zero carpentry....

Interior Design

03 October 2026

Post

Gold Leaf Frame: The Size Overlap That Prevents Cracks

Turn a plain thrift mirror into a bold gold-leaf statement piece—overlapping each sheet correctly is what stops the finish from cracking and flaking later....
Terms and ConditionsDo Not Sell or Share My Personal InformationPrivacy PolicyPrivacy NoticeAccessibility NoticeUnsubscribe
Copyright © 2026 DIY HomeBoost












