Interior Design

Recent Content

Shoe Bench Build: The Cubby Depth That Keeps Pairs Upright

Shoe Bench Build: The Cubby Depth That Keeps Pairs Upright

Build a wooden entryway shoe bench for $35—the cubby depth is what keeps boots standing instead of toppling into a pile every morning.

Style a Layered Nightstand Vignette in 1 Hour for $35

Style a Layered Nightstand Vignette in 1 Hour for $35

Turn a cluttered nightstand into a cozy styled vignette with the height-rule trick—1 hour, $35, instant bedroom upgrade.

The Cafe Rod Trick for a Fake Built-In Vanity

The Cafe Rod Trick for a Fake Built-In Vanity

Fake a built-in bathroom vanity shelf with a tiny cafe rod and basket—zero drilling, zero suction cups, full deposit intact.

Tension Rod Shelf: The Rod Width That Won't Slip

Tension Rod Shelf: The Rod Width That Won't Slip

Build a hidden double-decker shelf under your sink for $6—the rod tension width is what keeps it from crashing down on cleaning day.

Mulch Perennial Beds for Winter in 1 Hour for $25

Mulch Perennial Beds for Winter in 1 Hour for $25

Tuck your perennials in right! A 3-inch mulch blanket now saves roots from winter heave for about $25.

logo
  • Home Improvement
  • DIY Projects
  • Interior Design
  • Gardening & Outdoor
  • Real Estate
  • Home Improvement
  • DIY Projects
  • Interior Design
  • Gardening & Outdoor
  • Real Estate
  • ​

Bold & Bright: Create a Neon Ornament Chandelier Mobile

Shake up tradition with vibrant modern holiday decor that commands attention

INTERIOR DESIGN

If you're tired of the same red-and-green holiday routine, it's time to shake things up with color that actually energizes your space instead of blending into expected tradition. This neon ornament chandelier takes the classic concept of hanging decorations and transforms it into a bold, modern statement piece that makes guests stop and stare—in the best possible way. By suspending bright pink, electric blue, and lime green ornaments at varying heights from simple embroidery hoops, you create dimensional art that catches light, creates movement, and brings contemporary edge to holiday decorating. This project costs around $30-40 and takes about two hours to assemble, but the visual impact rivals installations you'd see in trendy boutique hotels or design magazines. The beauty is in the contrast—these vivid neon shades pop dramatically against neutral walls or even hold their own when mixed into spaces with traditional holiday colors, proving that modern and festive aren't mutually exclusive concepts.

What You'll Need

  • Structure Materials:
    • Wooden embroidery hoops in 2-3 sizes (10", 14", 18" diameter, $12-18)
    • Clear fishing line or thin nylon cord
    • Ceiling hook or swag hook for hanging
    • Hot glue gun for securing knots
  • Ornament Selection:
    • Bright pink/hot pink shatterproof ornaments, 12-15 pieces ($8-12)
    • Electric blue/cobalt shatterproof ornaments, 12-15 pieces ($8-12)
    • Lime green/neon green ornaments, 8-10 pieces ($6-10)
    • Mix of sizes from 1" to 3" diameter for visual interest
  • Optional Enhancements:
    • Metallic spray paint for hoop frames (gold or white)
    • LED fairy lights to weave through structure
    • Additional neon accent colors for variety

Assembly Steps

  1. Spray paint your embroidery hoops if desired—metallic gold or crisp white both create beautiful frames that enhance rather than compete with the neon ornament colors.
  2. Arrange your hoops in a stacked configuration, with the largest hoop on bottom, medium in the middle, and smallest on top, or try an offset asymmetrical arrangement for more dynamic visual interest.
  3. Connect hoops to each other using fishing line tied at four evenly spaced points around each hoop, creating a stable tiered structure that hangs level when suspended.
  4. Attach main hanging lines from the top hoop to your ceiling hook, using four lines that meet at a central point above the mobile for balanced weight distribution.
  5. Cut varying lengths of fishing line—ranging from 6 inches to 24 inches—so your ornaments will hang at dramatically different heights creating that dynamic chandelier effect.
  6. Thread fishing line through each ornament's hanging loop, then tie securely to the embroidery hoops at random points, mixing colors throughout rather than grouping by shade.
  7. Distribute ornaments evenly around the mobile structure, stepping back frequently to check balance and visual weight, adjusting positions until the whole piece hangs level and feels harmonious.
  8. Secure all knots with a tiny dot of hot glue to prevent slipping, then hang your finished chandelier in a prominent location where it can rotate freely and catch light from multiple angles throughout the day.
DESIGNER TIP

Professional interior designers maximize impact by hanging neon chandeliers over unexpected locations—try above a dining table where the bright colors energize meal gatherings, in a corner of your living room where it fills vertical space dramatically, or even in an entryway where it creates an unforgettable first impression. For extra dimension, vary your ornament finishes by mixing matte and glossy surfaces within each color family, which catches light differently throughout the day and adds textural interest beyond just color. If you're nervous about going full neon in traditional spaces, ease in by using these vibrant colors as accents alongside more conventional metallics—the contrast actually makes both color palettes more interesting. Consider the viewing angle when placing your chandelier—it should hang low enough to be visually impactful but high enough that taller guests won't bump their heads, typically 6-7 feet from the floor works perfectly for most spaces.
Related Content

Interior Design

04 November 2026

Post

Style a Layered Nightstand Vignette in 1 Hour for $35

Turn a cluttered nightstand into a cozy styled vignette with the height-rule trick—1 hour, $35, instant bedroom upgrade....

Interior Design

02 November 2026

Post

Vinyl Record Clock: The Center Hole Size That Matters

Turn a scratched vinyl record into a working wall clock—the center hole size is what keeps the mechanism snug instead of wobbling off-center. Under $15....

Interior Design

26 October 2026

Post

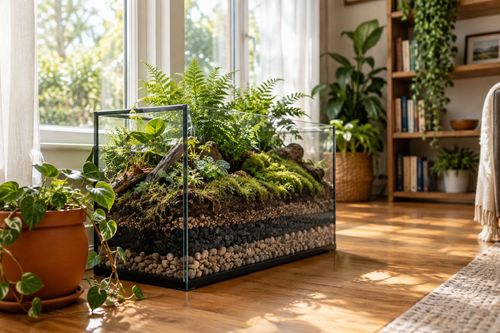
Fish Tank Terrarium: The Drainage Layer That Saves It

Turn a leaky old fish tank into a stunning terrarium—the gravel drainage layer is what stops root rot before your plants ever get a chance....

Interior Design

24 October 2026

Post

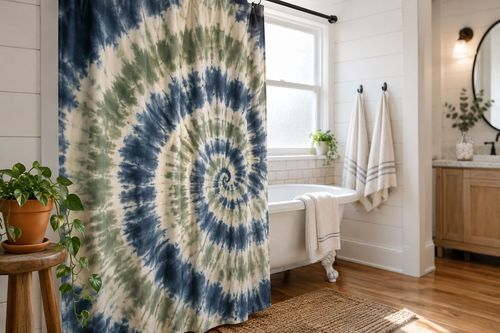
Tie-Dye Shower Curtain: The Fold That Makes Spirals

Turn a plain $8 shower curtain into a wild tie-dye spiral—the fold-and-twist technique is what makes the pattern radiate instead of blotch....

Interior Design

21 October 2026

Post

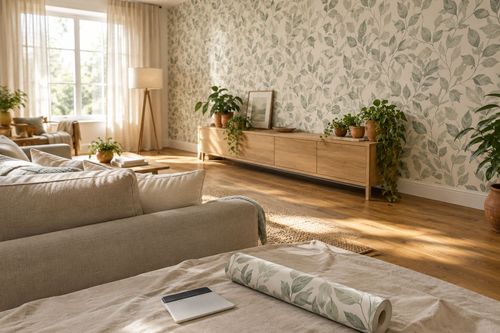
Peel-and-Stick Wallpaper Accent Wall in 3 Hours for $60

Turn one blank wall into a showstopper with peel-and-stick wallpaper—no wet paste, no mess, just a sharp accent wall by dinnertime....

Interior Design

19 October 2026

Post

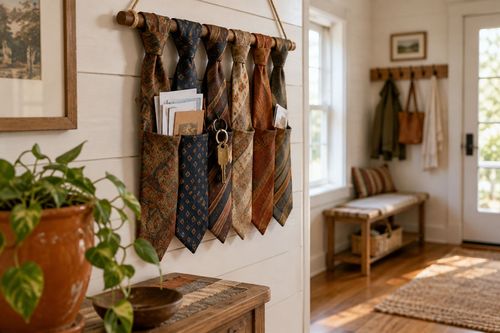
Necktie Wall Organizer: The Knot Spacing That Holds

Turn old neckties into a boho wall organizer for keys and mail—even knot spacing is what keeps the pockets from sagging open. Under $10....

Interior Design

17 October 2026

Post

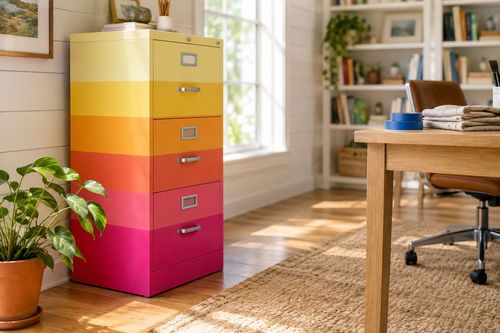
Neon Ombré File Cabinet: The Tape Order That Prevents Bleed

Turn a beige metal file cabinet into a neon ombré showstopper—the tape-layering order is what keeps colors crisp instead of muddy. Under $25....

Interior Design

15 October 2026

Post

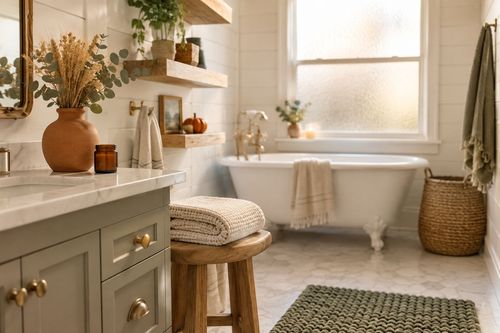
Style a Cozy Fall Guest Bathroom Refresh in 2 Hours for $35

Turn a sterile guest bath into a warm fall retreat with layered textiles and scent—2 hours, $35, zero renovation required....

Interior Design

13 October 2026

Post

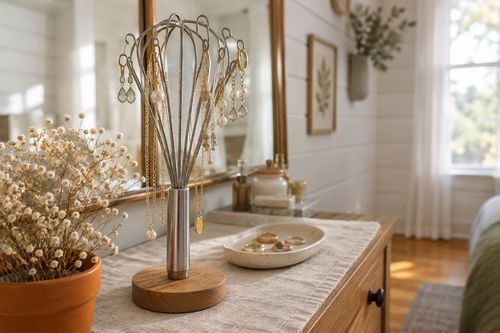
Whisk Jewelry Holder: The Bend That Stops Sagging

Turn a $1 dollar-store whisk into a boutique earring holder—the wire bend angle is what stops it from drooping under real jewelry weight....

Interior Design

12 October 2026

Post

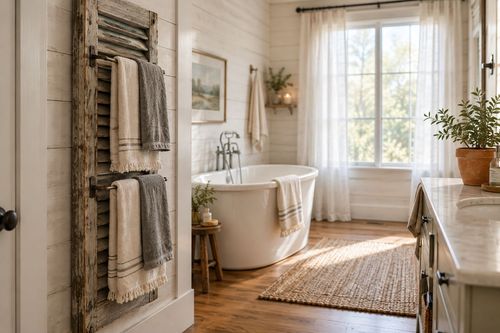
Shutter Towel Rack: The Anchor Screw That Won't Rip Out

Turn a salvaged wood shutter into a bathroom towel rack—the stud anchor is what stops it ripping out under soaked towels....

Interior Design

11 October 2026

Post

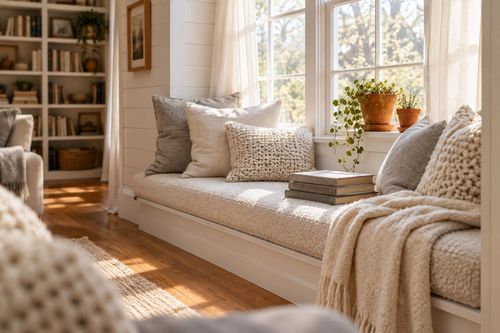
Style a Cozy Window Seat Nook in 2 Hours for $45

Turn a bare window seat into a cozy fall reading nook with the right cushion layering trick—2 hours, $45, instant curl-up energy....

Interior Design

10 October 2026

Post

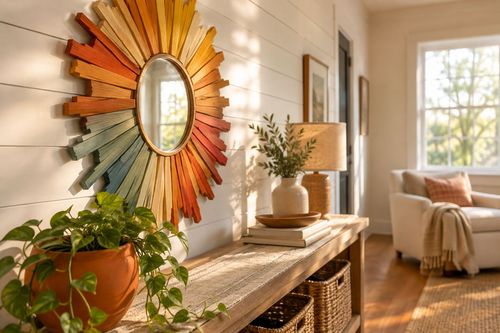
Sunburst Mirror: The Ray Overlap That Hides Gaps

Paint a bold rainbow sunburst mirror for $25—overlapping each ray's base is the trick that hides gaps and makes it look store-bought....

Interior Design

07 October 2026

Post

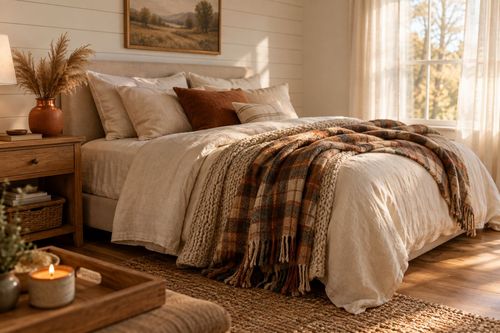
Style a Cozy Fall Bedroom Refresh in 2 Hours for $50

Layer flannel, wool, and warm light the right way and your bedroom finally feels like fall — 2 hours, $50, zero renovation....

Interior Design

03 October 2026

Post

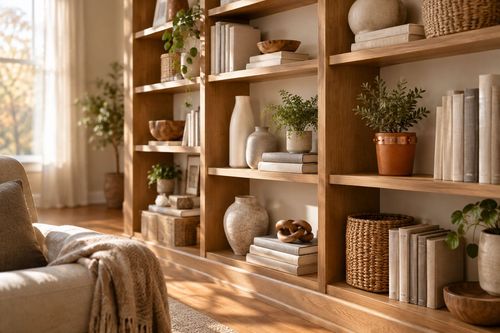
Style a Fall Bookshelf Refresh in 2 Hours for $40

Turn a cluttered bookshelf into a magazine-worthy fall vignette using the triangle rule and warm accents—2 hours, $40, zero carpentry....

Interior Design

03 October 2026

Post

Gold Leaf Frame: The Size Overlap That Prevents Cracks

Turn a plain thrift mirror into a bold gold-leaf statement piece—overlapping each sheet correctly is what stops the finish from cracking and flaking later....
Terms and ConditionsDo Not Sell or Share My Personal InformationPrivacy PolicyPrivacy NoticeAccessibility NoticeUnsubscribe
Copyright © 2026 DIY HomeBoost