Gardening/Outdoor

Recent Content

Shoe Bench Build: The Cubby Depth That Keeps Pairs Upright

Shoe Bench Build: The Cubby Depth That Keeps Pairs Upright

Build a wooden entryway shoe bench for $35—the cubby depth is what keeps boots standing instead of toppling into a pile every morning.

Style a Layered Nightstand Vignette in 1 Hour for $35

Style a Layered Nightstand Vignette in 1 Hour for $35

Turn a cluttered nightstand into a cozy styled vignette with the height-rule trick—1 hour, $35, instant bedroom upgrade.

The Cafe Rod Trick for a Fake Built-In Vanity

The Cafe Rod Trick for a Fake Built-In Vanity

Fake a built-in bathroom vanity shelf with a tiny cafe rod and basket—zero drilling, zero suction cups, full deposit intact.

Tension Rod Shelf: The Rod Width That Won't Slip

Tension Rod Shelf: The Rod Width That Won't Slip

Build a hidden double-decker shelf under your sink for $6—the rod tension width is what keeps it from crashing down on cleaning day.

Mulch Perennial Beds for Winter in 1 Hour for $25

Mulch Perennial Beds for Winter in 1 Hour for $25

Tuck your perennials in right! A 3-inch mulch blanket now saves roots from winter heave for about $25.

logo
  • Home Improvement
  • DIY Projects
  • Interior Design
  • Gardening & Outdoor
  • Real Estate
  • Home Improvement
  • DIY Projects
  • Interior Design
  • Gardening & Outdoor
  • Real Estate
  • ​

Backyard Escape: How to Create a DIY Hammock Corner

Design a dreamy outdoor retreat for relaxation and rejuvenation

Cozy hammock corner with string lights and plants
GARDENING/OUTDOOR

There's something incredibly soothing about gently swaying in a hammock, book in hand, as a soft breeze rustles the leaves overhead. Creating a dedicated hammock corner transforms an unused area of your yard into a personal retreat—a place to unwind, nap, read, or simply enjoy the outdoors. With thoughtful planning and a few special touches, your hammock oasis can become the most sought-after spot in your home.

What You'll Need

• Quality hammock (rope, fabric, or Mayan style)
• Hammock stand OR two sturdy trees/posts
• Mounting hardware (if using trees/posts)
• Outdoor string lights
• Weather-resistant side table
• Outdoor throw pillows (2-3)
• Lightweight outdoor blanket
• Potted plants (varying heights)
• Outdoor rug (optional)
• Solar lanterns or battery-operated candles

How To Do It

  1. Select the perfect location: Find a level spot with partial shade that's protected from strong winds. Ensure there's enough space (about 12-15 feet) for the hammock when fully stretched.
  2. Choose your support method: Either purchase a free-standing hammock stand, or identify two sturdy trees/posts spaced appropriately for your hammock length (typically 12-15 feet apart).
  3. Install securely: If using trees, install heavy-duty eye bolts or hammock straps designed not to damage the tree bark. For posts, ensure they're deeply anchored (at least 2 feet) in concrete.
  4. Hang your hammock: Follow the manufacturer's instructions, ensuring the lowest point of the hammock sits about 18 inches off the ground when weighted.
  5. Create a floor surface: If desired, add an outdoor rug underneath to define the space and provide a soft surface for your feet.
  6. Add your side table: Position a weather-resistant table within easy reach of the hammock for books, drinks, or a small speaker.
  7. Install ambient lighting: String lights overhead in a zigzag or canopy pattern. Add solar lanterns around the perimeter for a magical evening glow.
  8. Incorporate greenery: Arrange potted plants of varying heights around your hammock corner to create privacy and a lush atmosphere.
  9. Add comfort accessories: Place weather-resistant pillows and a lightweight blanket on or near the hammock for added comfort and style.
DESIGNER TIP

To create a true retreat feeling, consider adding a simple fabric canopy above your hammock. Using weather-resistant outdoor fabric and a basic frame of PVC pipes or bamboo poles, you can create shade during the day and a cozy, enclosed feeling at night. Not only does this add style to your hammock corner, but it also extends the usability of your space during hot summer days and provides protection from dew in the evenings. Choose a light-colored fabric that complements your hammock for a cohesive, resort-inspired look.
Related Content

Gardening/Outdoor

03 November 2026

Post

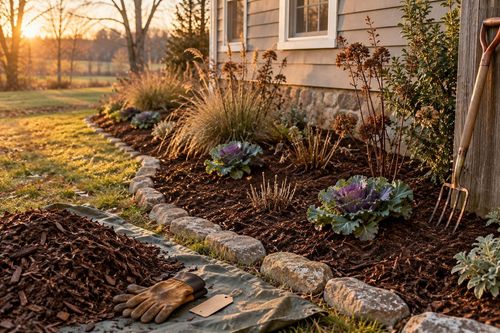
Mulch Perennial Beds for Winter in 1 Hour for $25

Tuck your perennials in right! A 3-inch mulch blanket now saves roots from winter heave for about $25....

Gardening/Outdoor

31 October 2026

Post

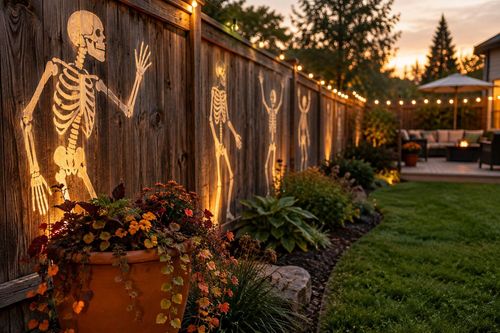
Glow Skeleton Fence: The UV Primer Coat That Pops

Paint glowing skeleton silhouettes onto your fence for Halloween—the UV primer coat underneath is what makes them blaze under black light, not fade flat....

Gardening/Outdoor

29 October 2026

Post

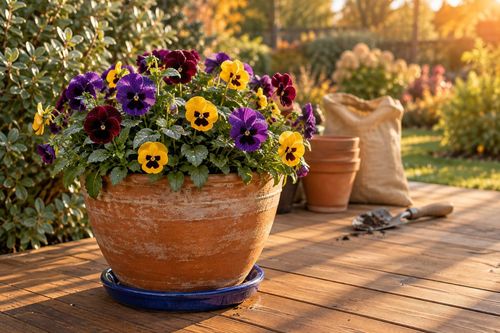
Plant a Fall Pansy Container in 1 Hour for $25

Pansies shrug off frost but not soggy roots—plant them right this week for months of color through the first hard freezes....

Gardening/Outdoor

24 October 2026

Post

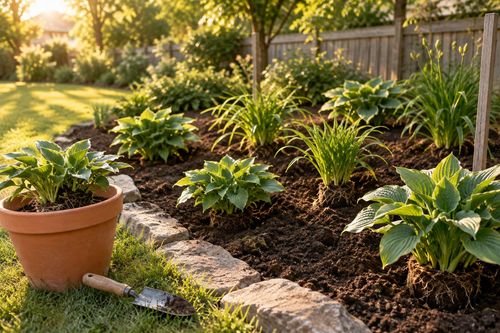
Divide and Replant Perennials in 90 Minutes for $15

Overgrown hostas and daylilies? Split them now for free plants and healthier beds—90 minutes, $15, zero green thumb required....

Gardening/Outdoor

18 October 2026

Post

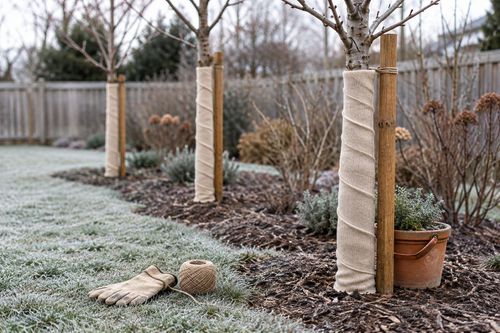
Wrap Tree Trunks for Winter Protection in 30 Minutes for $15

Rabbits and frost cracks love bare bark—wrap young tree trunks now to save them from winter damage for just $15....

Gardening/Outdoor

17 October 2026

Post

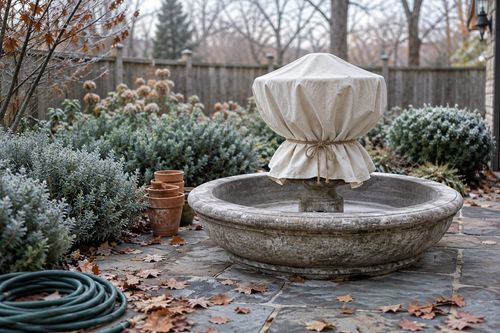
Winterize Your Outdoor Fountain in 1 Hour for $15

Don't let ice crack your fountain! Drain, clean, and seal it right in an hour for $15 before the first hard freeze hits....

Gardening/Outdoor

08 October 2026

Post

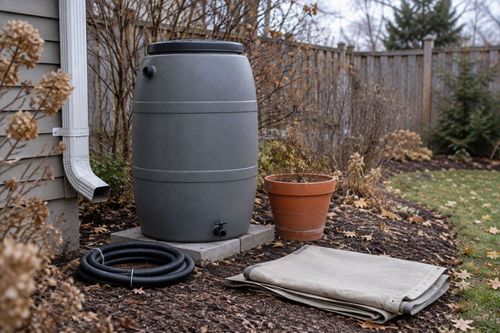
Winterize Your Rain Barrel in 45 Minutes for $20

Don't let freezing water crack your rain barrel! Drain, disconnect, and store it right in 45 minutes for about $20 before the first hard freeze....

Gardening/Outdoor

05 October 2026

Post

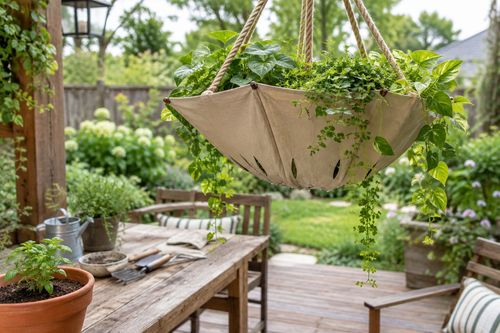
Broken Umbrella Planter: The Drainage Cut That Saves It

Turn a busted umbrella canopy into a hanging garden planter—the drainage slits you cut first are what stop root rot before it starts....

Gardening/Outdoor

02 October 2026

Post

Sow a Cover Crop in Your Garden Beds in 1 Hour for $20

Skip the bare dirt this fall! Sow a cheap cover crop now and let it build free, crumbly soil for next spring's garden....

Gardening/Outdoor

28 September 2026

Post

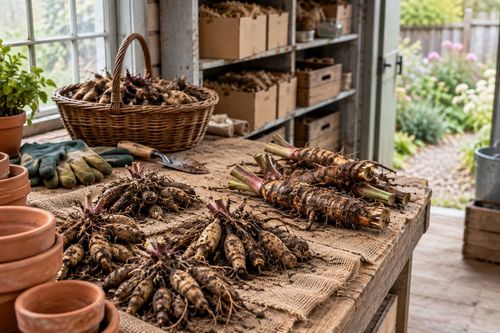
Overwinter Tender Bulbs Indoors in 1 Hour for $20

Dig up dahlias and cannas before frost hits! Cure and pack them right so they wake up healthy again next spring....

Gardening/Outdoor

22 September 2026

Post

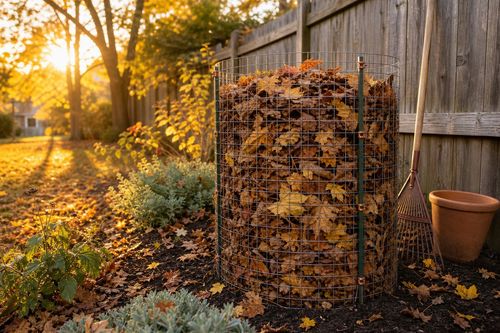
Build a Leaf Mulch Cage in 1 Hour for $25

Stop bagging leaves for the curb! A wire mulch cage turns fall leaf drop into free garden gold by spring....

Gardening/Outdoor

19 September 2026

Post

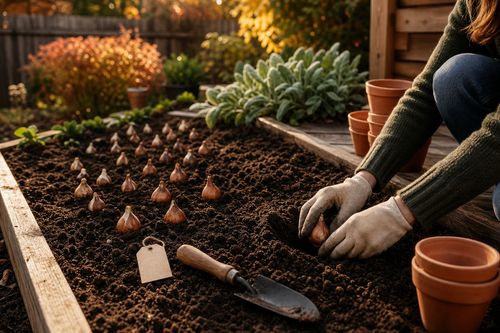
Plant Spring Bulbs in 1 Hour for Under $25

Plant tulip and daffodil bulbs the right way this fall—pointy-end-up depth and drainage make all the difference come spring!...

Gardening/Outdoor

17 September 2026

Post

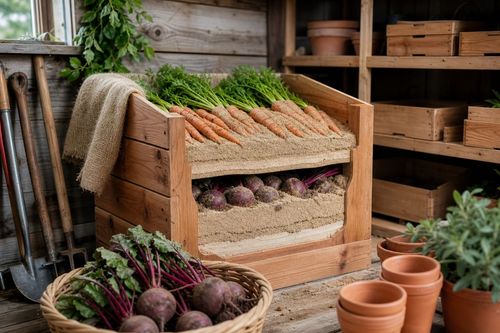
Build a Root Vegetable Storage Bin in 2 Hours for $35

Stash your fall harvest right! A DIY sand-layered storage bin keeps carrots and beets crisp for months, no root cellar needed....

Gardening/Outdoor

16 September 2026

Post

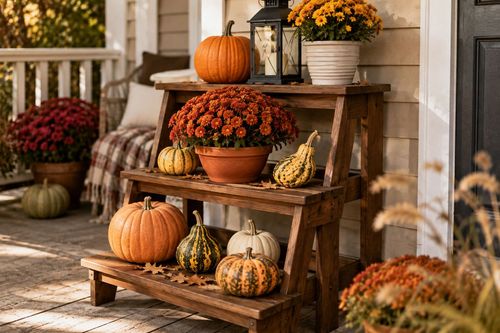
Pumpkin Display Stand: Weight First, Then the Angle

Put your biggest pumpkin on the wrong tier and this stand becomes a tipping hazard. Build it right....

Gardening/Outdoor

31 August 2026

Post

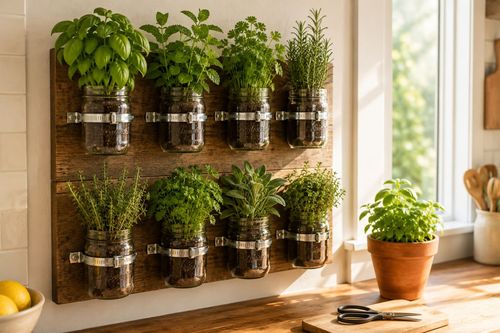
Hanging Herb Jars: The Pebble Layer Isn't Optional

Jars have no drainage hole — skip the pebble layer and your herbs slowly rot. Mostly free, 90 min....
Terms and ConditionsDo Not Sell or Share My Personal InformationPrivacy PolicyPrivacy NoticeAccessibility NoticeUnsubscribe
Copyright © 2026 DIY HomeBoost