
Back on Track: Fix Misaligned Closet Doors Fast
Bifold or sliding closet doors that stick, pop out, or hang crooked are a 15-minute fix — not a reason to keep fighting your closet every single day
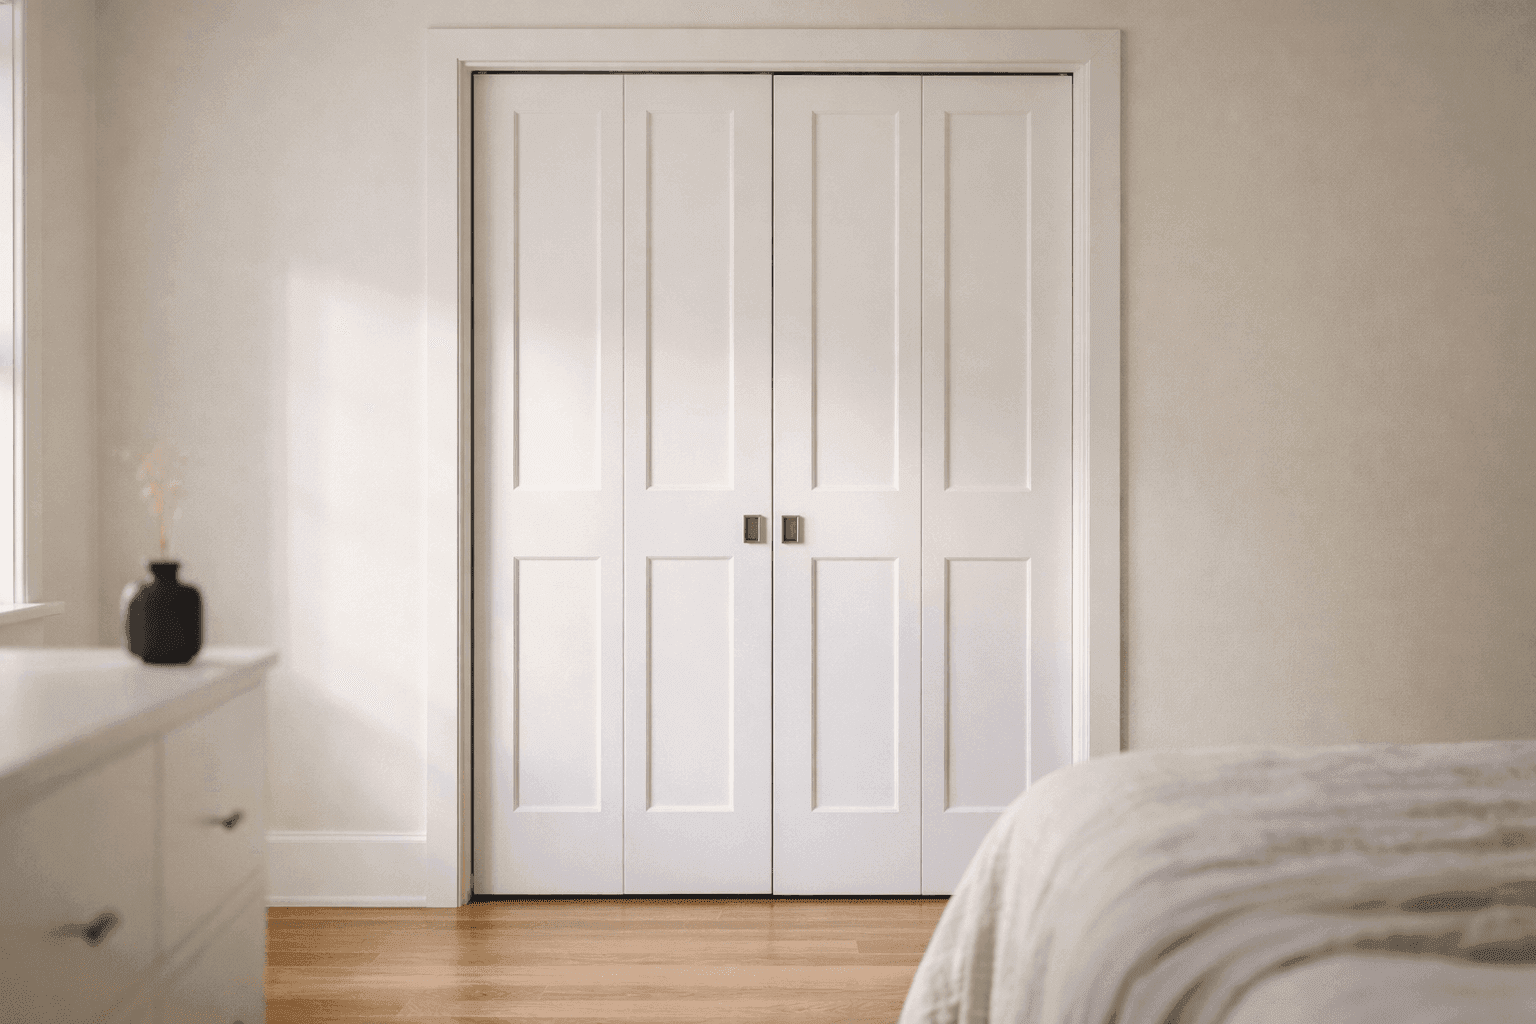
Closet doors have a way of becoming background noise — you wrestle them open every morning, yank them back into the track after they pop out, tolerate the gap where they no longer meet properly in the middle, and somehow never quite get around to fixing them because the problem doesn't feel urgent enough to prioritize. It never is, until you actually do it and realize the whole thing took twenty minutes and a screwdriver you already owned. Bifold and sliding bypass closet doors go out of alignment for entirely predictable reasons — pivot pins settle, rollers wear, tracks accumulate debris — and every single one of those issues has a specific, repeatable fix that requires no special knowledge and no replacement parts in most cases. This Fix-It Friday is for the closet door that has been silently annoying you for six months longer than it should have. Today is the day.
What You'll Need
- Diagnosis First
- Identify your door type before gathering tools — bifold doors fold in the middle and pivot at top and bottom corners, while sliding bypass doors hang from top rollers and slide past each other on parallel tracks
- A flashlight for examining track debris, roller condition, and pivot pin seating in the top bracket
- Understanding which specific problem you have — crooked hang, popping out of track, sticking, or not closing flush — determines which fix you need and in what order
- Tools
- Phillips and flathead screwdrivers — the pivot pin adjustment mechanism on most bifold doors takes one or the other depending on manufacturer
- Needle-nose pliers for gripping and repositioning stubborn pivot pins that won't move by hand
- A level for confirming the door hangs plumb after adjustment — eyeballing a door that's only slightly out of alignment is unreliable
- Vacuum with a narrow crevice attachment for cleaning track channels
- Damp cloth for wiping track surfaces clean after vacuuming
- Lubrication & Replacement Parts
- Silicone spray lubricant — not WD-40, which attracts dust and leaves a residue that makes tracks stickier over time — ~$6–$8 per can at any hardware store
- Replacement bifold door rollers or pivot pins if existing hardware is cracked, worn, or missing — universal replacement kits available at hardware stores for ~$5–$10 and cover most standard door sizes
- Replacement sliding door rollers if existing ones don't spin freely when removed — ~$8–$15 for a pair depending on door weight rating
- A small tube of white touch-up paint for covering any scuffs on door faces or trim caused by misalignment rubbing — ~$3–$5
- For Stubborn Cases
- A rubber mallet for gently persuading a track that has shifted slightly out of its channel back into position — never use a regular hammer directly on track metal
- Short wood screws for re-securing a top track bracket that has pulled away from the header board above the closet opening
- A helper for lifting and reinserting heavy solid-core sliding bypass doors — these can weigh 50+ pounds and are genuinely awkward to handle safely alone
How to Fix It
- Diagnose before touching anything — open and close the door slowly while watching exactly where it binds, gaps, or pops, and note whether the problem is at the top, bottom, or middle of the door. A bifold that gaps at the top but meets at the bottom needs the top pivot adjusted; one that pops out of the track entirely has a pivot pin that isn't fully seated; a sliding door that derails has either dirty tracks, worn rollers, or both. The right diagnosis means the right fix on the first attempt.
- For bifold doors hanging crooked — locate the top pivot bracket at the upper corner of the door where it meets the door frame, and look for a small adjustment screw or slot that raises and lowers the pivot pin height. Turn the screw clockwise to raise that corner of the door or counterclockwise to lower it, making small quarter-turn adjustments and checking the door hang with your level after each one. Most bifold alignment problems are solved with less than two full turns of adjustment.
- Adjust the bottom pivot on bifold doors by locating the floor bracket — a small metal plate screwed to the floor at the outer corner of the door opening — and checking whether the bottom pivot pin is sitting fully and squarely in its socket. Many bottom brackets have a slot that allows the bracket to slide slightly forward or backward, which shifts the bottom of the door in or out relative to the door frame and corrects the gap or binding that the top adjustment alone couldn't fully resolve.
- Fix a bifold that pops out of the track by first checking that the top pivot pin — the small cylindrical pin that sits in the overhead track — is fully extended and locked in its up position rather than partially retracted. Most bifold top pivot pins have a spring-loaded mechanism that can be nudged down accidentally during a rough close, and simply pressing it back up until it clicks resolves a door that keeps falling out of the track without any tools at all.
- Clean sliding bypass door tracks thoroughly before attempting any roller adjustment — vacuum the full length of both the top and bottom tracks with your crevice attachment, then wipe with a damp cloth to remove the compacted dust, hair, and debris that builds up in track channels and is responsible for more sliding door problems than any hardware failure. A track that looked clean to a casual glance will produce a surprising amount of debris when properly cleaned, and that debris alone is often the entire source of the sticking problem.
- Remove sliding bypass doors for roller inspection by lifting the door straight up into the top track until the bottom clears the lower guide, then angling the bottom of the door toward you and lowering it out of the top track. Lay the door on a padded surface and spin each top roller by hand — a healthy roller spins freely and silently, while a worn or damaged roller wobbles, grinds, or doesn't spin at all. Replace any roller that doesn't pass that test before reinstalling the door, since a bad roller will derail the door again within days no matter how clean the track is.
- Reinstall sliding doors by reversing the removal sequence — angle the top of the door into the top track first, engaging both rollers into their track channel, then swing the bottom of the door in and settle it into the lower guide track. Slide the door back and forth several times to confirm the rollers are tracking cleanly in the channel before applying lubricant — lubricating a door that isn't properly seated just makes it glide incorrectly more smoothly, which isn't actually an improvement.
- Lubricate all tracks and pivot points with silicone spray as the final step — run a light bead along the full length of both top and bottom tracks, spray the pivot pin and its bracket on bifold doors, and wipe away any overspray on the door faces or floor immediately before it attracts dust. Open and close each door a dozen times to work the lubricant into all contact points, and enjoy the deeply satisfying experience of a closet door that glides and folds exactly the way it was always supposed to.
Professional handypeople who service rental properties and older homes have one universal observation about closet doors: the vast majority of persistent alignment problems that have resisted multiple adjustment attempts trace back to a single root cause that has nothing to do with the door itself — the top track bracket has pulled away from the header framing above the closet opening by one or two screws, introducing a subtle flex into the entire system that makes every adjustment temporary. Before spending more than fifteen minutes on a bifold or bypass door that keeps going out of alignment after you fix it, take a flashlight and look at the screws holding the top track bracket to the header. If any are loose, stripped, or missing, drive new screws into solid wood slightly above or below the stripped holes, and the door will stay in alignment after that single fix in a way that no amount of pivot adjustment ever achieved. The track is the foundation everything else depends on — and a foundation with a loose screw is never going to hold a stable door.














